Full Gaian’s Cradle Walkthrough
Interlude
The game starts with a dialogue between a humanoid character called Vreal, and the player. Once that exchange is over, continue forward and by talking to death, the player becomes immortal. Players can destroy their contract with Death to make their death permanent. Once done, get on your horse traveling eastbound. Eventually, you’ll come across an Alpaca in the distance, it will be of use to us later.

Once players run into a wall, climb it and follow the path to find a Crow Plume, reading the inscriptions along the way to grasp a better understanding of the controls of the game. As you walk onto the platform with the item, it will collapse. Climb the ladder to obtain the Logoth Shortbow and use it to break the chain directly above you, holding up the ramp. Descend down it and jump onto the Alpaca, then onto the platform to grab the Leaf of Gaia. Now mount your stead and travel eastward until you come across a shining statue.
This is the first save point, which is near to the first interactive object; interacting with it will open up access to a path you just passed. Head left to jump on the newly-formed platforms to take the ladder up to a platform holding your first enemy of the game: a Stone Sentinel (Moss Knight). After defeating him, you’ll receive 22 shards, and new platforms for you to take up will appear. Vrael will speak to you and provide you with a Lucent Plume. Use the platforms to reach and climb up the ladder to another save point.
From here, head left to find a passageway filled with melee and ranged Hallowed Knights. After the jump to face the first ranged enemy, the player can jump up to claim the Zealot’s Cape, then jump across to get the Wooden Targe as well. Heading back towards the left, you’ll find two more ranged enemies leading up some stairs. Defeat them then climb the ladder, and use the moving platform to climb the next to fight the enemy on top and retrieve the Fragile Courage item by dropping down afterwards. Head back up both ladders and moving platforms to arrive at another save point.

After passing this save point, players will be taught their abilities as the game pits them against two Hallow Knights, then a Stone Sentinel (Moss Knight). After the tutorial, you will find the second interactive object which upon activating, will trigger a very brief cutscene. Back track past the logs to where you should take the ladder next to the save point.
Going Up
From there onward head up, ascending the ladder and take out the Hallowed Knights you meet there. Jump the gap, climb the ladder and continue on the path. You’ll notice a blue slime enemy on the first ruins, these drop onto you and poison you, try to avoid them. At this time a large Phoenix will rain fire down over the level, leaving a few spaces that are unexposed to the flames. At the same time, there will be a range of Hallow Knights along the path which you need not take on, and can leave them to the flames, still earning shards and their drops in the process. There is also a Reinforced Helm to be looted. At the end of the path is a Stone Sentinel (Lightning) that must be defeated to progress.
The platform will open up and dropping -while moving left- will land you on a platform above the next save point, next to the Covenant Shield. When you reach the bottom, on the left there will be a Feather Upgrade and a Hallow Knight in a barrel. On the right, you’ll find a ladder and a living chest; the chest must be damaged until its destroyed to gain the Aura it possesses. Climb the ladder while avoiding the fire to gather the last Owlking Tome.

Travel to the left and fall down into a partially flooded area to fight off another two of those Blue Slime, and collect some Crystal Bombs on the right.
Fighting Ione
Head left now to encounter a sub boss called Ione. Here are a few tips to defeating her:
- Avoid her crashing downward attack by using the pillars around you as cover.
- She isn’t too difficult to defeat if you hit and run to gain energy to unleash your abilities.
- Most of her combos are 2-3 hits and she can deal a decent amount of damage, so wait out her hits and take it easy some distance between you to scope out the fight.

Defeating her will grant you 1 Skill Point, and the ability to activate the third and final interactive object to unlock the boss. Make sure to climb the ladder just above the interactive object to collect the Quickened Plume.
Big Boss Time
Head left until you come across a character by the name of Fink (visit his page on instructions on not aggroing him). There’s a ladder behind him you can take to meet your horse near the bottom of the level. You will ride throughout Rider’s Passage until you reach the save point. There is also a door that needs a Gaia Key to access. Dismount your stallion and proceed to the right to fight the boss.
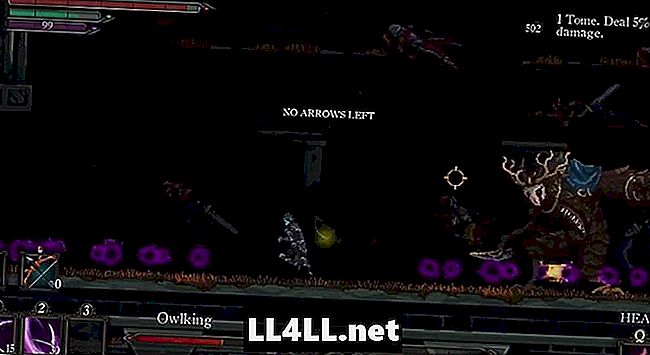
Boss: Owlking
Owlking will likely start the fight with a lunge attack, either roll through him or create some distance. Sneak in a couple of attacks but don’t exhaust all your stamina. When he summons his rift, wait for the beams to approach and roll through them to counter attack the Owlking or walk towards the side of the map but roll before they touch you.
Owlking melee attacks have a tell indicating he is about to do the following:
- Summons a rift that sends out triple purple beams
- A lunge attack
- An uppercut attack
- sometimes followed up with another
- An X attack
You can watch this fully in action which includes gameplay of both the Gaian’s Cradle and Owlking stage below
Gaian’s Cradle Video
Gaian’s Cradle Map
[map goes here]
by
·
Published August 13, 2018 11:44 PM
· Updated November 30, 2019 4:49 PM
Tags: Adult SwimDeath’s GambitIndieWalkthrough

enricofairme
Enricofairme is the pioneering founder and chief author of holdtoreset.com, a premier platform for discussing and analyzing video games. His illustrious career spans six years, during which he has consistently produced high-quality content in the video gaming niche. To stay updated with his latest works and musings, kindly follow Eli on Twitter via the handle @enricofairme.
You may also like…

Содержание
- Owlking Heroic Boss Strategy
- Достижение: Детронирован
- Душа Феникса Героический Босс Стратегия
- Достижение: В пепел и пыль
- Тундра Лорд Керн Героический Босс Стратегия
- Достижение: Повелитель Долины
- Оплот Олдвинн Героический Босс Стратегия
- Достижение: достойный вызов
- Стратегия забытого героического босса Гайана
- Достижение: Убийца Гайана
- Темный рыцарь Героический Босс Стратегия
- Достижение: Темнота падает
- Origa Sniper Heroic Boss Стратегия
- Достижение: Дружеская Дуэль
- Кузит Героический Босс Стратегия
- Достижение: кто настоящий монстр?
- Bysurge Heroic Boss Стратегия
- Достижение: Реликвия Прошлого
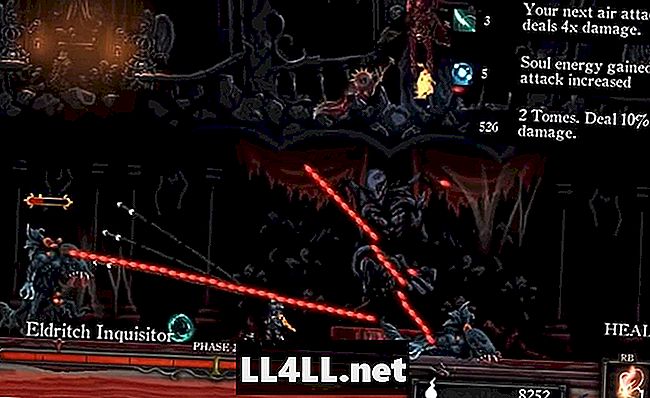
- Эльдричский инквизитор Героический Босс Стратегия
- Достижение: Судья, Жюри, Палач
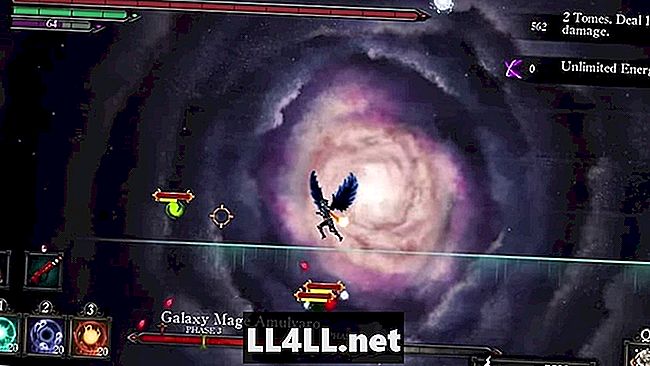
- Галактический Маг Амулваро Героический Босс Стратегия
- Достижение: когда звезды соединились
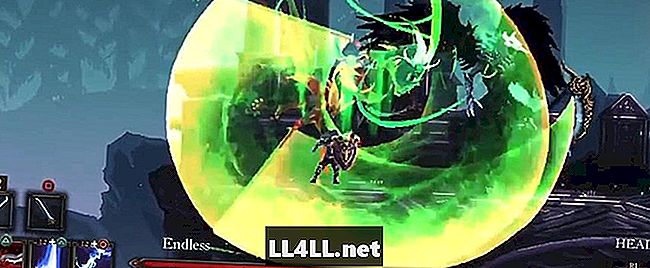
- Бесконечная героическая стратегия босса
- Достижение: Вечные Мучения


Гамбит Смерти это уже тяжело, но это доходит до 11 с героями-реваншами с боссами, где каждый враг, которого вы уже избили, забывает, получает новые атаки и дополнительное здоровье, возвращаясь из могилы, как безумно сумасшедший зомби. Чтобы иметь шанс победить любую из этих героических версий, вам понадобится небольшая помощь.
Но прежде чем что-то делать, убедитесь, что изучить и захватить тома для каждого босса, Во многих случаях, имея это дополнительный урон будет разница между победой и поражением при столкновении с этими героическими животными.
Некоторые из этих реваншей — чистые DPS-гонки, поэтому, если у вас возникли серьезные проблемы, тратить больше времени на повышение уровня вашего основного урона и дать ему еще один шанс. Обмен перьев на урон также может быть очень полезным, хотя, поскольку вы не можете лечить, это будет означать смерть несколько раз, пока вы запоминаете схемы атаки каждого босса.
Готовы начать? В следующих слайдах мы расскажем о конкретных стратегиях для каждого босса и о том, какие достижения вы разблокируете для победы над их героическими версиями!
следующий
Owlking Heroic Boss Strategy
Достижение: Детронирован
Первая половина этого боя очень похожа на оригинальную битву, за исключением того, что Owlking отправляет три волны светящихся шаров вместо одного. Вместо того, чтобы тратить выносливость, уклоняясь от всех трех волн, просто увернуться от босса когда он начинает свой вертикальный черный портал.
Вторая половина этой битвы — то, где вещи становятся действительно сложными. Сферы, которые приземляются на землю из горизонтального портала, теперь постоянно остаются на экране. Это означает, что вы собираетесь быстро выбраться из комнаты, чтобы увернуться.
Чтобы минимизировать потерю землипопробуйте остаться в том же левом или правом углу, а не сражаться в середине, Придерживаясь одного места, меньшее количество частей комнаты будет покрыто шарами.
Если вы запутались, и середина области покрылась, не пытайтесь увернуться от кувырка через неподвижные шары. Вместо, прыгать и атаковать на высоте вашей траектории парить и увеличить расстояние прыжка.
Сохраните стрелки для этой второй половины битвы, так что у вас есть возможность нанесения урона, когда застряли на другой стороне экрана.
Неизбежно, вы застрянете в положении, когда Совенок находится с одной стороны от вас, а стена — с другой. Хитбоксы для повреждений — его рука / крылья и ступни однако, не его основной корпус. Если вы уклоняетесь от броска влево и вправо быстро, вы все равно можете избежать нанесения урона, когда он наносит удар.
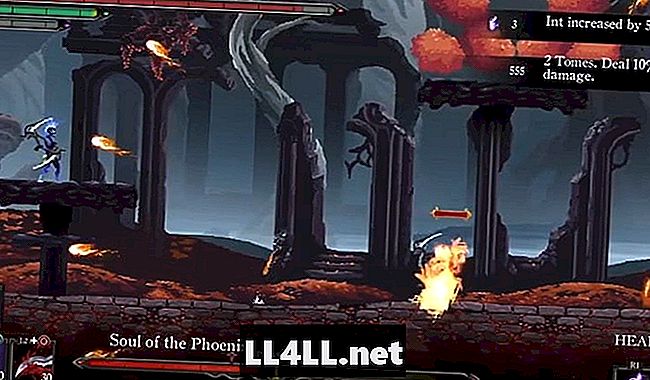
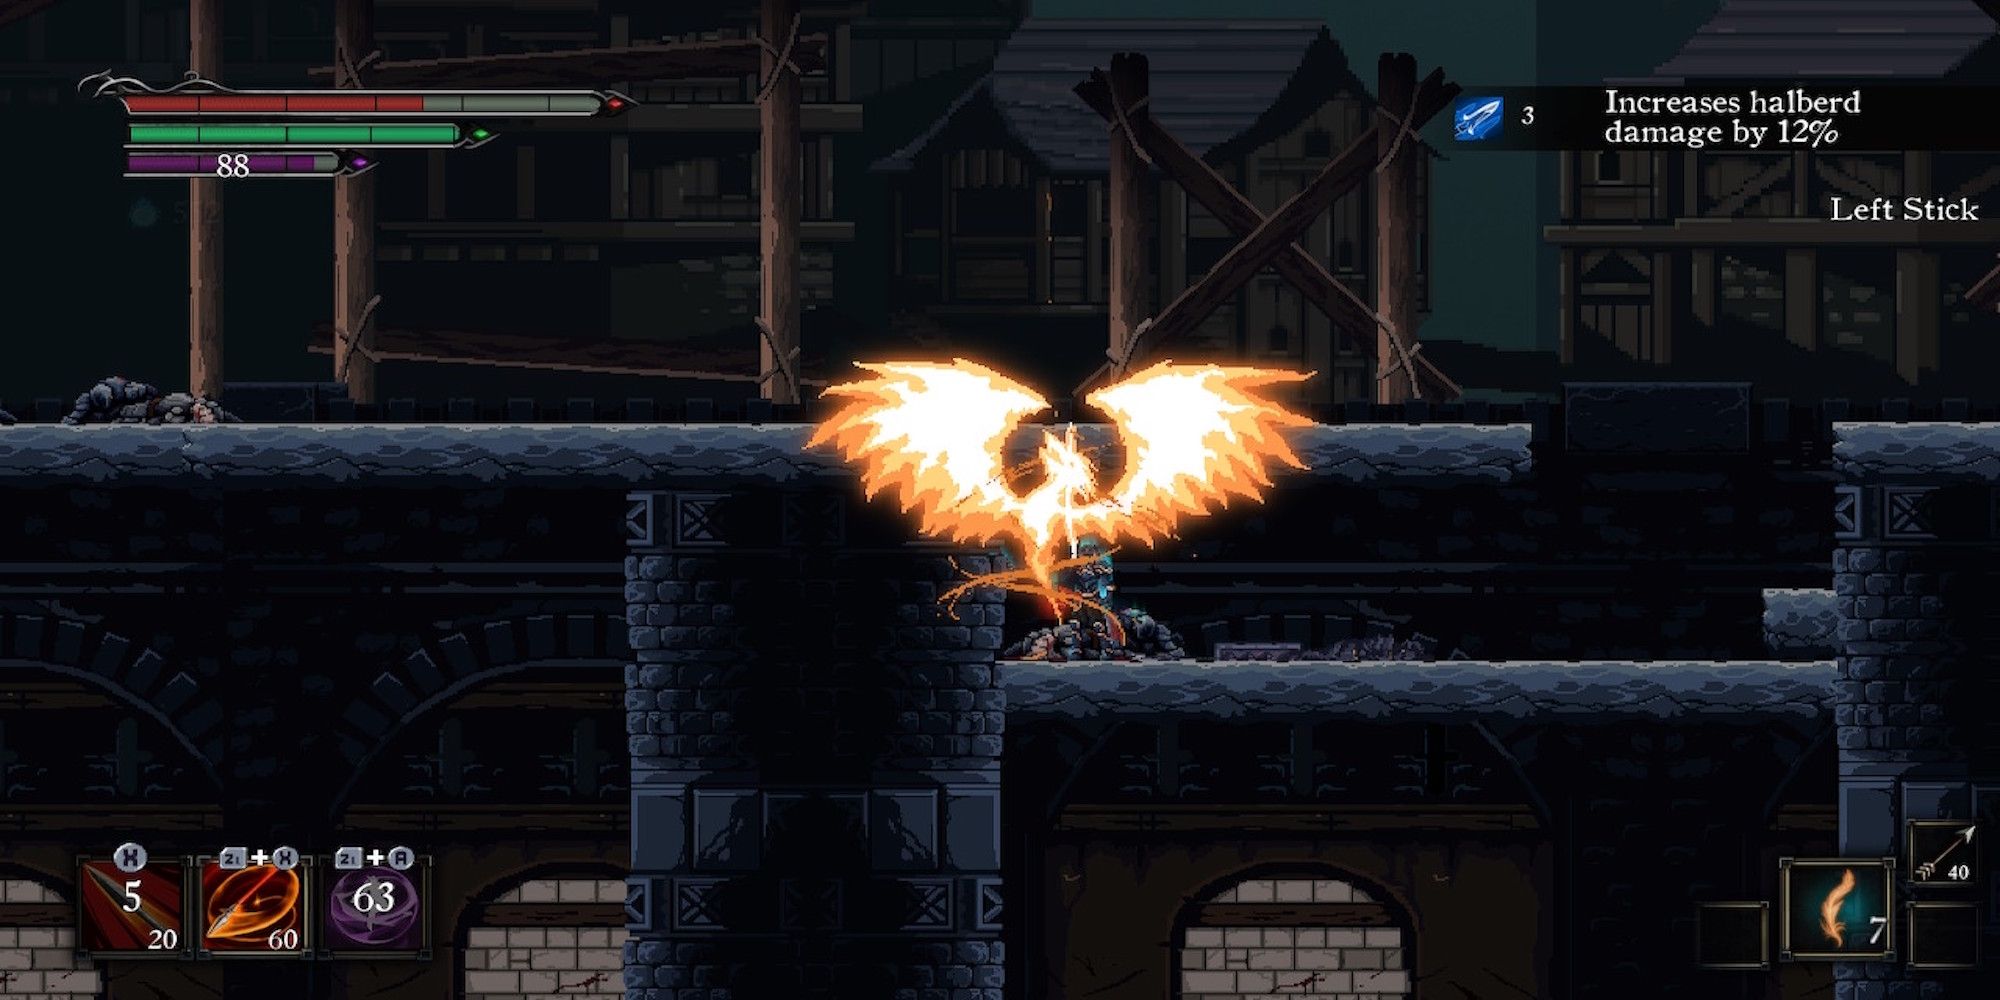
Душа Феникса Героический Босс Стратегия
Достижение: В пепел и пыль
На первом этапе этой битвы, оставайтесь на земле рядом с боссом так что вы можете бежать вперед и избежать прыжковой атаки (вам даже не нужно уклоняться от броска).
Ключ к этой борьбе заключается в обращайте очень пристальное внимание на хитбоксы при дальнем нападении косы, Вы можете избежать этого полностью, даже не уклоняясь, и многие атаки могут быть сведены на нет, просто оставаясь немного слева или справа от босса.
Хотя это кажется нелогичным, лучше держись поближе к боссу и используй атаки мечом, которые позволят тебе подпрыгнуть и ударить большую часть первой половины этого боя.
Во время битвы, слушать звук Феникса за секунду до того, как он подскочит и подожжет область, Когда это произойдет, бегите под платформой и приготовьтесь к тому, чтобы босс начал бросать огненные шары, которые могут быть заблокированы вашим щитом или перепрыгнуты.
Вторая половина боя разыгрывается так же, как и первая, за исключением босс будет иногда разделяться на две части, Во время этого сегмента держитесь подальше от синей версии, которая имеет дальний удар, и продолжайте обычные удары по земле против красной версии.
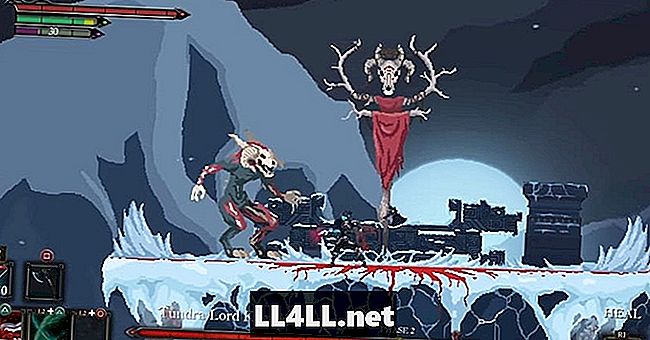
Тундра Лорд Керн Героический Босс Стратегия
Достижение: Повелитель Долины
Быстрые ножевые атаки и быстрая стрельба из стрел может быть огромной помощью в сокращении здоровья врага. Когда платформа начнет наклоняться, бегите на другую сторону и подпрыгивайте, чтобы избежать наземной атаки, затем немедленно бегите обратно к боссу.
Когда он прыгает в воздух, увернуться от наклона вперед, Если вы правильно рассчитали время, вам следует избегать его наземной атаки и быть непосредственно на боссе, чтобы вы могли совершить несколько ударов. Когда он ревет и начинает свою анимацию свинга, уклоняйся от удара или бегите на другую сторону платформы, чтобы избежать его рук.
Во время фазы, когда ледяные стены приземляются, имейте в виду, что они фактически не формируются и наносят урон до доли секунды после анимации падения. Вы можете использовать это в своих интересах, чтобы быстро убраться с дороги.
На следующем этапе обратите внимание на случайно появляющиеся черепа так что вы можете уклоняться от атак на сосульки. Однако не забывайте, что на самом деле вы можете разбить сосульки в воздухе, прежде чем они выстрелят в вас. Если вы остаетесь очень близко к боссу, вы можете подпрыгните и ударьте и сосульку, и Лорда Тундры одновременно.
На последнем этапе боя Повелитель Тундры плывет в воздухе, а сосульки падают прямо с неба. В этом разделе вам нужно мастер прыгает немного влево или чуть правее от каждой сосульки чтобы не получить удар, но и дать себе возможность ударить босса.
На самом деле легче оставаться в довольно узком месте, чем пытаться бегать, чтобы избежать падающих обломков.
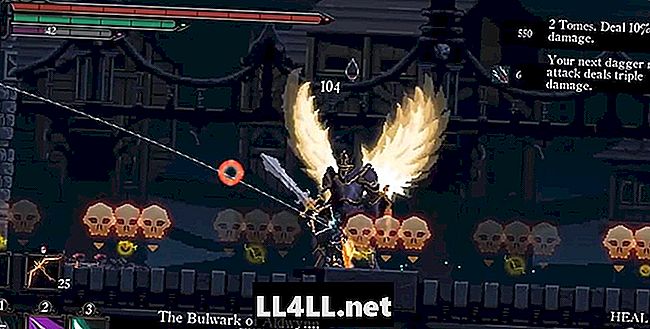
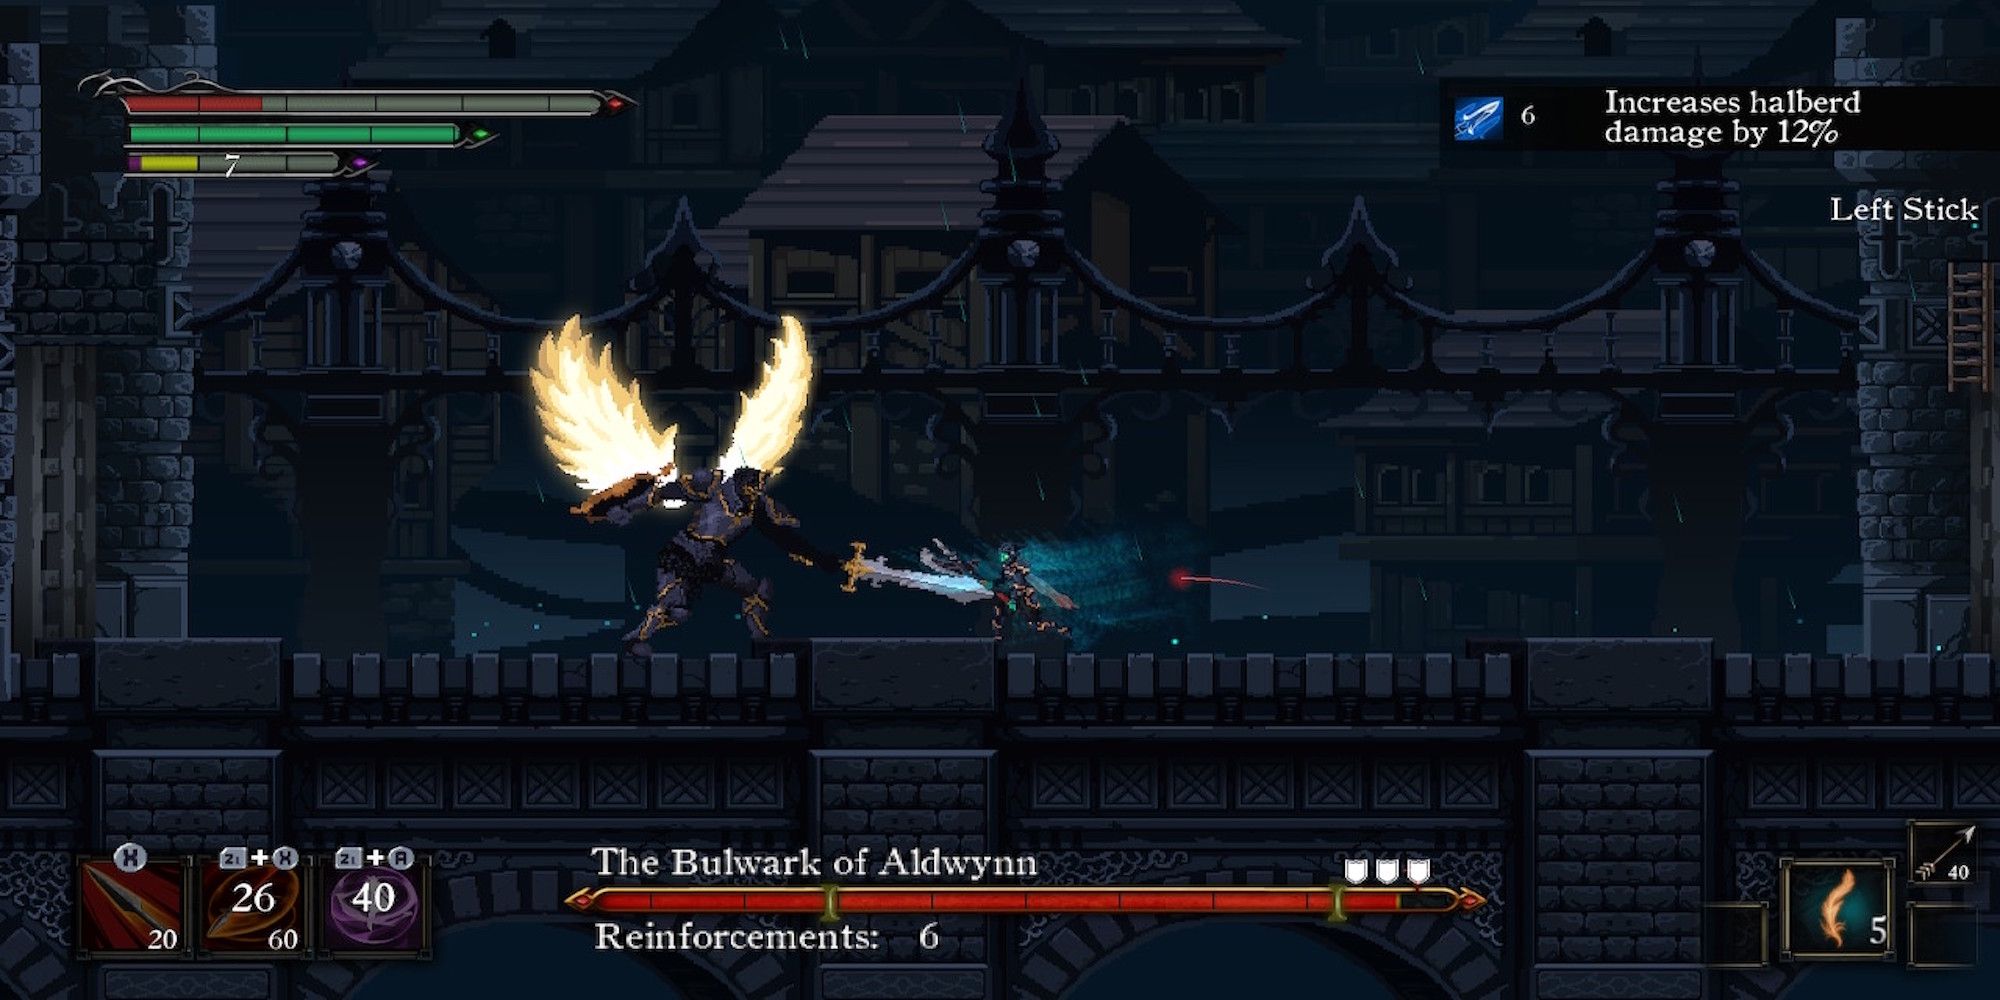
Оплот Олдвинн Героический Босс Стратегия
Достижение: достойный вызов
Ранняя часть этого боя выглядит как обычная версия этого боя. Улучшение способностей лука и урона может быть очень полезным выбрасывая подкрепления Бастиона, прежде чем они приблизятся к вам.
Обязательно вытащите свой щит и идите вперед чтобы уничтожить желтые и черные шары, которые он вызывает, как они взрываются, когда они попали в ваш щит.
Как и с большинством боссов в Гамбит СмертиВы должны запомнить волшебные хитбоксы Бастиона и использовать их в своих интересах. Например Вы можете стоять внутри Бастиона, когда он вызывает больше шаров и избежать урона, пока еще бьешь его своим оружием ближнего боя или луком.
Когда выйдет синий дух, нанесите как можно больше ударов, затем бегите на другую сторону, чтобы избежать атаки, которая поражает большую часть экрана. Это требует практики, чтобы получить право, чтобы вы могли быстро вернуться и возобновить атаку.
Из-за узких границ для движения здесь, оружие, которое не толкает вас вперед, на самом деле лучше, Это делает это одним из немногих случаев, когда коса Послушника Смерти не так полезна.
Стратегия забытого героического босса Гайана
Достижение: Убийца Гайана
Чтобы начать эту битву, сделать несколько ударов в ногу Gaian пока он не снизится до примерно четверти здоровья.
Бегите в крайнее левое положение и выньте первую волну подкреплений, затем остаться под навесом и не заниматься Gaian, Оставайтесь там до тех пор, пока таймер подкрепления не достигнет 0 снова. Если вам нужно, просто вытащите свой щит, чтобы избежать повреждений от волновых атак.
Хотя будет скучно, просто стоять под навесом и ждать следующей волны подкрепления, чтобы прибыть — они не повредят, когда вы выйдете из свеса. Убери их всех, затем повреди ногу, чтобы Ионе спрыгнул вниз и сразился.
Парируйте Ione несколько раз, затем уклоняйтесь, когда необходимо, чтобы убрать волну подкрепления. Всегда ждите, чтобы убрать все подкрепления, прежде чем возвращаться, чтобы снова ударить гиганта., Если вы позволите подкреплениям начать рой в этой области, эта битва станет невозможной, так что это игра в ожидание без быстрой победы.
Если вам не нравится эта стратегия, здесь есть своего рода «обман». Вы можете на самом деле запрыгнуть на лезвие, подождите, пока он поднимет его, затем подпрыгните к руке и убейте Иона в воздухе! Уничтожив ее, просто спрыгните вниз и ударьте по ноге, чтобы закончить битву.
Темный рыцарь Героический Босс Стратегия
Достижение: Темнота падает
Это гонка ДПС; увеличить свой урон до полного, У Темного Рыцаря есть крупная ахиллесова пята, которая не сразу бросается в глаза и будет огромной помощью. Его атаки не бьют прямо перед ним.
Держись близко — как тупо близко — и сойти быстрыми ударами ножа, Когда он прыгает, увернуться от броска, чтобы избежать его дальнего удара а затем оставаться в тесноте, чтобы постоянно атаковать.
Ваша цель состоит в том, чтобы убить его, пока таймер не достигнет 0, Однако, если вы позволите таймеру сработать, и темнота настигнет экран, вы можете использовать способность Light Of The Phoenix, чтобы получить небольшую область видимости.
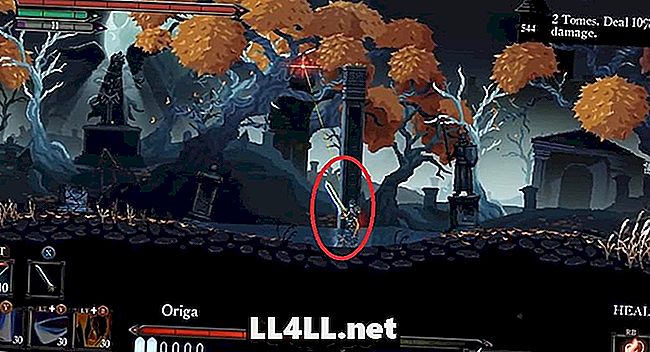
Origa Sniper Heroic Boss Стратегия
Достижение: Дружеская Дуэль
Могу поспорить, вы не ожидали, что будете сражаться со снайпером робота в игре, сфокусированной на фантазии? Но ты все равно …
Есть два разных способа сделать эту битву намного проще, которые не сразу очевидны. Во-первых, вы можете блокируйте ее выстрелы из винтовки на первом этапе, вытаскивая свой щит, затем бросьте свой щит и атакуйте, пока она восстанавливается.
Во-вторых, когда Орига прыгает на задний план и появляется красная точка, стоять прямо перед любой из высоких тощих колонн или статуй, Ее выстрел разрушит столб и полностью скучает по тебе! Вам не нужно тратить выносливость, пытаясь увернуться от снайперских выстрелов.
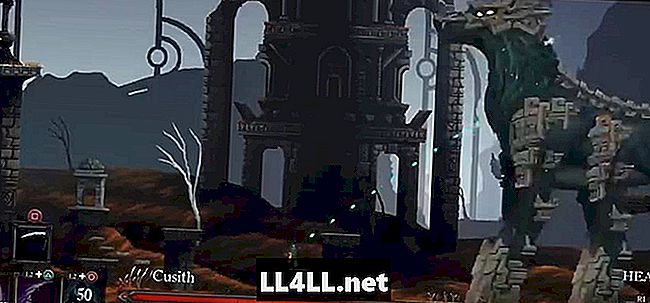
Кузит Героический Босс Стратегия
Достижение: кто настоящий монстр?
В традиционном рукопашном бою это глупо тяжело, так что проще воспользоваться некоторыми из сломанных игровых механизмов, чтобы выиграть здесь.
Первая стратегия заключается в выбрать Неограниченный энергетический талант, полностью увеличьте ваш урон с 10 перьями до 200% и используйте оружие Energy Lance, Прыгайте на платформу и стреляйте безбожным количеством раундов прямо в Кузита, пока он не умрет менее чем за 60 секунд.
Если вы едете в ближнем бою, вам нужен безумный уровень урона, чтобы добраться куда угодно, Запрыгните на платформу, пока Кузит не выплюнул электричество, которое покрывает землю, затем вытяните щит, чтобы избежать шаров ада пули.
Спрыгните вниз и получите как можно больше урона, прежде чем полоскать и повторять — и удачи!
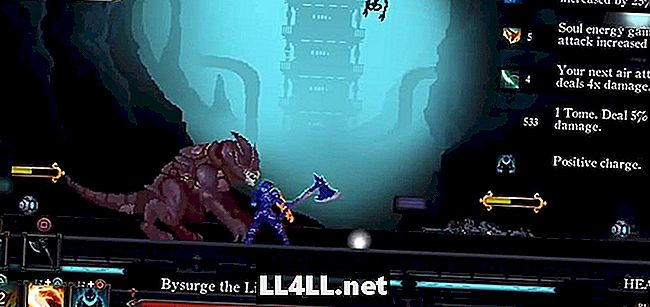
Bysurge Heroic Boss Стратегия
Достижение: Реликвия Прошлого
Это один случай, когда вы, вероятно, хотите храни свои перья для исцеления вместо увеличения ущерба; Здоровье Бисурга настолько велико, что даже не помогает.
Это не сразу бросается в глаза, но его обычные ударные удары не нужно уклоняться каждый раз. Во многих случаях Вы можете перепрыгнуть или пробежать его обычные атаки ударом, не теряя выносливость, Вы хотите сохранить свою выносливость для его массивной атаки, которая приходит после того, как он кричит: «Мне нужно больше энергии!»
Самое важное, что нужно иметь в виду, это избегать скелета / захвата робота, поскольку они собираются привести к немедленной смерти. Если ваш выбор — получить урон от Bysurge или получить его, возьмите урон вместо этого.
Это может быть исправлено, но в дальнем левом углу есть небольшая углубленная зона где вы можете быть сбиты Бок, блокируя атаку своим щитом, Бисург не может ударить вас, пока вы стоите там с его обычными атаками. Скелеты тоже не могут тебя там схватить! Ударь его в дальний бой и исцеляй при необходимости, когда он использует свою электрическую атаку.
Эльдричский инквизитор Героический Босс Стратегия
Достижение: Судья, Жюри, Палач
Приготовьтесь испытать ярость, потому что это абсурдная пуля.
Неважно, что, вы можете рассчитывать на эту героическую битву пару десятков раз, просто чтобы выучить только схемы. Расположитесь немного в стороне от призрака энергии это приземляется рядом с вами, так что вы можете избежать этого, когда он разделится на две части. В то же время, ударить босса стрелами с земли.
Когда вы вызываете подозрительного монстра Ктулху, изучение его шаткого хитбокса имеет решающее значение, так что вы можете быстро нанести ему урон, не отходя далеко. Когда он вызывает свой волшебный щит, Вы часто можете стоять прямо внутри него, не получая повреждений если вы переместитесь в сторону.
Красные тайные пули, заполняющие экран, сделают эту битву невероятно жесткой, но здесь есть какой-то недостаток, которым можно воспользоваться. Кажется, они только повредят вас, если ударит по вашей нижней части тела, Вы можете полностью избежать повреждений, ходя в размеренном темпе и позволяя им пройти через вашу голову! Ожидайте, что это будет исправлено в некоторый момент, как бы то ни было.
Галактический Маг Амулваро Героический Босс Стратегия
Достижение: когда звезды соединились
К сожалению, достижение в этой героической битве, похоже, ошибочно, поскольку никто в Steam на самом деле его не разблокировал, несмотря на то, что он победил этого босса в героическом режиме.
Во время этого боя обязательно держаться подальше от путей, где звезды пересекаютсяпотому что ваш урон удваивается в этих областях.
Вы, вероятно, хотите использование Рой как ваше оружие для быстрого вывода урона, и Ваше внимание всегда должно быть сосредоточено на скорейшем удалении зеленых шаров.
На более поздних этапах будет слишком много сфер, которые вы сможете вынести сами, поэтому проводите их через летающие кометы, которые призваны уничтожить их (или существ, которые из них выпадают).
Бесконечная героическая стратегия босса
Достижение: Вечные Мучения
Для этого боя вы можете захотеть достичь баланса между усилением урона и сохранением некоторых перьев для исцеленияпотому что это сумасшедшая битва.
Вы можете блокировать ее дальние атаки зеленого оружия — в том числе те, где она прыгает в воздухе и разворачивается — с вашим щитом вместо того, чтобы тратить выносливость, чтобы увернуться от них.
Зеленые стрелки, которые поднимаются выше, будут просто скучать по вам, поэтому не пытайтесь прыгнуть или увернуться от них и сохраните их на случай, если они опустятся ниже, при вашем обычном росте.
Во время сегмента огненных шаров оставайтесь рядом с Бесконечным и блокируйте своим щитом, затем идите вперед и избегайте броска.
Несколько типов оружия могут работать здесь, но если у вас есть проблемы, попробуйте переключиться на высокий интеллект с неограниченной энергией а потом спам-атаки.
Есть какие-либо другие советы и стратегии для этих Гамбит Смерти героические боссы повторно матчи?
Дайте нам знать, как вы выиграли каждый бой в комментариях ниже! Вы также можете проверить наши другие Гамбит Смерти руководства здесь:
- Полное руководство класса
- Как убить призраков
Death’s Gambit, White Rabbit’s side-scrolling adventure RPG, is jam-packed with things to do and see. Much of it can be confusing, especially in the beginning. There’s plenty of things I wish I knew before I started my trip into Sirodan that I learned the hard way. Let this guide save you from the same fate.
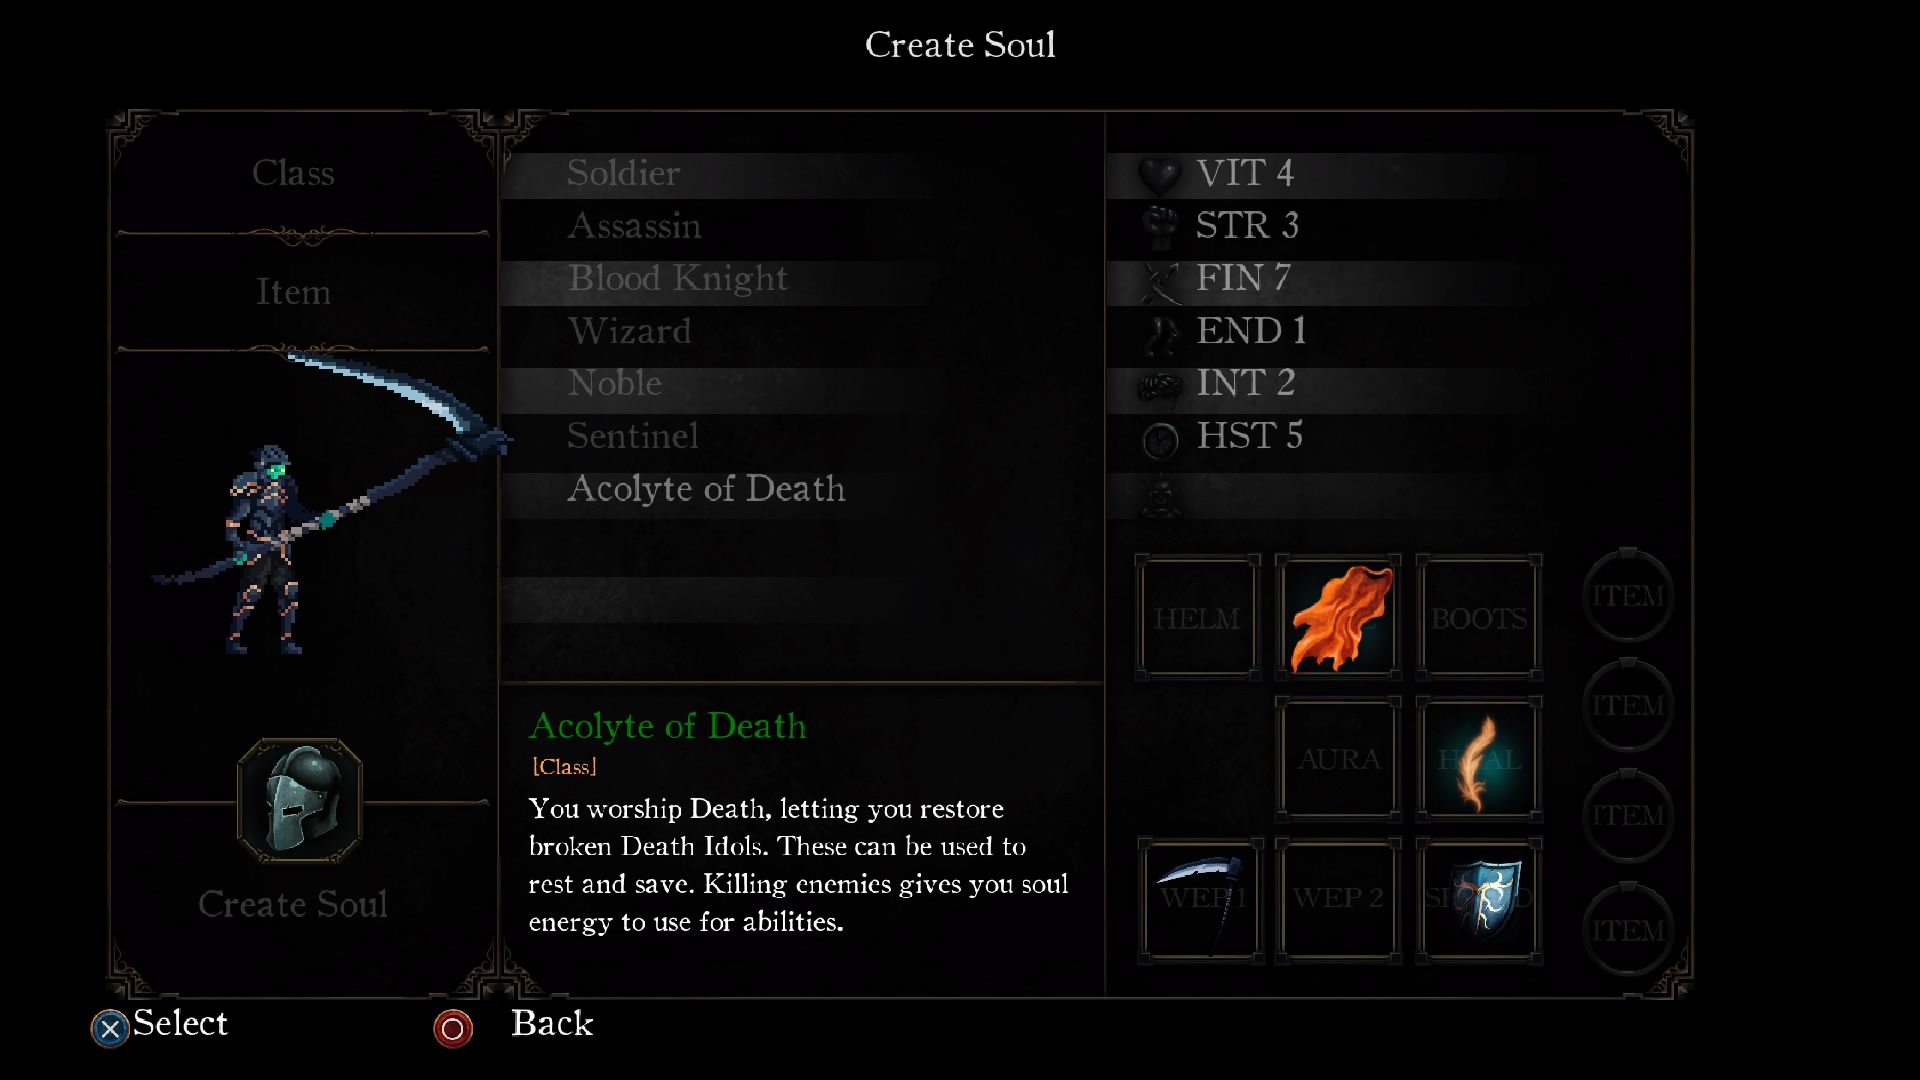
Choose Your Class Wisely
Each of the seven classes have unique strengths and weaknesses that will be the crux of how you play through the game. The Solider, Assassin, and Wizard are your basic archetypes, but the rest are almost alternate visions for the role. Besides having different starting gear and weapons, they also tend to have unique abilities. The Sentinel can equip gear at half of the stat requirement, where the Acolyte of Death can rebuild broken save statues.
Play Around Your Class’s Unique Talent
Every class has a unique way in which they grant you bonus soul energy. Soul energy is used to cast abilities, so it important that you have an abundance of it. For the Blood Knight, that means getting hit by attacks. For the Noble, that means using items. Each is different, and it’s important to know which one is yours, so that you know how to play when in a pinch.
You Can Equip Any Weapon, But You Should Still Focus
Weapons are not class-based in Death’s Gambit. That said, many weapons require a minimum stat amount before you can equip them. Weapons also scale in effectiveness with either strength or finesse. You don’t need to commit to only one type of weapon, but you should probably commit to either strength or finesse as your primary damage stat, which will then give you a group of weapons to hover around.
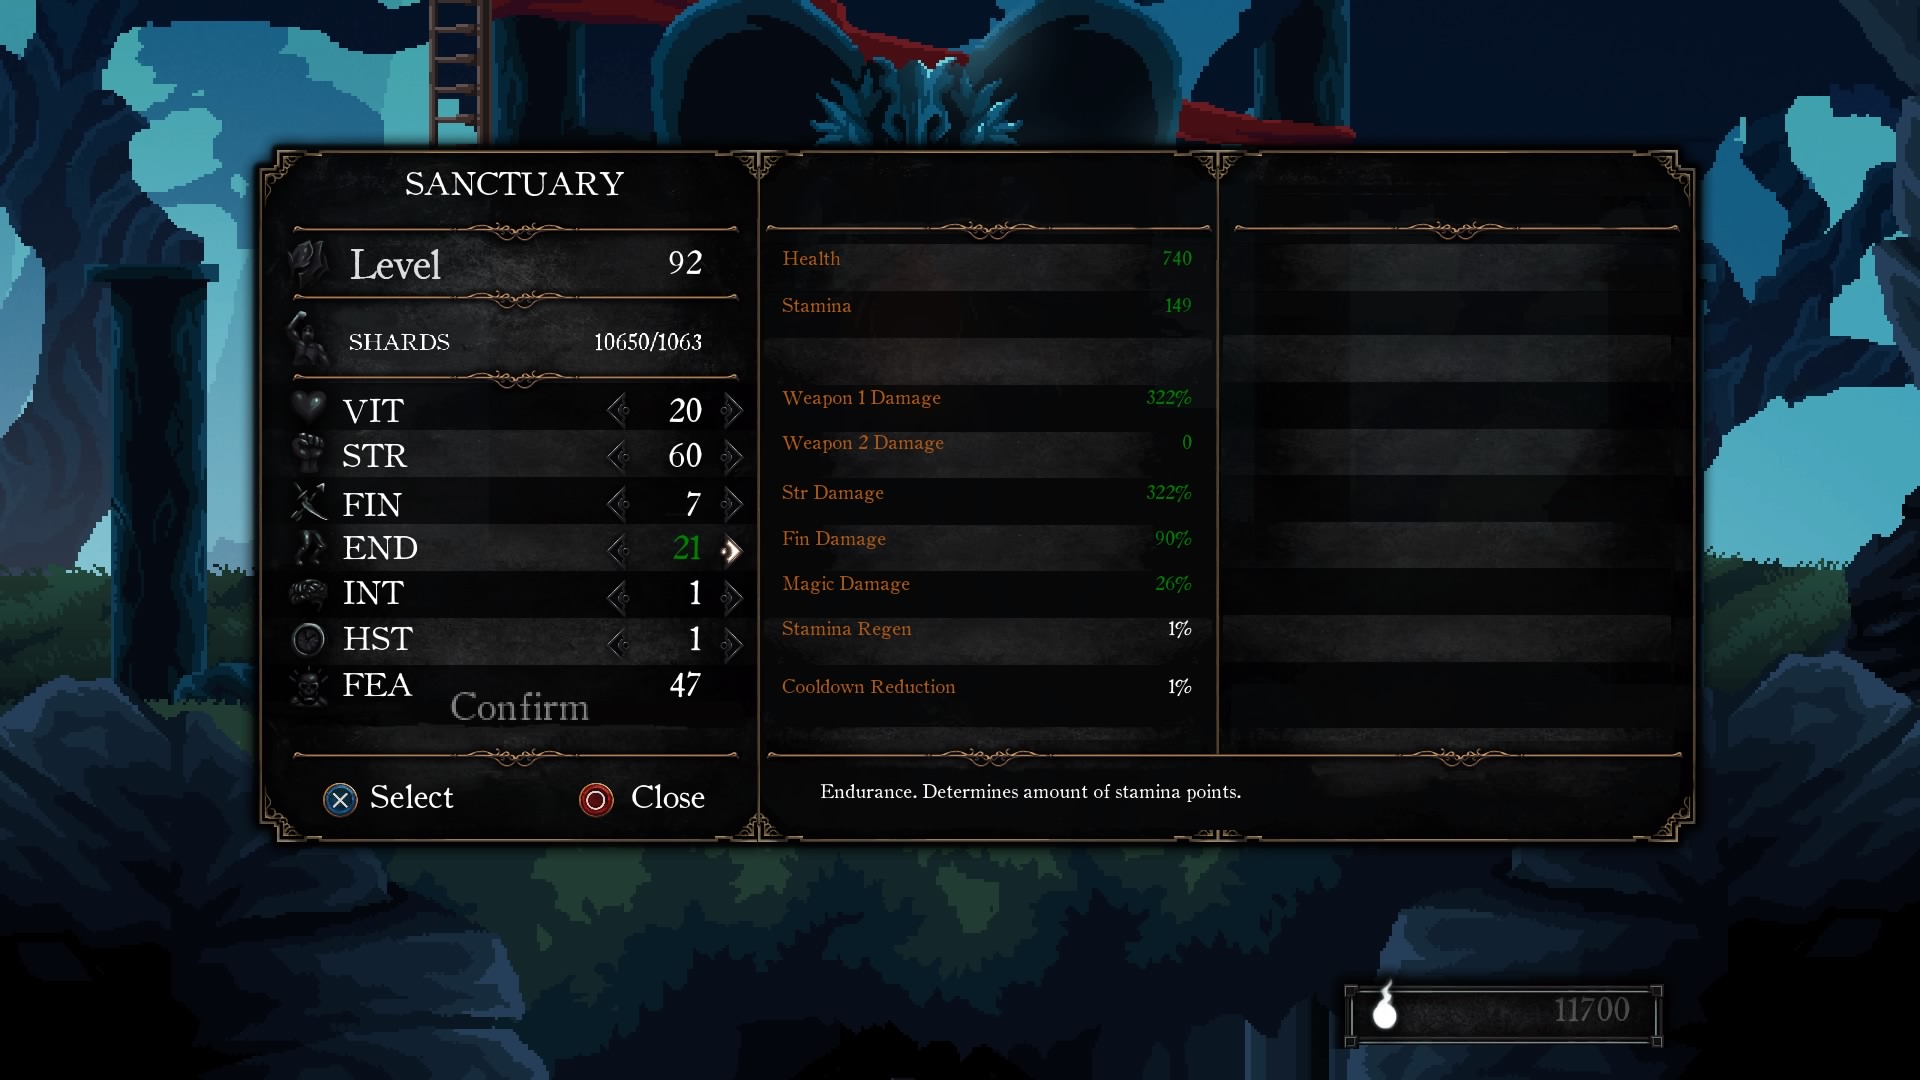
Don’t forget about Stamina
As it’s very tempting to just dump shards into increasing your damage stat as quickly as possible, it’s important to invest in your stamina as well. With most actions costing so much of it, you’ll need a solid pool of it to stay in the game. Also, think about throwing some points in Haste, which will increase you stamina regen, among other things.
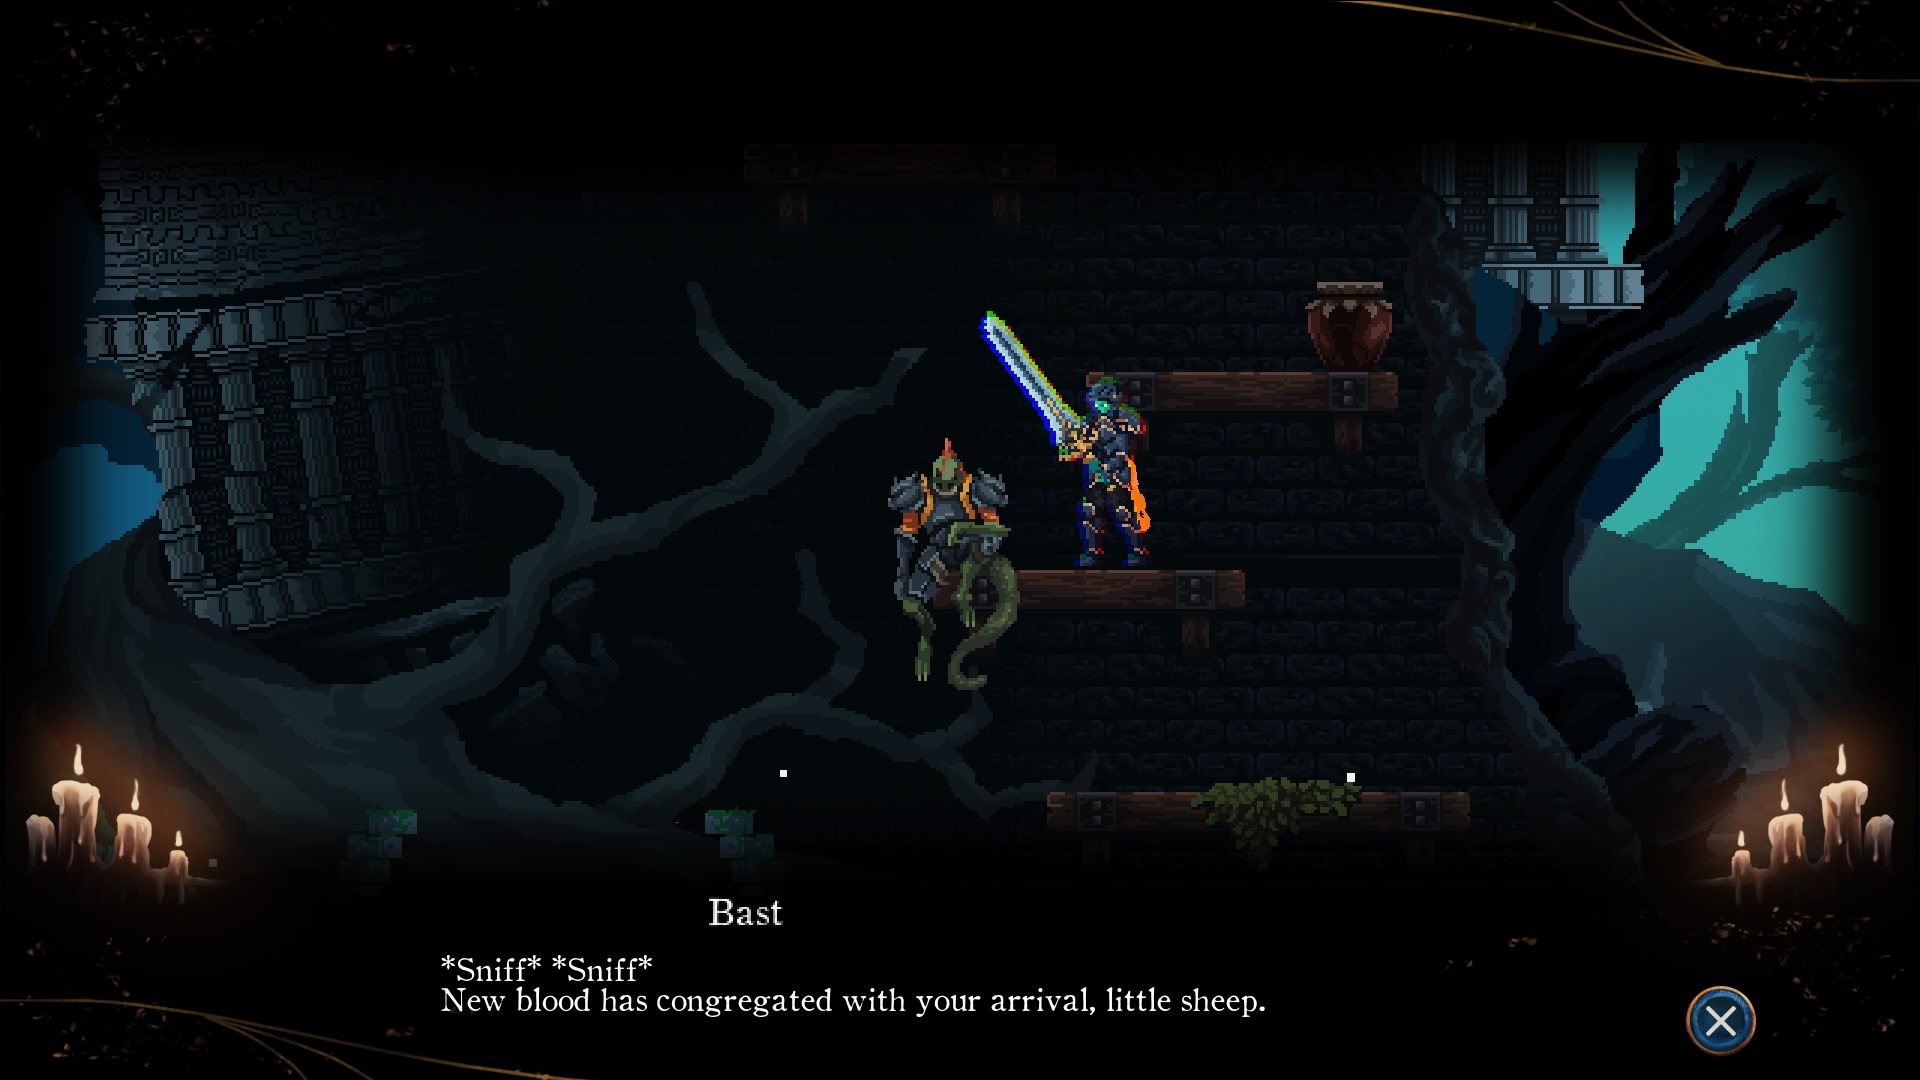
Talk to everyone
You will meet a big handful of NPCs who will have plenty to say to you. When they want to chat you up, it’s important to do so. The ones at Sanctuary will have have some items to sell, or some skills to teach you. Both are worth the investment of shards.
Be Careful Where You Swing Your Weapon
NPCs can be hurt by your weapons, so don’t go swinging wildly in places they may be. You don’t want to accidentally provoke or kill them.
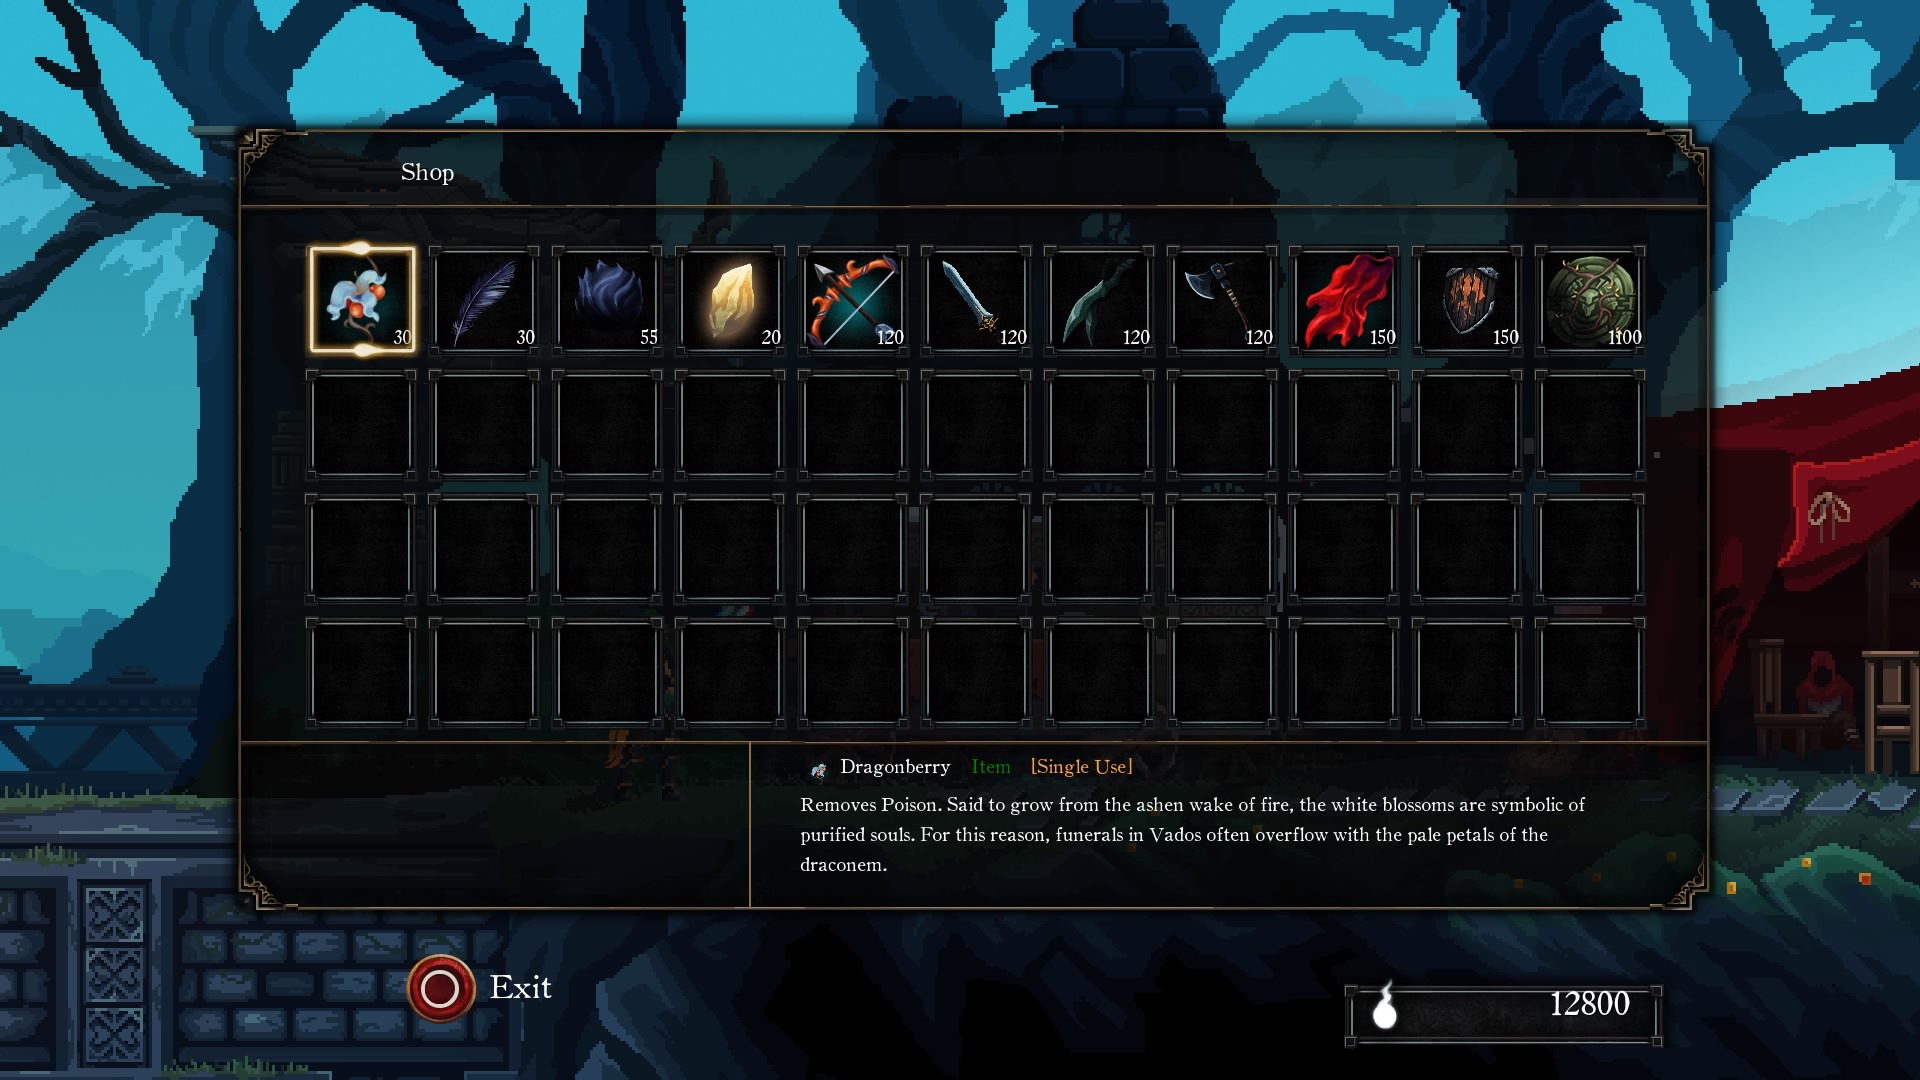
Check Shop Wares Often
Not everyone who can sell you something has an item list that can grow or change. Some do though, so it’s important to check in with them fairly often. Some even sell important key items that will help you progress to certain locked off portions of the game.
Respect Your Enemies
Every enemy in Death’s Gambit will kill you if you give it the opportunity. From the lowliest grunt to the most menacing abomination, they all only have one goal: rip your face off. Treat every one of them like they could wreck you.
Ghosts Are Bad, But Easy To Deal With
You’ll notice there is a particular monster that just doesn’t seem to take damage, no matter what kind of weapon you use. Magic just doesn’t seem to cut it, either. Don’t fret, because there’s a very easy solution to making them vulnerable: Sunstones. They are throwable items that cast a little light where ever you drop them, good for illuminating dark spaces. But if you toss one at a ghost, the ghost will solidify and can be killed by conventional means. Sunstones drop off of random enemies, but can also by bought from Jaco’s cart at the Sanctuary for cheap.
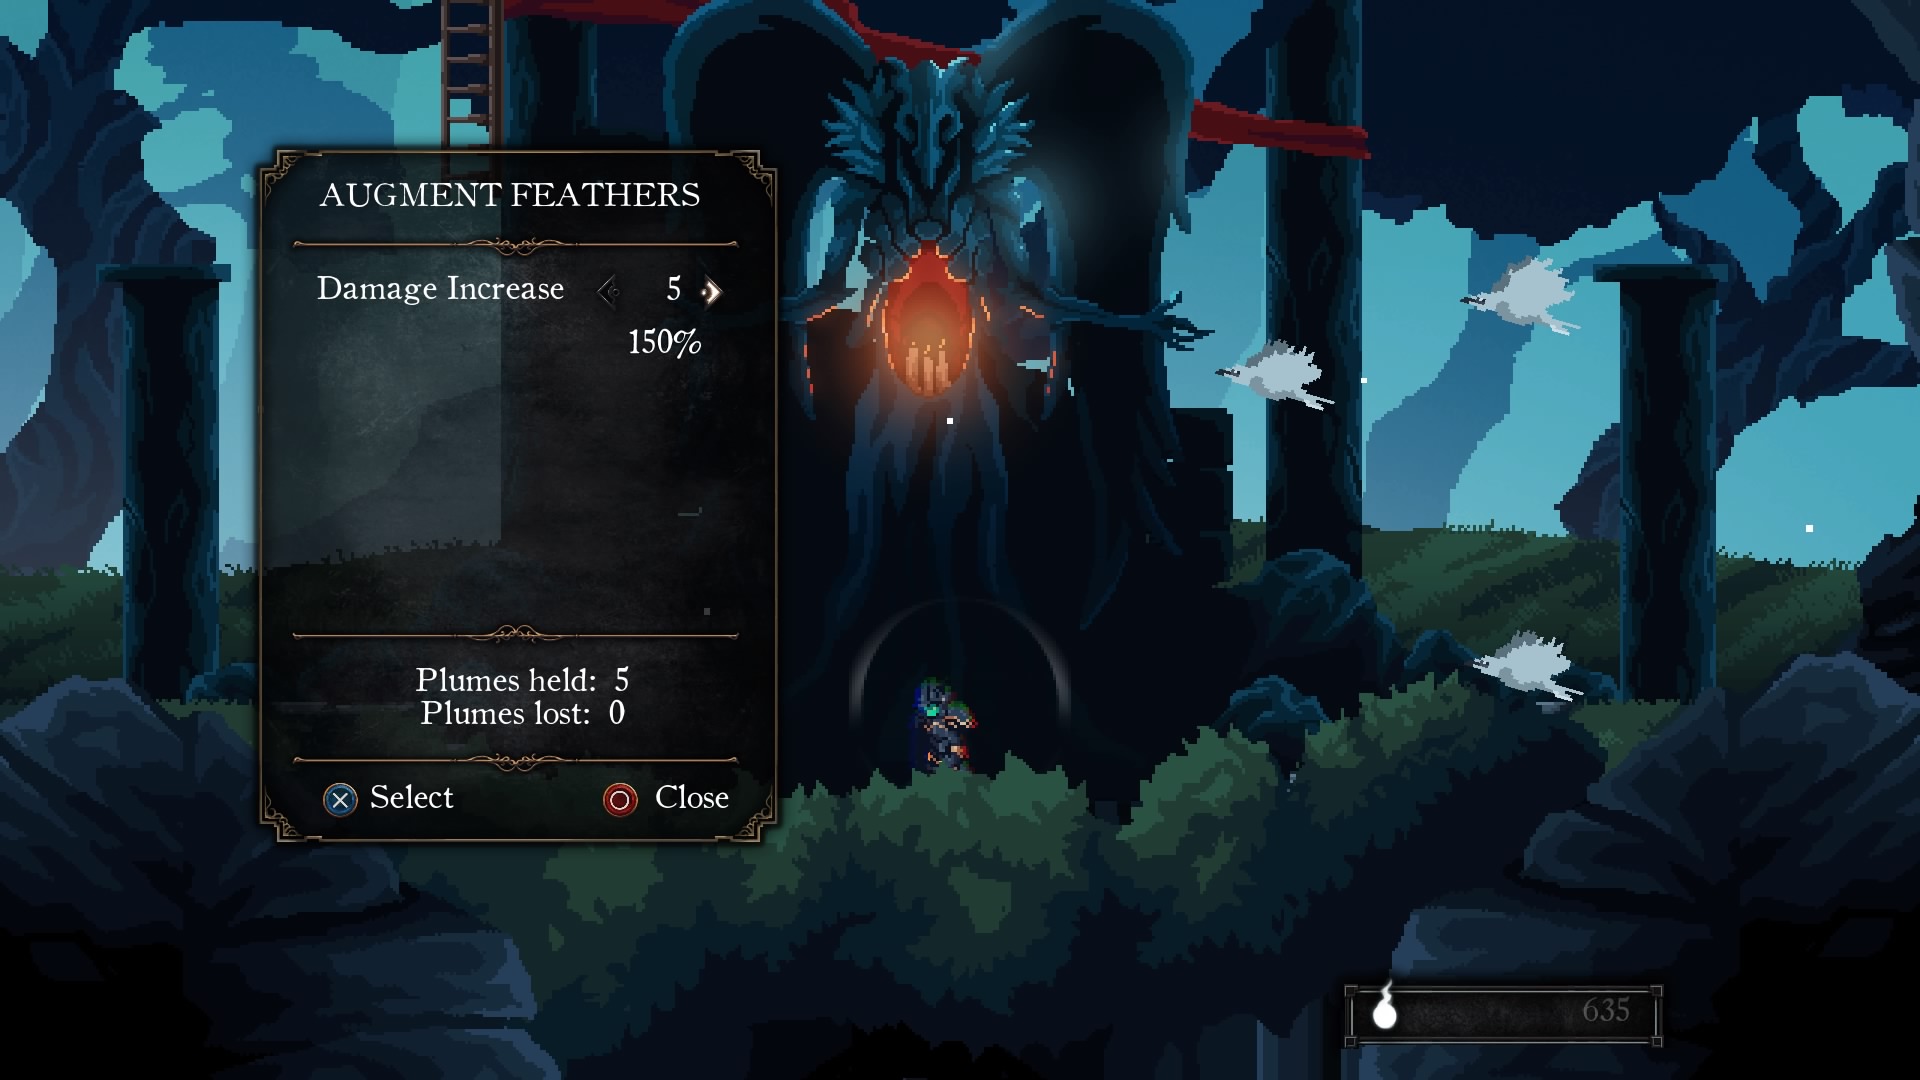
Take Full Advantage Of Your Feathers
Feathers do more than just heal. Some feathers add strength or reduce damage taken by a certain amount. Some feathers heal more or faster. It’s important to figure out how new feathers can factor into your rotation to provide some game-changing adjustment.
You can also sacrifice some feathers at Death Idols to give yourself a permanent strength buff so long as they stay sacrificed. This should be taken advantage of to get the most out of your damage output against bosses or tough monsters.
Use Your Ttems
You will come across a lot of useable items in Death’s Gambit, and you’ll be stiffing yourself if you don’t work them into your game plan. Crystal Bombs are a great source of damage against groups of monsters. Abyssal Eyes help you scout the area ahead for threats and secrets. Take advantage of these tools.
Keep Your Eyes Peeled For Secrets
There are secrets EVERYWHERE in Death’s Gambit. Dead ends often give way to mystery hallways. Fancy chests are tucked in corners and require crafty platforming to get to. Always check roads less taken for opportunities to find secrets.
Of course, there’s plenty more to know about Death’s Gambit, all available at the Official Death’s Gambit Wiki! Be sure to drop in for that knowledge, or even drop some of your own!
6 Things We Wish We Knew Before Starting Death’s Gambit: Afterlife
Death’s Gambit: Afterlife is a tough action RPG, and these tips are vital for survival.
Death’s Gambit debuted in 2018, and now Afterlife is making its way to the Nintendo Switch and PC. This version is not a remaster but is instead more like an expansion with the original game coming with it. Death’s Gambit: Afterlife is also the first time the game will be seen on the Switch, which is a big hook for this re-release. The story focuses on Sorun who was slain along with his men in a violent battle.
Death has other ideas for Sorun so he revives him in order to do his bidding. Sorun isn’t exactly cool with that and doesn’t trust Death completely. Who would? Death is certainly a trickster in most forms of media. That’s the basic premise other than to call it a 2D Dark Souls-type game with hard-as-nails difficulty. Now let’s get into a few more facts about this re-release alongside some helpful tips for beginning the adventure.
6 Understanding Classes
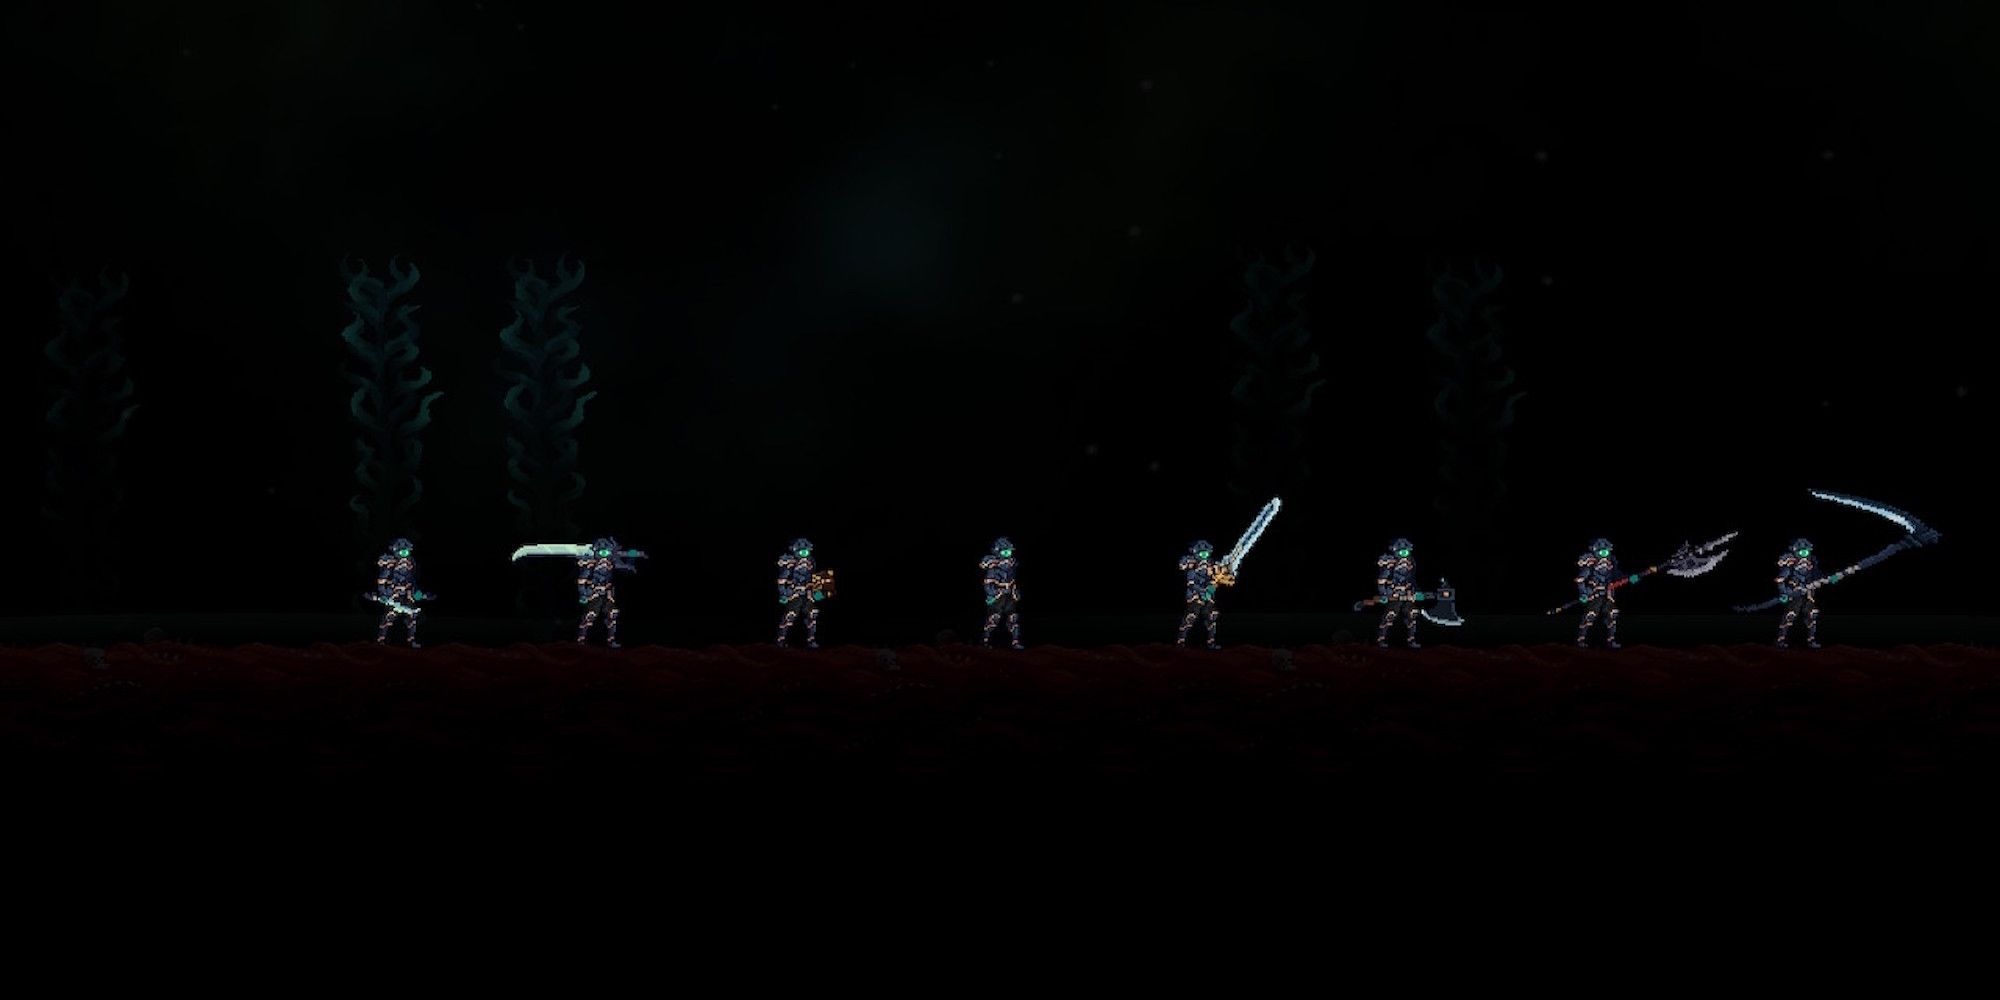
The game opens up with players being able to choose a class. A class is defined by its weapon, and they all have benefits. There are daggers, swords, a magical tome, lances, and so on. A good beginner weapon to choose would be the lance. These weapons give players a good reach plus they are strong. The downside is that they can be slow.
Tomes offer up a good range but are less powerful. Players should know that all of these weapons can be equipped by any class. Again, classes are just builds to make the best use out of weapons with the beginning stats much like the action-packedDark Souls games. If players choose the daggers and hate them, they can easily switch to a sword, or whatever.
5 Understanding Metroidvania Principles
Death’s Gambit: Afterlife has a lot in common with the Souls series but it is also heavily inspired by Metroidvanias. Players will pick up abilities that can help them reach new areas. One of the first abilities they can get is the air dash. Plus there are various keys and other items that can unlock new paths.
The best part about this open Metroidvania gameplay is that it offers people a variety of paths to tackle in any order. If one area is too difficult then there are others to explore instead. Don’t get discouraged. It’s also a good idea to make notes whenever an item looks out of reach. This will make backtracking easier rather than relying on the old human memory banks.
4 Essence Tips
Instead of gathering souls, players gain essence from enemies. The name doesn’t matter because this currency is used to level up Sorun. They are also the currency for buying abilities or items from vendors. The first tip in regard to spending essence is to not buy anything disposable. It’ll be a waste of essence. It’s also advised not to buy equipment because monsters drop a lot.
The best gear can often be found through drops or with hidden chests. Players should instead focus on leveling up whatever stats they think will complement their class builds best. Vitality, Strength, and Stamina are of course vital to any build though. That’s universal across most Souls-like games. If an ability looks really good, that’s the only other thing worthy of spending precious essence on.
3 Farming For Items
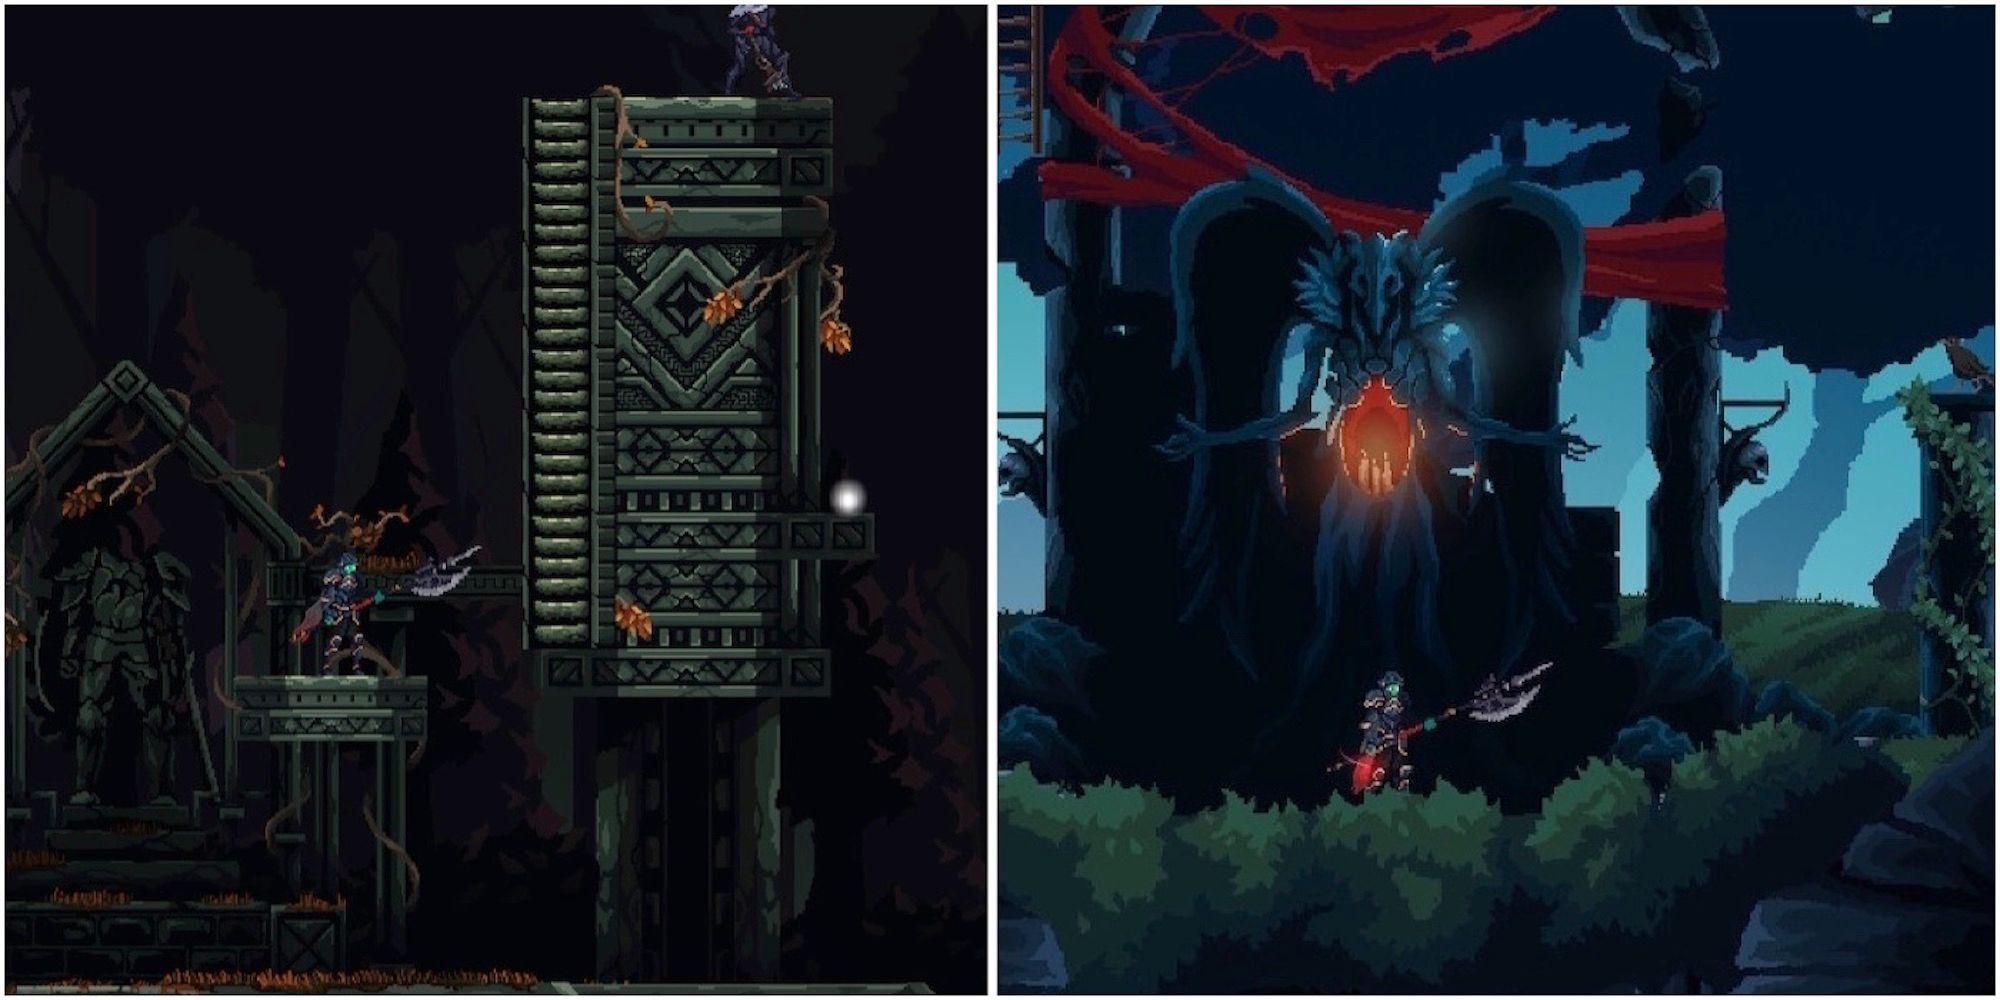
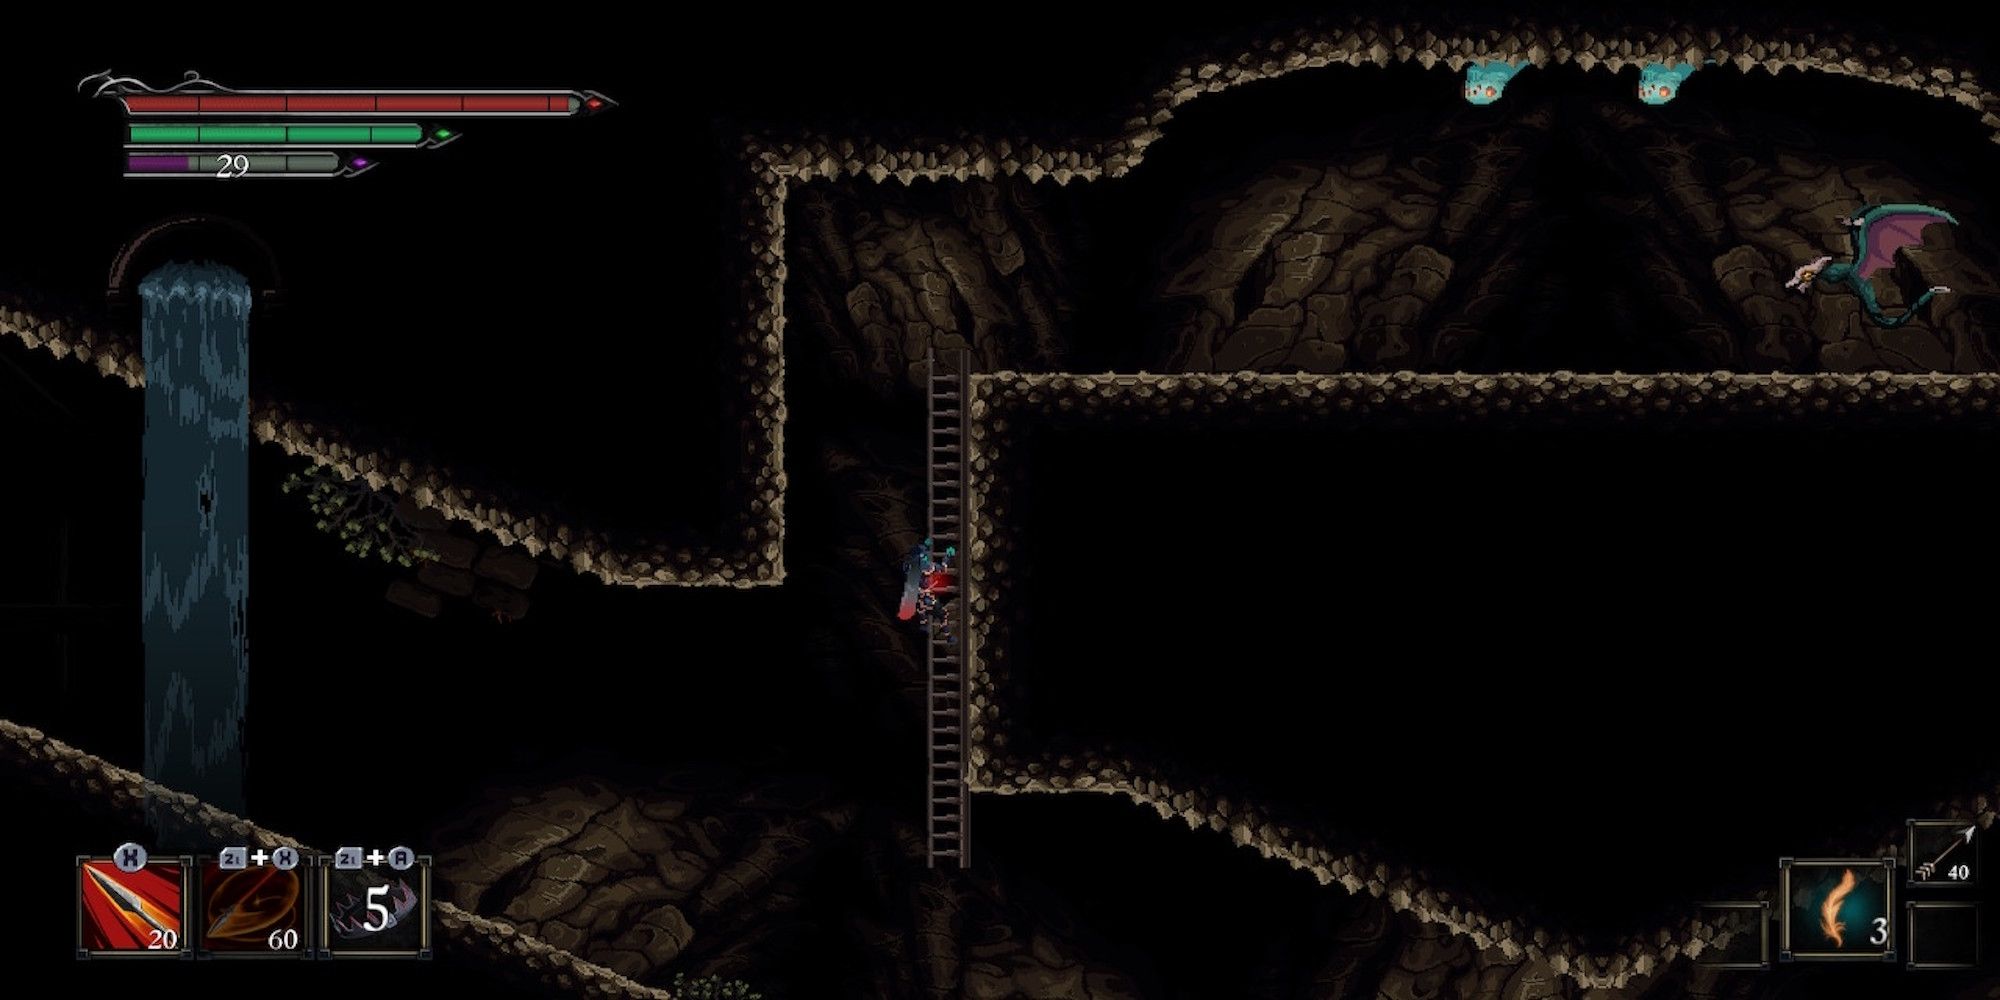
The first area is a very good place to farm for items and essence. It’s not too difficult either. The drop rate seems to be very high. Plus there is a dragon hanging around. If players hide underneath structures they will be safe from the fire but the enemies won’t. They are pretty much lined up for the kill.
The nice thing about this is that essence will still be collected even with the dragon’s kills. It’s like a bit of unsolicited teamwork. Just go in a loop from that upper save point all the way around. Do that a dozen times or more and players should get a good head start on becoming Death’s finest soldier.
2 Boosting Gear
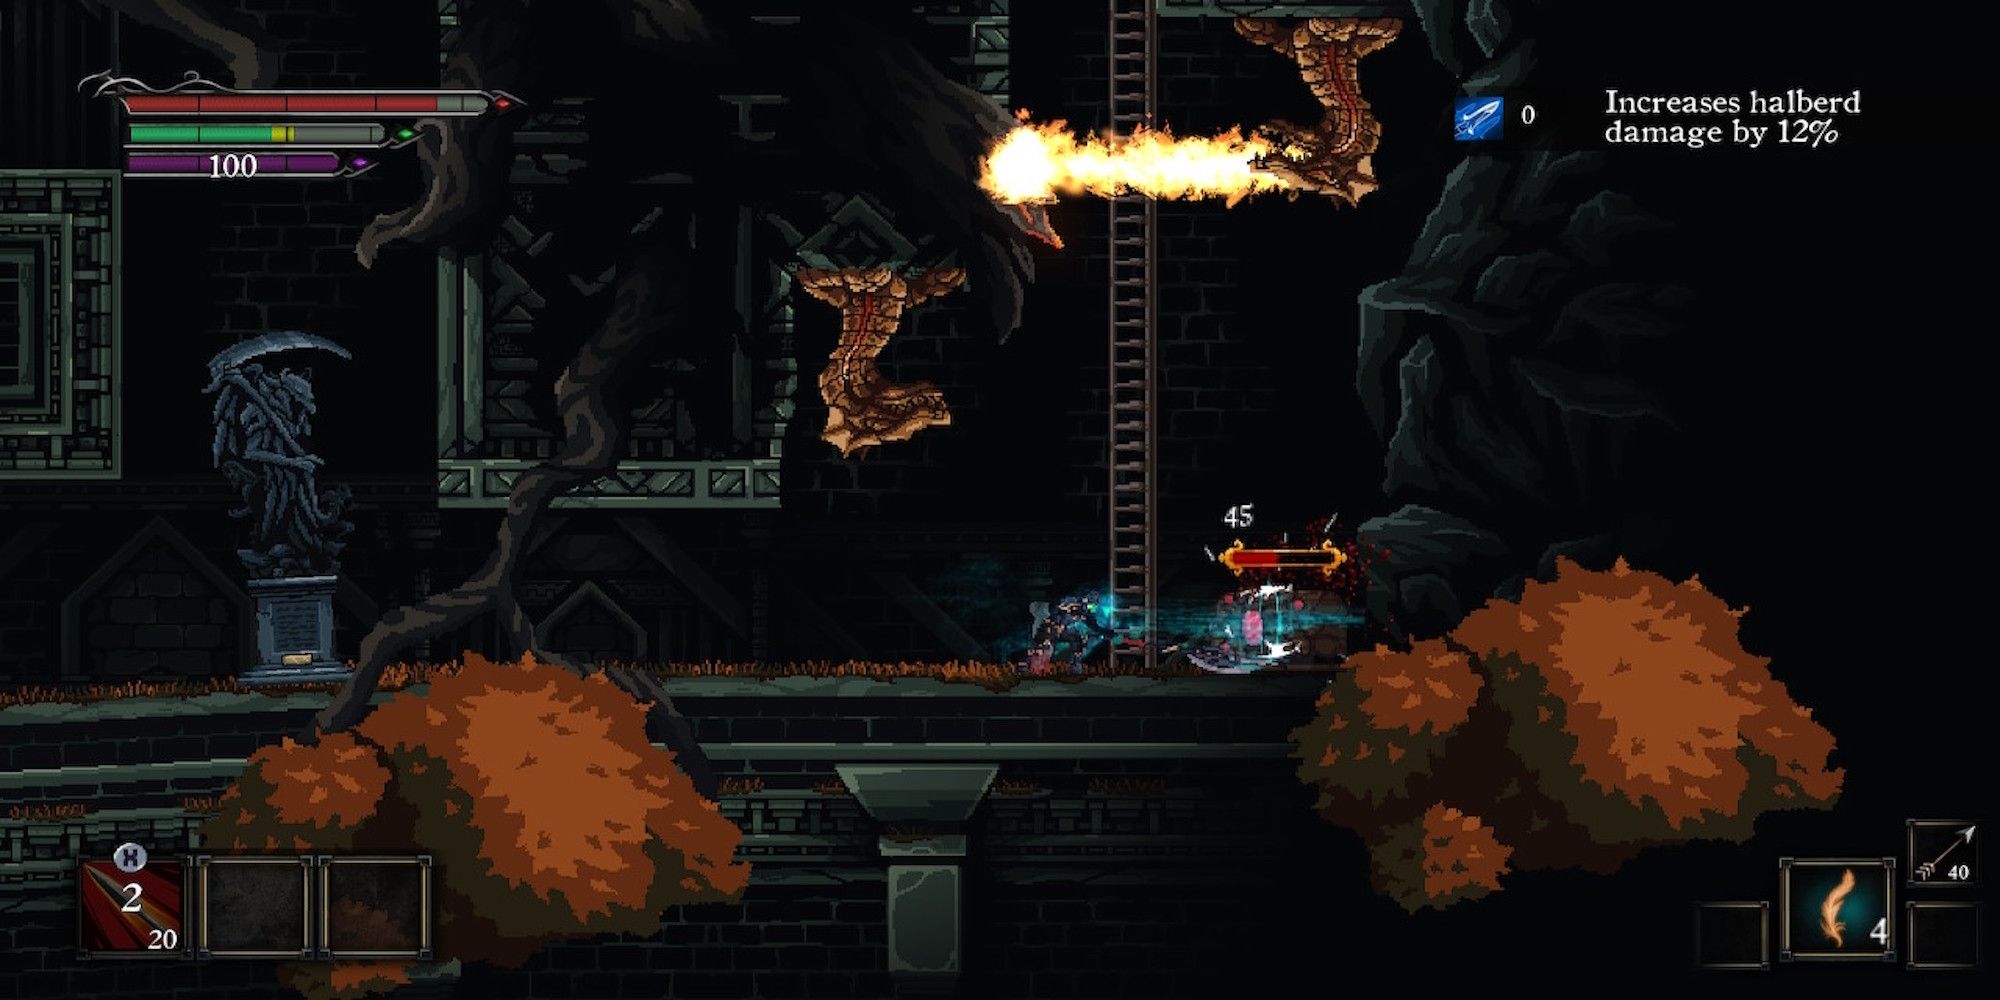
Doing this loop early on in the game should ensure players get stocked up on various pieces of gear. It may seem silly to stock up on forty pairs of the same boot, as an example, but they are all valuable in their own way. Eventually, players will meet and free the NPC Zuma shortly after they arrive in the hub town.
Zuma can break down items and turn them into crafting stones that are used to upgrade weapons and armor. Boosting gear only costs materials and not essence points thankfully. Upgrade shops in typical RPGs usually cost materials and money so this is a positive change for Death’s Gambit: Afterlife.
1 What You Loose In Death
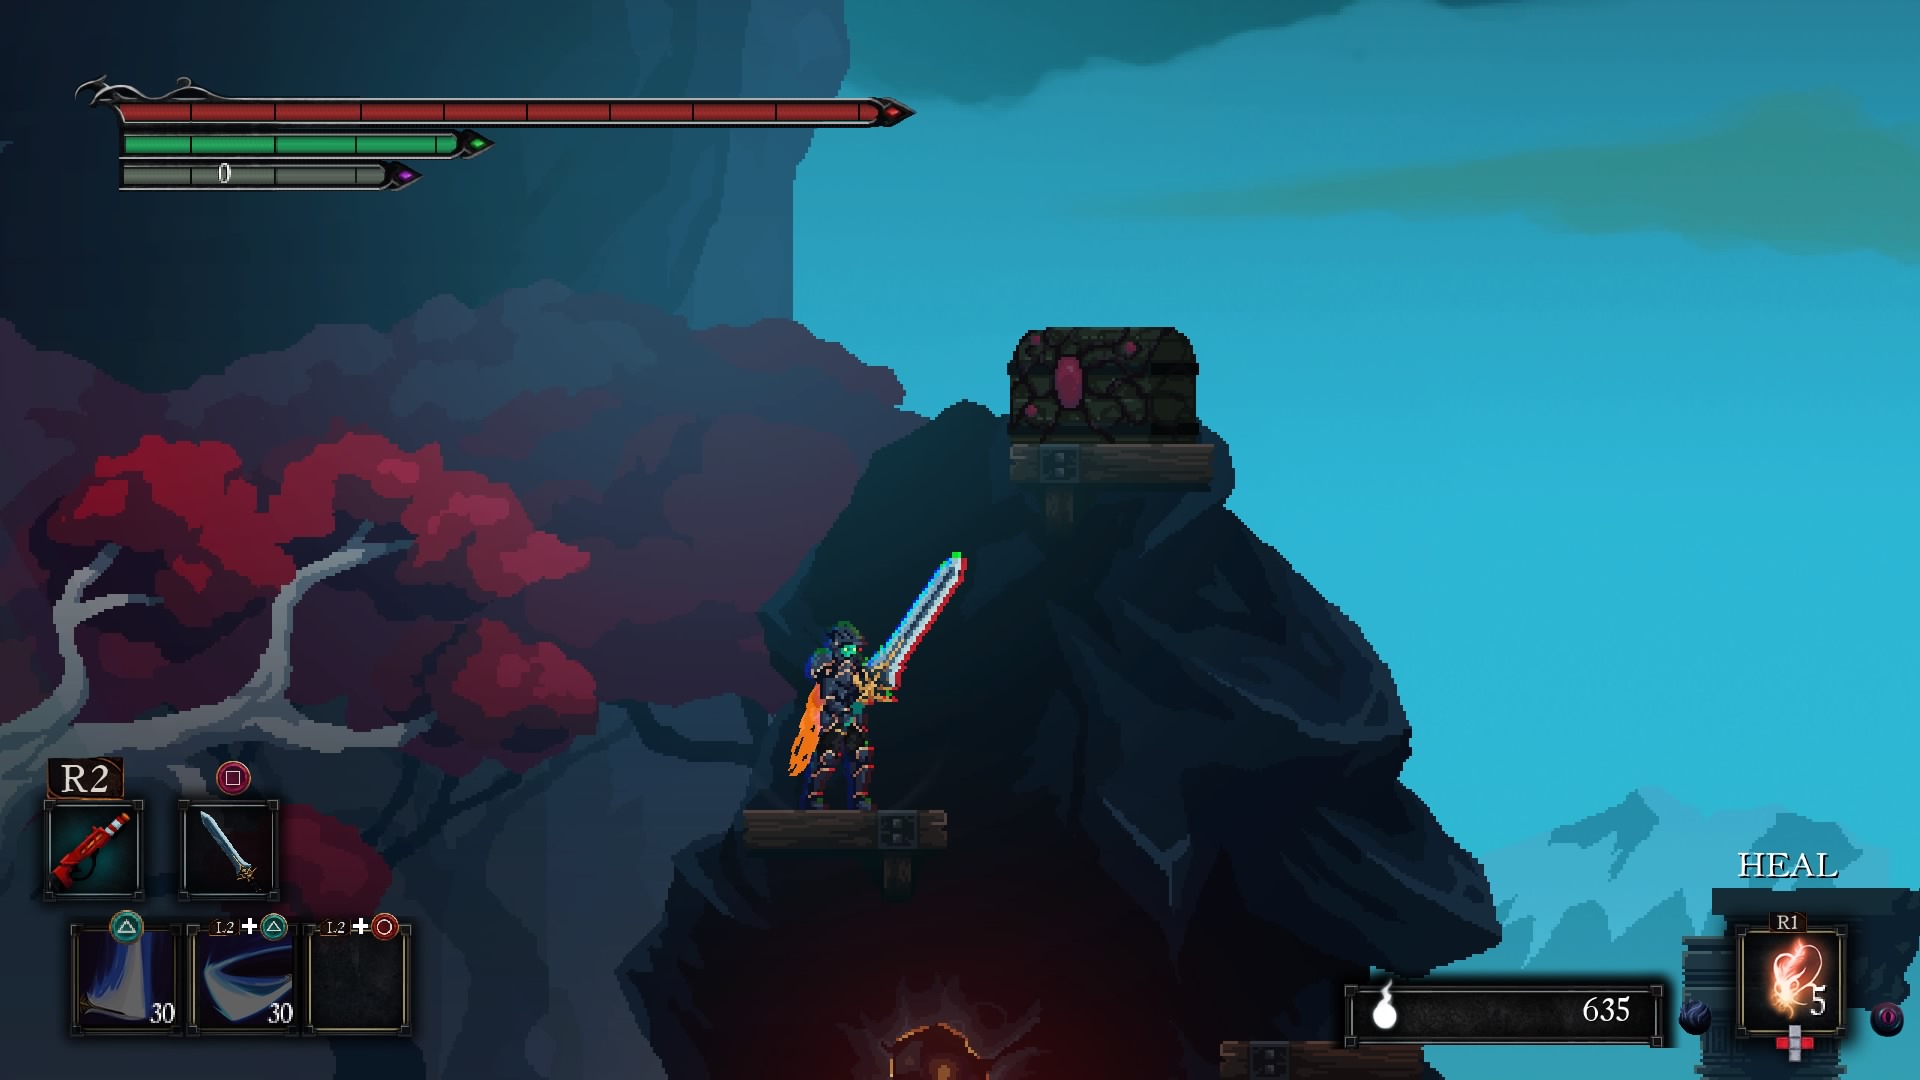
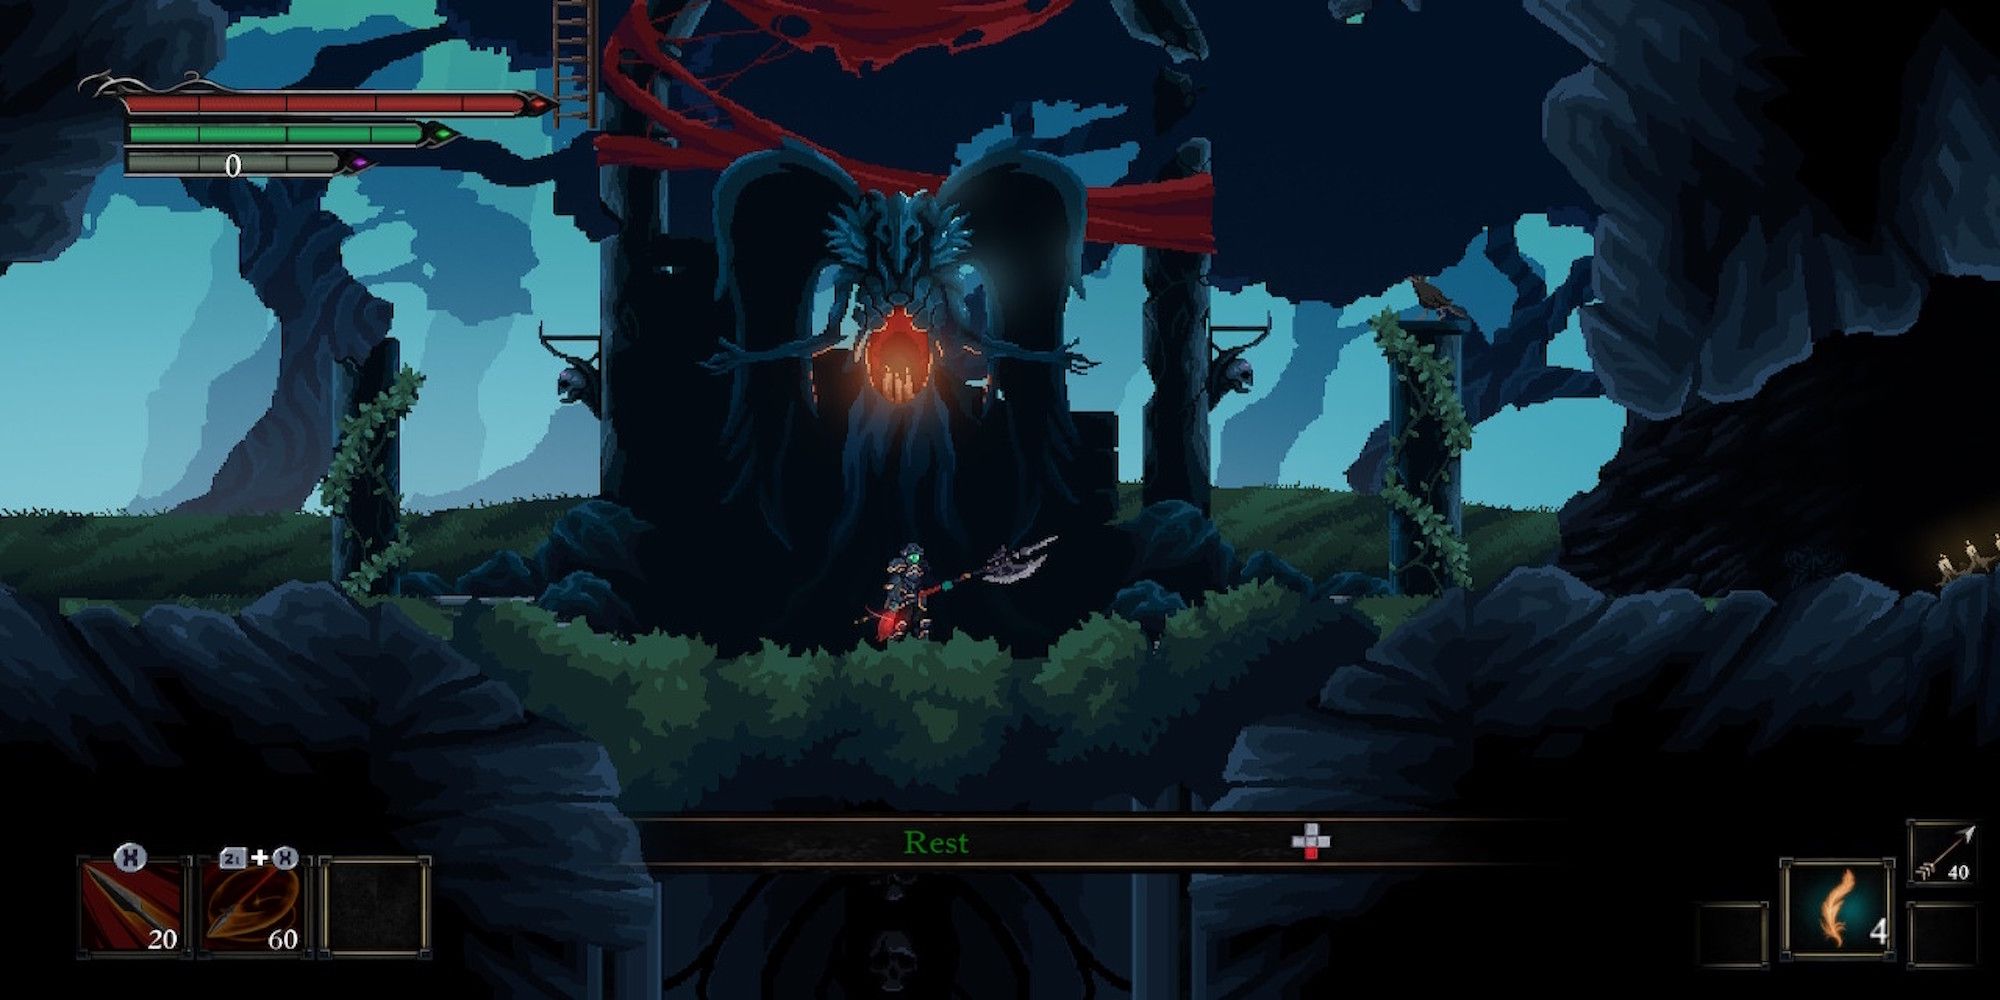
Unlike most Souls-like games, Death’s Gambit: Afterlife is a bit forgiving in death. Players will only lose Phoenix Plumes. These magical feathers are how players will initially heal up other than at save points. Every time someone dies, they lose one feather.
It will be waiting for them wherever they died last and will never disappear even if players die on the way to retrieve it. Players can even use essence to get Phoenix Plumes back at save points without having to do a corpse run. This is kind of a waste of essence but the option is nice to have and makes Death’s Gambit a bit more accessible. Losing souls in Dark Souls, as one example, can be a defeating feeling.
Death’s Gambit: Afterlife was released on September 30, 2021 and is available on PC, PS4, and Switch.
MORE: The Best And Worst Things About Unsighted