- Manuals
- Brands
- Gamma Manuals
- Stringing Machines
- X-Els
Manuals and User Guides for Gamma X-Els. We have 2 Gamma X-Els manuals available for free PDF download: Owner’s Manual
- Manuals
- Brands
- Gamma Manuals
- Stringing Machines
- X-Stringer
- Owner’s manual
-
Contents
-
Table of Contents
-
Troubleshooting
-
Bookmarks
Quick Links
X-ST
STRINGING MACHINE
OWNER’S MANUAL
Issue 1 — May 2004
Provided by www.gssalliance.com
Copyright 2004 GAMMA Sports — All Rights Reserved
Related Manuals for Gamma X-Stringer
Summary of Contents for Gamma X-Stringer
-
Page 1
X-ST STRINGING MACHINE OWNER’S MANUAL Issue 1 — May 2004 Provided by www.gssalliance.com Copyright 2004 GAMMA Sports — All Rights Reserved… -
Page 2: Table Of Contents
Should any defects develop under normal use within the specified time periods, GAMMA will at its option, repair or replace the defective EQUIPMENT provided it is returned to GAMMA prepaid at the purchaser’s expense. This warranty does not apply to any damage or defect caused by negligence, abuse, misuse, unauthorized alteration, shipping, handling, or part wear and tear as a result of normal use.
-
Page 3: Gamma X-St
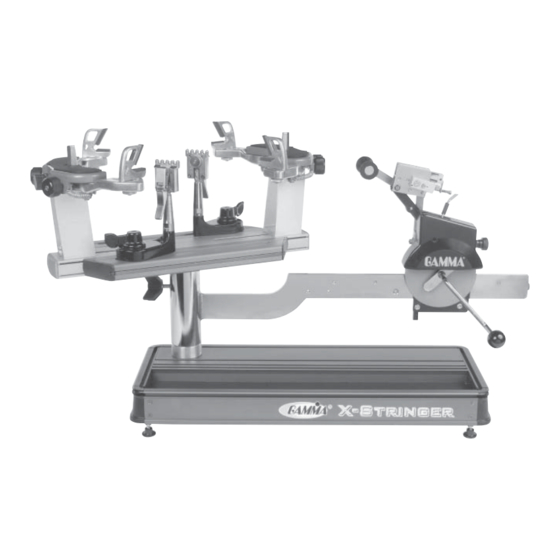
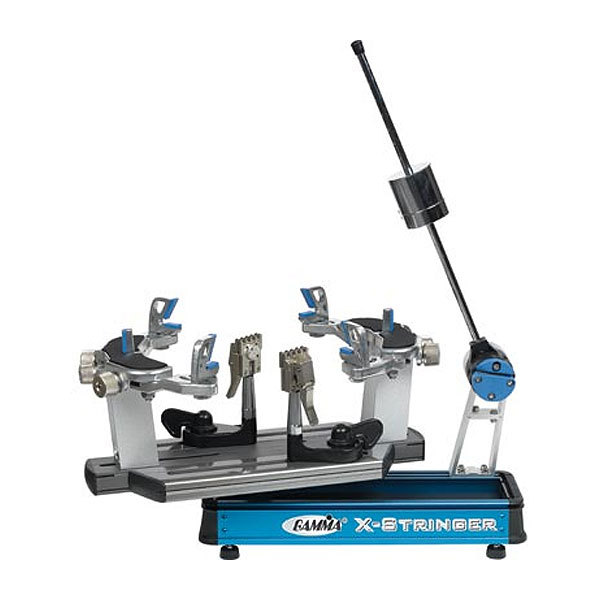
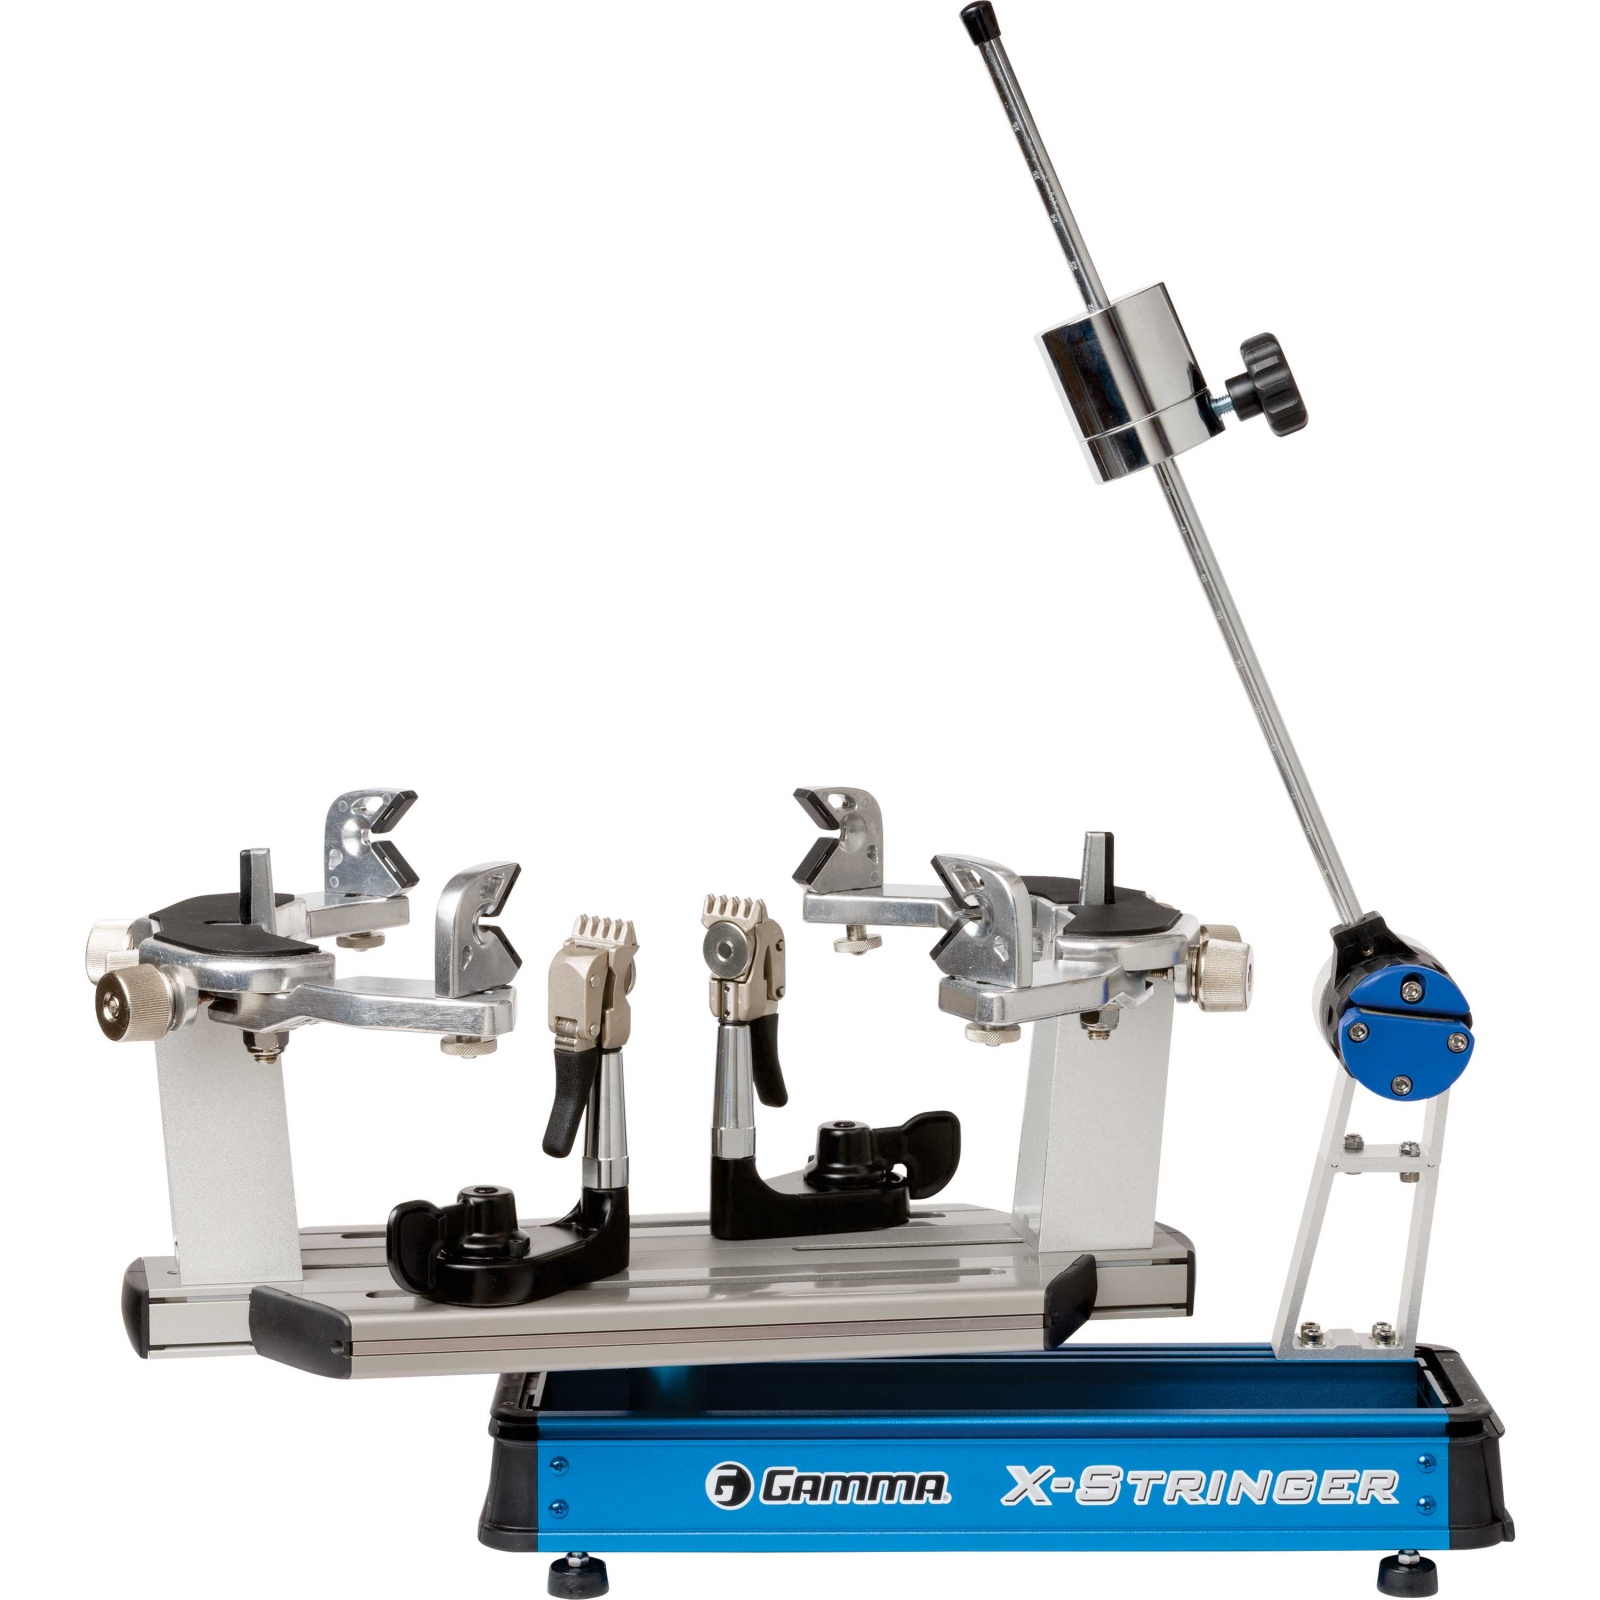
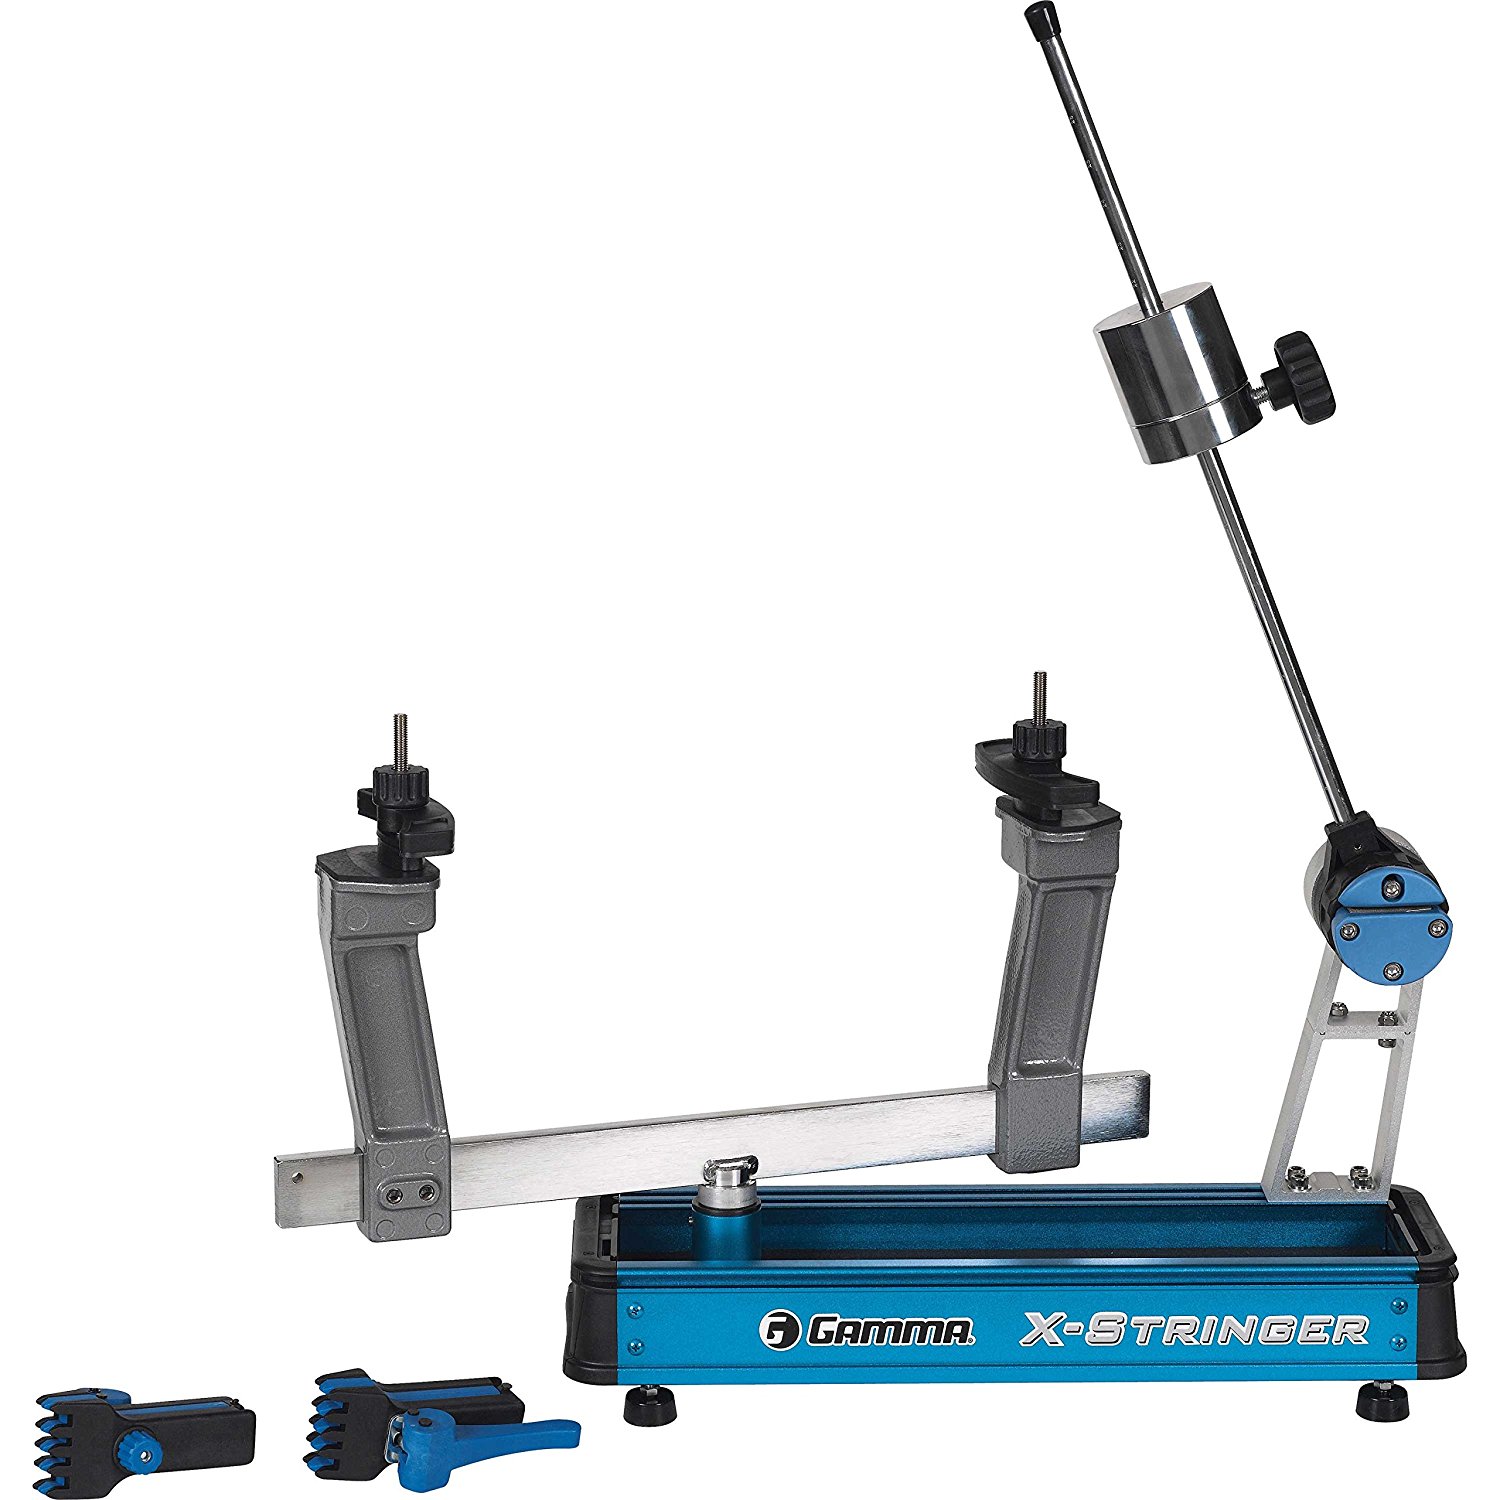
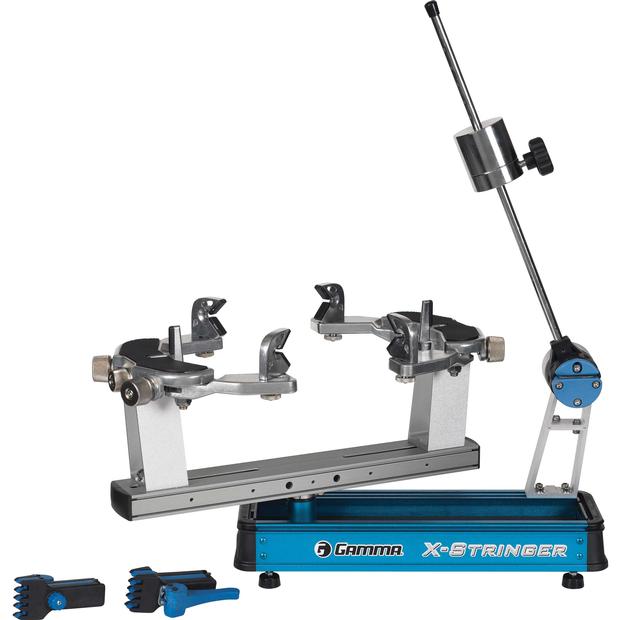
GAMMA X-ST GAMMA X-ST GAMMA X-ST GAMMA X-ST GAMMA X-ST MACHINE FEATURES MACHINE FEATURES Manual Spring Tension Winder (11-89 lbs range) Patented Roller Guide for Maximum Accuracy and Consis- tency Professional Six Point “Quick Mount” Racquet Mounting System — Accomodates All Racquets Without Adapters…
-
Page 4: Assembly Instructions
ASSEMBLY INSTRUCTIONS Turntable Installation Insert the turntable pin into the bearing of the machine base. Support Post Installation To install the support posts you must first remove the mounting bolt from the mounting plate that sets inside the central cavity of the turntable.
-
Page 5
ASSEMBLY INSTRUCTIONS Support Post Installation (cont’d) Place the support post onto the central slot of the turntable. With your fingers placed through the large hole in the underside of the turntable, press the mounting plate against the inside top surface of the turntable while aligning the hole in the support post with the hole in the mounting plate and fix them with the mounting bolt. -
Page 6
ASSEMBLY INSTRUCTIONS Locking the Turntable The turntable may be locked in any position. The turntable winged lock knob is packed separately in the accessory polybag. Install the lock knob into the threaded hole located on the side of the tensioner bar post. Rotate the knob clockwise to lock the turn- table, and counter-clockwise to release the turntable. -
Page 7: Mounting The Frame
MOUNTING THE FRAME Adjusting the Frame Support Posts Loosen the lock bolts of the frame support posts and space them apart with the frame support slides separated by the approxi- mate length of the racquet head. Although it is not required, it is good practice to center the support posts on the turntable.
-
Page 8: Stringing The Frame
MOUNTING THE FRAME Securing the Frame Shoulder Clamps Lock the shoulder supports in position by turning the knob at the base clockwise. Repeat the adjustment procedure for the remaining support post. Re-tighten all of the frame supports in the same order as before. Do not overtighten any of the supports as racquet damage may occur.
-
Page 9
STRINGING THE FRAME Getting Started To begin stringing the main strings, thread the two ends of the string through the two center holes at the appropriate end of the frame and continue through the opposite center holes. Thread one end of the string through the adjacent grommet hole and pull excess by hand. -
Page 10
STRINGING THE FRAME Weaving the Cross Strings Weave the cross strings over and under the main strings being careful to alternate the weave direction of each consecutive cross string so as to be opposite of the previously installed cross string. Completing the String Job Once the final cross string is tensioned and clamped, tie off at the appropriate hole speci-… -
Page 11: Additional Features
ADDITIONAL FEATURES Storage Drawers There are two storage drawers located in the base of the machine. The drawers open from the right end of the base and lock into the end cap with a spring loaded latch. To open the drawers, reach under the right side end caps to find the the spring loaded latch handle.
-
Page 12: Pathfinder Awl
PATHFINDER AWL The stringing machine includes the Path- finder stringing awl which creates a pathway between or around strings to make inserting a string through tight grommets easier and quicker. Insert the awl through the grommet hole in the same manner as for traditional awls. The Pathfinder awl must be in the closed position before insertion.
-
Page 13: Maintenance And Adjustments
MAINTENANCE and ADJUSTMENTS Adjusting the String Clamp Jaw Spacing The string clamps will need minor adjustments according to what string type, construction, and gauge you are using. To adjust the gap (clamping pressure) between the clamp jaws, insert the string through the racquet as if you were beginning the main strings.
-
Page 14
MAINTENANCE and ADJUSTMENTS Tension Calibration Procedure Step 1 Set the tension to 60 lbs. as indicated by the linear scale and rotary knob. Place the string on one end of a tension calibrator into a string clamp and secure. Place string lo- cated on the other end of the calibrator into the string tensioner and apply tension. -
Page 15
MAINTENANCE and ADJUSTMENTS Adjusting the Tensioner Brake Step 1 After stringing many racquets, the brake of the tensioner may need to be adjusted. With the brake lever engaged, loosen the lock bolt located on the back side of the tensioner frame with the 4mm hex wrench. Note: The lock bolt should only be loosened enough to be turned by hand and must not be removed completely. -
Page 16: Troubleshooting Tips
TROUBLESHOOTING TIPS PROBLEM SOLUTION String slips in clamps. — Adjust gap between jaws. — Clean clamp jaws. String slips in gripper. — Clean gripper jaws. — Adjust Gripper Jaw Stop Screw String clamp base slips on turntable. — Adjust Clamp Base Locking Nut. Tensioner slips on Tensioner Bar — Adjust tensioner brake lever after brake lever is released.
-
Page 17
NOTES… -
Page 18: Parts List
PARTS LIST PART # DESCRIPTION PART # DESCRIPTION RUBBER FEET MDCSC10 STRING CLAMP CAP SCREW — M8 SLIDE BRACKET BUSHING SET SCREW SUPP MOUNTING PLATE WASHER — M8 SMALL DRAWER WASHER SMALL DRAWER END CAP FRAME SUPPORT SLIDE BASE CLAMP MFSPP BADMINTON ADAPTER FRAME SUPP SLIDE KNOB…
-
Page 19: Parts Drawing
PARTS DRAWING…
This manual is also suitable for:
X-st
Table of Contents for Gamma X-Stringer:
-
Support Post Installation (con’t) After removing the mounting bolt, remove and discard the plastic washers that are installed for shipping purposes. 3 ASSEMBLY INSTRUCTIONS Turntable Installation Insert the turntable pin into the bearing of the machine base. Support Post Installation To install the support posts you must first remove the mounting bolt from the mounting plate that sets inside the central cavity of the turntable. There are large holes stamped on the underside of the turn
-
PART # 5 6A 8A 9 14 21 MFSPP MFSPP 104 105 106 111 MMSPP 140 141 142 143 144 145 146A 147 148 DESCRIPTION RUBBER FEET CAP SCREW — M8 BUSHING SET SCREW WASHER — M8 WASHER FRAME SUPPORT SLIDE BADMINTON ADAPTER TENNIS ADAPTER TENSIONER ASSEMBLY RETAINER SCREW TABLE BRAKE KNOB TENSIONER BAR SHOULDER PADS MTNG. STAND TOP PLATE MTNG. STAND PAD SUPPORT ARM — LEFT SUPPORT ARM — RIGHT SUPPORT LOCK KNOB ARM RETURN SPRING ARM ADJUSTMENT KNOB ARM ADJUSTMENT SCREW SHOULDER V-CLAMP PART # MDCSC10 259 262 263 265 269 270 271 272 273 274 275 276 277 278 282 283 285 286 287
-
Pulling Tension Wrap the loose section of string once around the roller guide and insert the string between the diamond dust coated string gripper plates. Pull the string perpendicular to the gripper plates while slowly rotating the tensioner crank clockwise until the brake lever pops out of the latching block. The string is now tensioned and can be clamped in place with t
-
6 Adjusting the Frame Support Posts Loosen the lock bolts of the frame support posts and space them apart with the frame support slides separated by the approxi- mate length of the racquet head. Although it is not required, it is good practice to center the support posts on the turntable. Lock one of the posts in position by tightening the lock bolt and position the other post until the frame support slide is positioned near the inside surface of the racquet frame. Se- curely tighten the lock bolt of the second support post. Caution: To avoid racquet damage,
-
Step 2 Loosen the 1.5 mm locking set screw (A) located on the side of the latching block as shown. The set screw is used to hold the adjustment screw in place. A 13 MAINTENANCE and ADJUSTMENTS Tension Calibration Procedure Step 1 Set the tension to 60 lbs. as indicated by the linear scale and rotary knob. Place the string on one end of a tension calibrator into a string clamp and secure. Place string lo- cated on the other end of the calibrator
-
7 MOUNTING THE FRAME Securing the Frame Shoulder Clamps Lock the shoulder supports in position by turning the knob at the base clockwise. Repeat the adjustment procedure for the remaining support post. Re-tighten all of the frame supports in the same order as before. Do not overtighten any of the supports as racquet damage may occur. The supports should be tightened to the point where the racquet frame will not move in the mounting system when the handle is grasped and attempts are made to move it. Should any supports lose contact with the frame whil
-
18 PARTS DRAWING
-
16 NOTES
-
11 PATHFINDER AWL Once the awl is inserted, pull the handle of the awl outward while holding the tip section in place, leaving the outer sheath in the grommet hole. Insert the end of the string into the center of the sheath. While holding pressure on the string, slowly pull the sheath out of the grommet hole to leave the end of the string exposed. The stringing machine includes the Path- finder stringing awl which creates a pathway between or around strings to make inserting a stri
-
To open the drawers, reach under the right side end caps to find the the spring loaded latch handle. Pull the latch handle toward the outside of the end cap to release latch from the end cap and slide the drawer out. To close the drawer simply slide the drawer back inside the base and the latch with automatically lock into place. Storage Drawers There are two storage drawers located in the base of the machine. The drawers open from the right end of the base and lock into the end cap with a spring loaded latch. ADDITI
Questions, Opinions and Exploitation Impressions:
You can ask a question, express your opinion or share our experience of Gamma X-Stringer device using right now.
|
Detail Specifications: 1747/1747326-xstringer.pdf file (12 Oct 2022) |
Accompanying Data:
Gamma X-Stringer Stringing Machines PDF Owner’s Manual (Updated: Wednesday 12th of October 2022 10:14:37 PM)
Rating: 4.1 (rated by 73 users)
Compatible devices: 6004, 5800 Els, PROGRESSION 602, 6002, X-2, Progression ES II+, 5003, 9900 Els.
Recommended Documentation:
Text Version of Owner’s Manual
(Ocr-Read Summary of Contents, UPD: 12 October 2022)
-
3, 2 MACHINE FEATURES Manual Spring Tension Winder (11-89 lbs range) Patented Roller Guide for Maximum Accuracy and Consis- tency Professional Six Point “Quick Mount” Racquet Mounting System — Accomodates All Racquets Without Adapters Parallel Jaw Gripper w/ Diamond Dust Coated Gripping Surfaces Professional Dual Action, Rotating, Diamond…
-
5, Installing the Tensioner Remove the button head screw and washer located at the end of the tensioner bar with the 3 mm hex wrench provided. Slide the tensioner onto the bar, being careful to align the bar with all of the bearings and the drive gear with the gear track. Replace the screw and washer into the end of the tensioner bar. Note: The tensioner bar is equipped with a tension…
-
6, 5 ASSEMBLY INSTRUCTIONS String Clamp Installation The post of the string clamp and tube of the string clamp base are treated with grease to provide protection against corrosion during shipping. Remove any excessive grease with a clean cloth prior to use. The post and tube may also be cleaned with isopropyl alcohol. After this type of thorough cleaning, the post and tube should be treated wit…
-
7, Gamma X-Stringer 6 Adjusting the Frame Support Posts Loosen the lock bolts of the frame support posts and space them apart with the frame support slides separated by the approxi- mate length of the racquet head. Although it is not required, it is good practice to center the support posts on the turntable. Lock one of the posts in position by tightening the lock bolt and position the other post until the fram…
-
2, Gamma X-Stringer 1 LIMITED WARRANTY GAMMA Sports (GAMMA) warrants to the original purchaser that the X-STRINGER stringing machine («EQUIPMENT») purchased is free from defects in materials and workmanship for a period of five (5) years from the date of original purchase for mechanical parts (excluding any electrical parts and string clamps), and for a period of one (1) year from the date of purchase fo…
-
14, Step 2 Loosen the 1.5 mm locking set screw (A) located on the side of the latching block as shown. The set screw is used to hold the adjustment screw in place. A 13 MAINTENANCE and ADJUSTMENTS Tension Calibration Procedure Step 1 Set the tension to 60 lbs. as indicated by the linear scale and rotary knob. Place the string on one end of a tension calibrator into a string clamp and secure. Pla…
-
13, 12 MAINTENANCE and ADJUSTMENTS String Clamp Base Adjustment The string clamp bases do not require ad- justment. The simple “Lever Bolt & Nut” design, provides maximum flexibility for pro- viding clamping pressure to the turntable and running clearance for repositioning. Approximately 1/2 turn is all that is need to lock and release the clamp base from the turntable. NOTE: Do …
-
16, 15 TROUBLESHOOTING TIPS CARE and CLEANING With time and use, the clamping surfaces of your machine may become oily or dirty and result in string or clamp slippage while stringing. Periodic cleaning of the following parts is recommended. String Clamps Clean the inside gripping surfaces of the string clamp jaws by inserting a cloth or pipe cleaner soaked with isopropyl alcohol betw…
Recommended Instructions:
TF-20, KOC-629Q, C355BEE, Techmarine, S2180


-
602FC602FC602FC602FC602FCOOOOOWNER’S MANUWNER’S MANUWNER’S MANUWNER’S MANUWNER’S MANUALALALALALIssue 1 — April, 2000Issue 1 — April, 2000Issue 1 — April, 2000Issue 1 — April, 2000Issue 1 — April, 2000PROGRESSIONCopyright 2000 GAMMA Sports — All Rights ReservedSTRINGING MASTRINGING MASTRINGING MASTRINGING MASTRINGING MACHINECHINECHINECHINECHINE …
Progression 602 FC 16
-
MMAN-31(MPST2-13)GAMMA SPORTS 200 Waterfront DrivePittsburgh, Pennsylvania 15222 Phone: 800.333.0337 Fax: 412.323.0317 Visit our website at www.gammasports.comCopyright 2012 GAMMA Sports — All Rights ReservedOWNER’S MANUALIssue 7 — December 2012STIISTRINGING MACHINE …
STII 10
-
OWNER’S MANUALIssue 3 — March 29, 1999Issue 3 — March 29, 1999Issue 3 — March 29, 1999Issue 3 — March 29, 1999Issue 3 — March 29, 19997000 EsSTRINGING MACHINECopyright 1999 GAMMA Sports — All Rights Reserved …
7000 Es 19
-
Copyright 1997 GAMMA Sports — All Rights ReservedOOOOOWNER’S MANUWNER’S MANUWNER’S MANUWNER’S MANUWNER’S MANUALALALALALIssue 2 / Version E — Oct. 28, 1997Issue 2 / Version E — Oct. 28, 1997Issue 2 / Version E — Oct. 28, 1997Issue 2 / Version E — Oct. 28, 1997Issue 2 / Version E — Oct. 28, 1997PROGRESSIONST …
PROGRESSION ST 19
Popular Right Now:
Operating Impressions, Questions and Answers:
Новая суперкомпактная модель!
Профессиональный электронный настольный станок для натяжки струн Gamma X-Stringer XLT. Линейная система натяжения струны.
6 сетов (73,2 м) струн Gamma Sports в подарок!
Рекомендованная розничная цена от266800 рублей

Компактный настольный электронный станок для натяжки струн на теннисные ракетки Gamma Progression II ELS. (подойдёт для домашнего использования).
Струны для ракеток большого тенниса — в подарок.
Рекомендованная розничная цена от239200 рублей
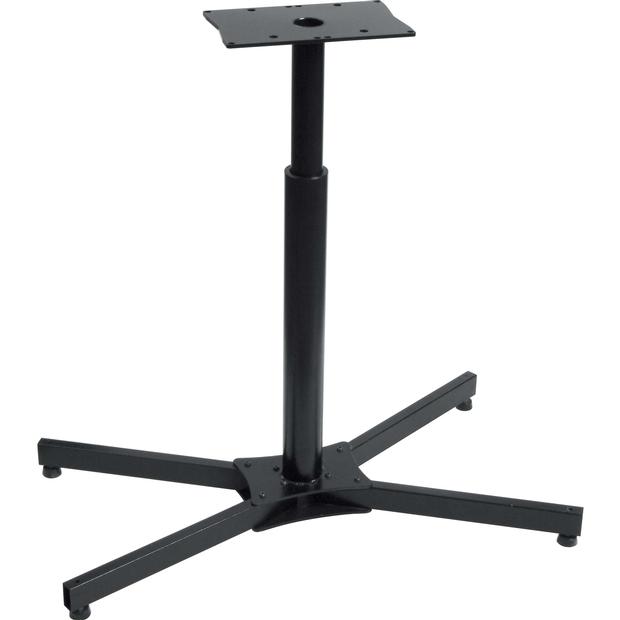
Станина для оптимизации работы на настольных станках X- и Progression серии. Высота регулируется.
Совместимые модели: X-2, X-6, X-6FC, X-ELS, X-ST, Progression 602, Progression 602 FC, Progression ST II, and Progression ELS.
Рекомендованная розничная цена от27600 рублей

Профессиональный электронный станок для натяжки струн Gamma 7900 ELS. Линейная система натяжения струны. Напольная станина в комплекте.
6 сетов струн Gamma Sports в подарок.
Рекомендованная розничная цена от414000 рублей
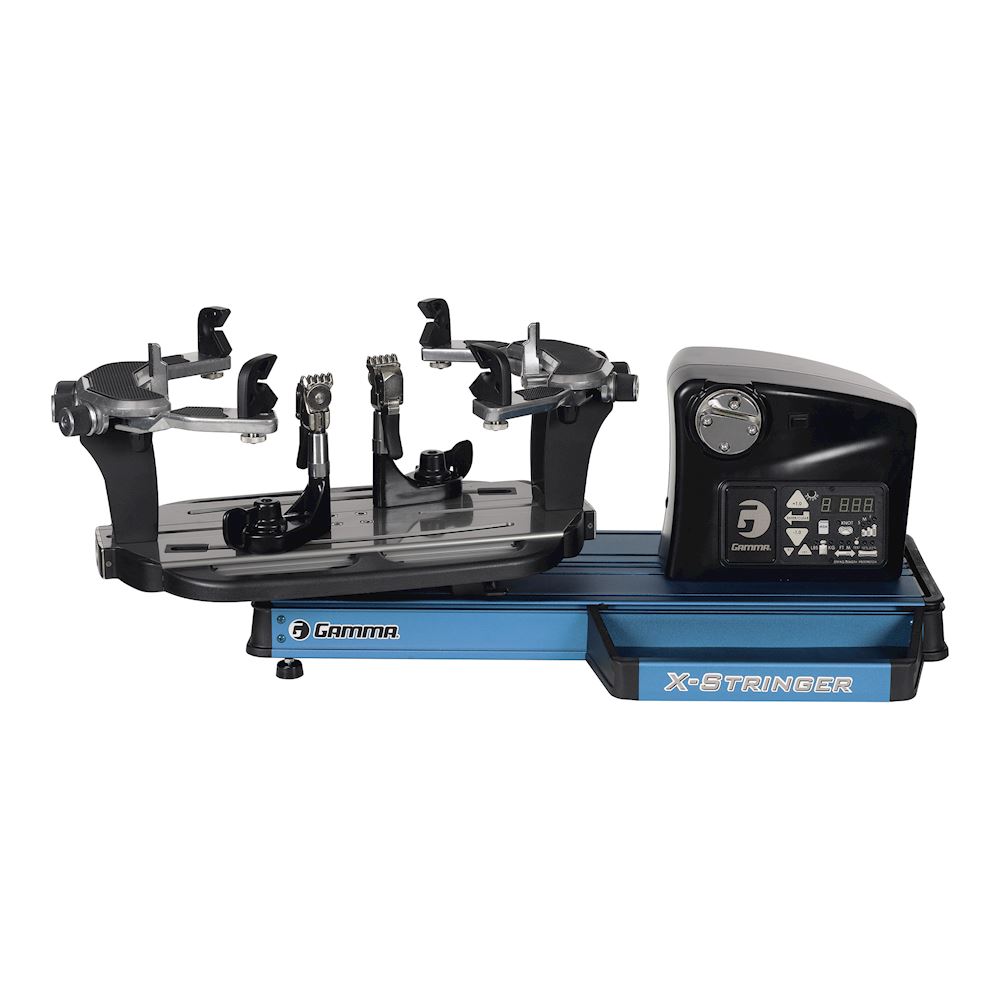
Настольный электронный станок для натяжки струн теннисных ракеток Gamma X-Stringer ELS. При покупке, 6 сетов струн от Gamma Sports в подарок. Закажите прайс-лист, чтобы узнать подробнее.
Рекомендованная розничная цена от294400 рублей
Настольный механический станок для натяжки струн серии Gamma-X6. В комплекте зажимы с алмазным напылением против «проскальзывания» струны. Купить станок для натяжки струн теннисных ракеток по более низкой цене можно, заказав прайс-лист.
Рекомендованная розничная цена от101200 рублей
Компактный и бюджетный настольный станок для механической натяжки струн Gamma X-2. Подойдёт для теннисных, бадминтонных и сквош-ракеток. 2 точки крепления. Пластиковые зажимы. Получите выгодное предложение, заказав прайс-лист.
Рекомендованная розничная цена от36800 рублей

Профессиональный электронный станок для натяжки струн на теннисные ракетки Gamma 6900 ELS на станине с ножной педалью.
Чтобы купить станок для натяжки струн по выгодной цене, закажите прайс-лист. Струны для ракетки в подарок.
Рекомендованная розничная цена от312800 рублей
Компактный станок с механической натяжкой струн ракеток для большого тенниса Gamma X-6 с пластиковыми зажимами.
6 — точек крепления ракетки. Поворотный стол может вращаться на 360 градусов. Закажите прайс-лист, чтобы узнать подробнее.
Рекомендованная розничная цена от78200 рублей
Натягивайте струны правильно
Ракетка – это инструмент, благодаря которому добываются важные победы. В связи с этим, очень важно, чтобы она постоянно находилась в идеальном состоянии. Все мы прекрасно понимаем, что главное в ракетке – это струны. Именно они отвечают за силу, жесткость и просто за удар по мячу. Существует специальный станок для натяжки теннисных ракеток. Следует заметить, что эта процедура проходит в три этапа.
1-й этап
На первом этапе вы можете использовать станок для натяжки струн на теннисные ракетки у своих знакомых, так как при нечастом использовании покупать его нет никакой необходимости. В ином же случае придется с особой тщательностью подбирать данное устройство. Итак, этот этап мы можем разделить на несколько ступеней:
- Нарезка струн. Вам заранее нужно подготовить струны для дальнейшей установки. Для этого измерьте их длину, а потом нарежьте. Обязательно считайте количество струн.
- Теперь переходим к ракетке. Ее нужно избавить от старых струн. Возьмите хорошо наточенный нож и начиная от центра срежьте все.
- Как раз сейчас вступает в «игру» станок для натяжки теннисных ракеток. Вам нужно закрепить инструмент на нем.
2-й этап
Этот этап является основным. Для начала определитесь, какой из двух вариантов будете использовать. А именно: одну или две струны для натяжки. Допустим, вы определились, теперь начинайте протягивать струну от головы к рукоятке. Это условие нужно обязательно учитывать. Сначала вы делаете основу. Для этого проведите струну от головы к горлышку, а потом обратно. Таким образом необходимо проделать с основными струнами, а потом уже браться за другие.
3-й этап
Если со вторым этапом все более или менее понятно, то что же остается на 3 ступень? Оказывается, в этот раз вам придется заняться настройкой ракеткой. Да, вы не ослышались. Для этого нужно пройти также несколько этапов, ступеней или, если хотите сделать пару шагов.
- Если вы еще не определились с тем, какую степень натяжки использовать, то можно попробовать различные варианты. И уже исходя из того, как вам удобно и комфортно, осуществить натяжку струн.
- Обратите внимание, что от материала, из которого изготовлены струны, очень многое зависит. Лучше попробовать различные варианты, чтобы быть уверенным в правильно сделанном выборе.
- Не забывайте об амортизаторах и специальных предохранителях. Они избавят вас от вибраций, да и помогут сохранить струны.
- Не стоит пренебрегать перетяжкой, тем более, что сейчас делать ее стало гораздо проще. Станок для натяжки струн на теннисные ракетки вам в этом поможет.