LVT1099-001A
[EE]
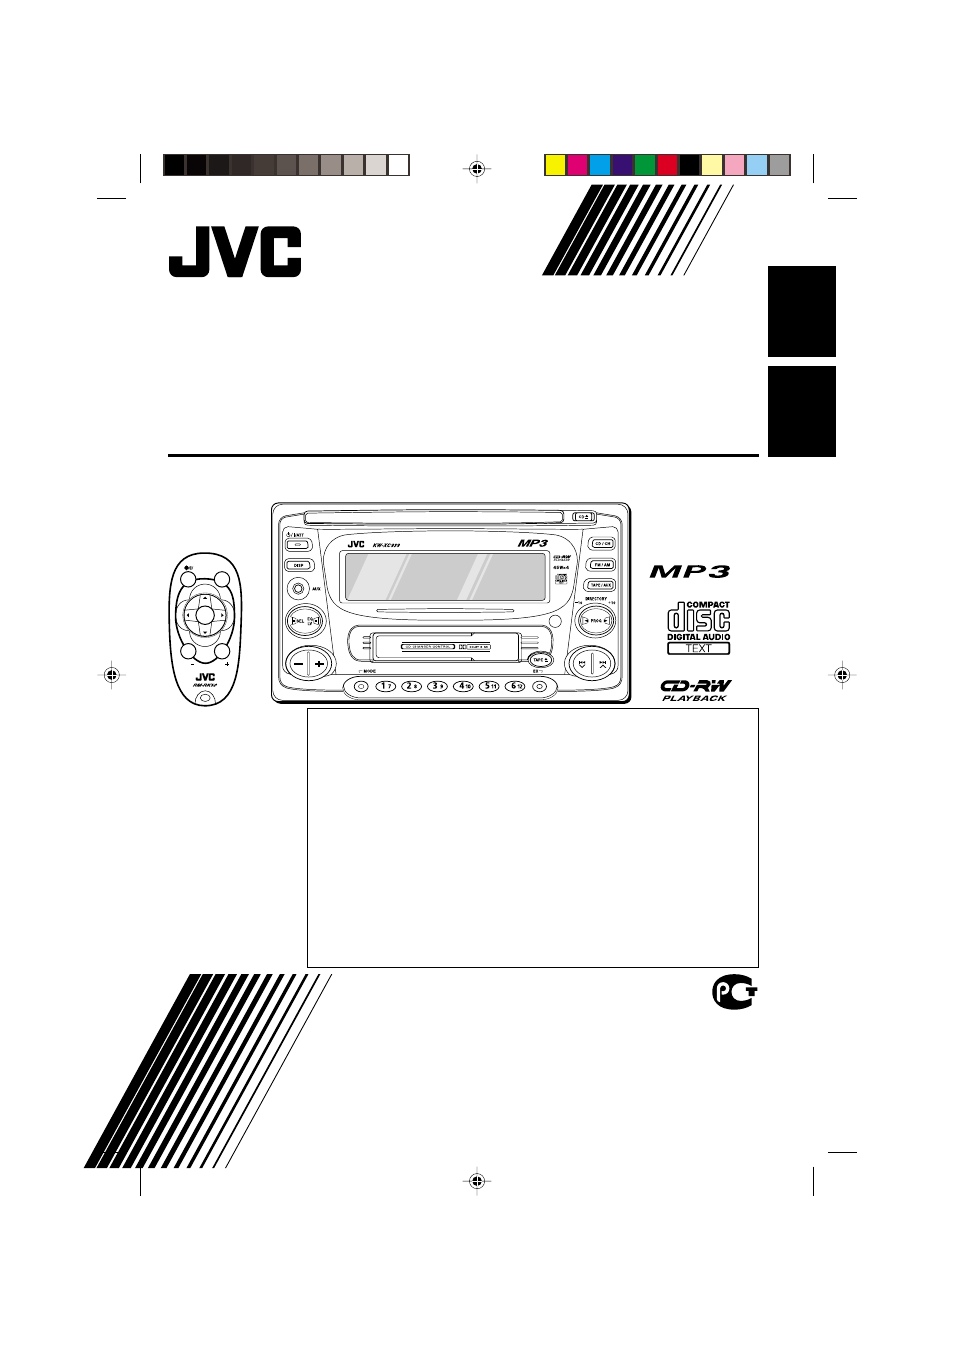
INSTRUCTIONS
ИНСТРУКЦИИ ПО ЭКСПЛУАТАЦИИ
CD/CASSETTE RECEIVER
ПРИЕМНИК С ПРОИГРЫВАТЕЛЕМ КОМПАКТ-ДИСКОВ
И КАССЕТ
ENGLISH
Р
УCCKИЙ
SOUND
VOL
VOL
SOURCE
R
F
U
D
ATT
В соответствии с Законом Российской Федерации “О защите прав
потребителей” срок службы (годности) данного товара “по истечении которого
он может представлять опасность для жизни, здоровья потребителя,
причинять вред его имуществу или окружающей среде” составляет семь (7) лет
со дня производства. Этот срок является временем, в течение которого
потребитель данного товара может безопасно им пользоваться при условии
соблюдения инструкции по эксплуатации данного товара, проводя
необходимое обслуживание, включающее замену расходных материалов и/или
соответствующее ремонтное обеспечение в специализированном сервисном
центре.
Дополнительные косметические материалы к данному товару, поставляемые
вместе с ним, могут храниться в течение двух (2) лет со дня его производства.
Срок службы (годности), кроме срока хранения дополнительных
косметических материалов, упомянутых в предыдущих двух пунктах, не
затрагивает никаких других прав потребителя, в частности, гарантийного
свидетельства JVC, которое он может получить в соответствии с законом о
правах потребителя или других законов, связанных с ним.
For installation and
connections, refer to
the separate manual.
Указания по
установке и
выполнению
соединений
приводятся в
отдельной
инструкции.
KW-XC939
Cover001AKW-XC939[EE]f.pm6
6/23/03, 3:47 PM
3
 11:42
11:42
РЕМОНТ МАГНИТОЛЫ JVC KW — AV 726
 01:07
01:07
Настройка часов на автомагнитоле JVC KW-XG707
 01:04
01:04
Обзор на магнитолу JVC KW-XC939
 01:58
01:58
JVC KW-X840BT Display and Controls Demo | Crutchfield Video
 02:03
02:03
JVC KW-R940BTS Display and Controls Demo | Crutchfield Video
INSTRUCTIONS ИНСТРУКЦИИ ПО ЭКСПЛУАТАЦИИ CD…
Kw-xc939, Instructions, Инструкции по эксплуатации
- Изображение
- Текст
LVT1099-001A
[EE]
INSTRUCTIONS
ИНСТРУКЦИИ ПО ЭКСПЛУАТАЦИИ
CD/CASSETTE RECEIVER
ПРИЕМНИК С ПРОИГРЫВАТЕЛЕМ КОМПАКТ-ДИСКОВ
И КАССЕТ
ENGLISH
Р
УCCKИЙ
SOUND
VOL
VOL
SOURCE
R
F
U
D
ATT
В соответствии с Законом Российской Федерации “О защите прав
потребителей” срок службы (годности) данного товара “по истечении которого
он может представлять опасность для жизни, здоровья потребителя,
причинять вред его имуществу или окружающей среде” составляет семь (7) лет
со дня производства. Этот срок является временем, в течение которого
потребитель данного товара может безопасно им пользоваться при условии
соблюдения инструкции по эксплуатации данного товара, проводя
необходимое обслуживание, включающее замену расходных материалов и/или
соответствующее ремонтное обеспечение в специализированном сервисном
центре.
Дополнительные косметические материалы к данному товару, поставляемые
вместе с ним, могут храниться в течение двух (2) лет со дня его производства.
Срок службы (годности), кроме срока хранения дополнительных
косметических материалов, упомянутых в предыдущих двух пунктах, не
затрагивает никаких других прав потребителя, в частности, гарантийного
свидетельства JVC, которое он может получить в соответствии с законом о
правах потребителя или других законов, связанных с ним.
For installation and
connections, refer to
the separate manual.
Указания по
установке и
выполнению
соединений
приводятся в
отдельной
инструкции.
KW-XC939
Cover001AKW-XC939[EE]f.pm6
6/23/03, 3:47 PM
3

2
ENGLISH
IMPORTANT FOR LASER PRODUCTS
1. CLASS 1 LASER PRODUCT
2. CAUTION: Do not open the top cover. There are no user serviceable parts inside unit; leave all
servicing to qualified service personnel.
3. CAUTION: Visible and invisible laser radiation when open and interlock failed or defeated. Avoid
direct exposure to beam.
4. REPRODUCTION OF LABEL: CAUTION LABEL, PLACED OUTSIDE THE UNIT.
CAUTION on Volume Setting
CDs produce very little noise compared with other sources. If the volume level is adjusted for the tuner, for
example, the speakers may be damaged by the sudden increase in the output level. Therefore, lower the
volume before playing a CD and adjust it as required during playback.
How to reset your unit
Press the reset button on the front panel using
a ball-point pen or similar tool.
Note:
Your preset adjustments—such as preset channels or
sound adjustments—will be erased.
EN02-07KW-XC939[EE]f.pm6
6/23/03, 3:47 PM
2

ENGLISH How to reset your unit ………………………….
Страница 3
- Изображение
- Текст
3
ENGLISH
How to reset your unit ………………………………
2
LOCATION OF THE BUTTONS …………
4
Control panel ………………………………………
4
Remote controller ………………………………..
5
Preparing the remote controller …………….
6
BASIC OPERATIONS …………………..
7
RADIO OPERATIONS ………………….
8
Listening to the radio ……………………………
8
Storing stations in memory …………………..
9
Tuning in to a preset station …………………. 10
Other convenient tuner functions ………….. 11
CD OPERATIONS ……………………… 12
Playing a CD ……………………………………… 12
Locating a track or a particular portion
on a CD …………………………………………. 13
Selecting CD playback modes ……………… 14
Playing a CD Text ……………………………….. 15
Other convenient CD functions …………….. 15
MP3 INTRODUCTION …………………. 16
What is MP3? …………………………………….. 16
How are MP3 files recorded and
played back? ………………………………….. 16
MP3 OPERATIONS ……………………. 18
Playing an MP3 disc …………………………… 18
Locating a file or particular portion
on an MP3 disc ………………………………… 19
Selecting MP3 playback modes ……………. 21
TAPE OPERATIONS …………………… 22
Listening to a tape ………………………………. 22
Finding the beginning of a tune …………….. 23
Other convenient tape functions …………… 24
BEFORE USE
*For safety….
• Do not raise the volume level too much, as this will
block outside sounds, making driving dangerous.
• Stop the car before performing any complicated
operations.
*Temperature inside the car….
If you have parked the car for a long time in hot or
cold weather, wait until the temperature in the car
becomes normal before operating the unit.
CONTENTS
Thank you for purchasing a JVC product. Please read all instructions carefully before operation, to
ensure your complete understanding and to obtain the best possible performance from the unit.
SOUND ADJUSTMENTS ………………. 25
Adjusting the sound ……………………………. 25
Reinforcing the bass sound …………………. 25
Selecting preset sound modes ……………… 26
Storing your own sound adjustments …….. 27
LEVEL METER SETTING ………………. 28
Selecting level meter patterns ………………. 28
OTHER MAIN FUNCTIONS ……………. 29
About the demonstration mode
(DEMO MODE) ……………………………….. 29
Setting the clock …………………………………. 29
Changing general settings (PSM) …………. 30
Assigning names to the sources …………… 33
EXTERNAL COMPONENT OPERATIONS … 34
CD CHANGER OPERATIONS ………….. 35
Playing CDs ………………………………………. 35
Selecting CD playback modes ……………… 37
ADDITIONAL INFORMATION …………. 38
Handling cassettes ……………………………… 38
Handling discs ……………………………………. 39
TROUBLESHOOTING …………………. 40
SPECIFICATIONS ……………………… 43
EN02-07KW-XC939[EE]f.pm6
6/23/03, 3:47 PM
3

Location of the buttons, Control panel, Display window
Страница 4
- Изображение
- Текст
4
ENGLISH
LOCATION OF THE BUTTONS
Control panel
Control panel
1 Display window
2 CD loading slot
3
ATT
/
(standby/on/attenuator) button
4 DISP (display) button
5 Auxiliary input jack
6 SEL (select) button
7 EQ LV (Equalizer/Level) button
8 + / – buttons
9 Reset button
p MODE button
q Cassette compartment
w CD
0 (eject) button
e Source buttons
• CD/CH button
• FM/AM button
• TAPE/AUX button
r •
2 PROG 3 button
• +10 / –10 button
t TAPE
0 (eject) button
y
4
/
¢
buttons
u EX (extra) button
i Number buttons
Display window
o Dolby NR indicator
; S.BASS EQ (Super Bass/Equalizer) level /
level meter
a Main display
s Level meter
d Play mode indicators
RND (random), RPT (repeat),
B.SKIP (blank skip)
f CD indicator
g TAPE indicator
h Text name indicators
DISC, TRACK, STATION
j Source indicators
MP3, CD, CD-CH (CD-changer), TAPE, AUX,
F1, F2, F3, A
k Tuner reception indicators
MO (monaural), ST (stereo)
l Clock display
Display window
1
2
3
4
5
6
7
8
9
p
q
w
e
r
t
y
u
i
o
;
a
s
d
f g
h
j
k
l
EN02-07KW-XC939[EE]f.pm6
6/23/03, 3:47 PM
4

5
ENGLISH
Remote controller
1 Functions the same as the
ATT
/
button
on the main unit.
2 • Changes the band while listening to the
radio.
• Skips to the first file of the next directory if
pressed while listening to an MP3 disc.
• Changes the tape direction while listening to
a tape.
• Selects disc numbers in increasing order,
and starts playing while listening to the CD
changer.
3 • Selects preset numbers in increasing order
while listening to the radio.
• Skips to the first file of the previous directory
if pressed while listening to an MP3 disc.
• Selects disc numbers in decreasing order,
and starts playing while listening to the CD
changer.
4 Functions the same as the +/– buttons on the
main unit.
Note:
These buttons do not function for the preferred
setting mode (PSM) adjustment.
5 Selects the sound mode.
Each time you press the button, the EQ
(equalizer) mode changes.
6 Selects the source.
Each time you press the button, the source
changes.
7 • Searches for stations while listening to the
radio.
• Fast-forwards or reverses the track/file if
pressed and held while listening to any disc.
• Skips to the beginning of the next track/file
or goes back to the beginning of the current
(or previous) track/file if pressed briefly
while listening to any disc.
• Fast-forwards or rewinds a tape and finds
the beginning of a tune (MMS) while
listening to a tape. To release this operation,
press button 2 which then starts playback.
SOUND
VOL
VOL
SOURCE
R
F
U
D
ATT
1
2
3
4
6
7
5
EN02-07KW-XC939[EE]f.pm6
6/23/03, 3:47 PM
5

Preparing the remote controller, Installing the battery
Страница 6
- Изображение
- Текст
6
ENGLISH
Preparing the remote controller
Before using the remote controller:
• Aim the remote controller directly at the remote
sensor on the main unit. Make sure there is no
obstacle in between.
• Do not expose the remote sensor to strong
light (direct sunlight or artificial lighting).
Installing the battery
When the controllable range or effectiveness of
the remote controller decreases, replace the
battery.
1
. Remove the battery holder.
1) Push out the battery holder in the direction
indicated by the arrow using a ball-point
pen or a similar tool.
2) Remove the battery holder.
Remote sensor
2
. Place the battery.
Slide the battery into the holder with the +
side facing upwards so that the battery is
fixed in the holder.
3
. Return the battery holder.
Insert again the battery holder pushing it until
you hear a clicking sound.
WARNING:
• Store the battery in a place where children
cannot reach.
If a child accidentally swallows the battery,
consult a doctor immediately.
• Do not recharge, short, disassemble or heat the
battery or dispose it in a fire.
Doing any of these things may cause the battery
to give off heat, crack or start a fire.
• Do not leave the battery with other metallic
materials.
Doing this may cause the battery to give off
heat, crack or start a fire.
• When throwing away or saving the battery,
wrap it in tape and insulate; otherwise, the
battery may start to give off heat, crack or start
a fire.
• Do not poke the battery with tweezers or similar
tools.
Doing this may cause the battery to give off
heat, crack or start a fire.
CAUTION:
DO NOT leave the remote controller in a place
(such as dashboards) exposed to direct sunlight
for a long time. Otherwise, it may be damaged.
Lithium coin battery
(product number:
CR2025)
(back side)
(back side)
1)
2)
EN02-07KW-XC939[EE]f.pm6
6/23/03, 3:47 PM
6

7
ENGLISH
BASIC OPERATIONS
Note:
When you use this unit for the first
time, set the built-in clock correctly, see
page 29.
1
Turn on the power.
“HELLO!” appears on the
display.
Note on One-Touch Operation:
When you select a source in step
2 below, the
power automatically comes on. You do not have
to press this button to turn on the power.
2
Select the source.
• Each time you press CD/CH,
the source alternates between
CD* and CD-changer (or
external component)**.
• Each time you press FM/AM, the
band changes to FM (FM1,
FM2, FM3) and AM.
• Each time you press TAPE/AUX,
the source alternates between
TAPE*** and external
component (AUX INPUT).
*
If a disc is not in the loading slot, you cannot
select CD as the source to play. (“NO DISC” will
appear on the display.)
**
Without connecting the CD changer or the
external component, you cannot select it as the
source to play.
*** If a cassette is not in the cassette compartment,
you cannot select TAPE as the source to play.
(“NO TAPE” will appear on the display.)
To operate the tuner, see pages 8 – 11.
To play the CD, see pages 12 – 15.
To play an MP3 disc, see pages 18 – 21.
To operate the tape deck, see pages 22 – 24.
To operate the external components, see page 34.
To operate the CD changer, see pages 35 – 37.
3
Adjust the volume.
4
Adjust the sound as you want
(see pages 25 – 27).
• If you need to change the level meter
pattern, see page 28.
To drop the volume immediately
Press
ATT
/
briefly while listening to any
source. “ATT” starts flashing on the display, and
the volume level will drop immediately.
To resume the previous volume level, press the
button briefly again.
To turn off the power
Press
ATT
/
for more than 1 second.
“SEE YOU” appears, then the unit turns off.
• If you turn off the power while listening to a
disc, the disc play will start from where
playback has been stopped previously, next
time you turn on the power.
• If you turn off the ignition key without
turning off this unit, the unit will automatically
turn on when you turn on the ignition key next
time. If the last selected source is ready for
playback (ex. a disc or a tape is in the unit),
playback starts automatically.
2
1
3
To increase the volume
To decrease the volume
Volume level
Clock time
EN02-07KW-XC939[EE]f.pm6
6/23/03, 3:47 PM
7

8
ENGLISH
RADIO OPERATIONS
Listening to the radio
You can use either automatic searching or manual
searching to tune in to a particular station.
Searching for a station automatically:
Auto search
1
Select the band (FM1, FM2, FM3 or
AM).
Note:
This receiver has three FM bands (FM1, FM2,
and FM3). You can use any one of them to listen
to an FM broadcast.
2
Start searching for a station.
To stop searching before a station is
received, press the same button you have
pressed for searching.
Searching for a station manually:
Manual search
1
Select the band (FM1, FM2, FM3, or
AM).
2
Press and hold
¢
or
4
until “M” (manual) starts flashing on
the display.
3
Tune in to a station you want while
“M” is flashing.
• If you release your finger from the button, the
manual mode will automatically turn off after
5 seconds.
• If you hold down the button, the frequency
keeps changing (in 50 kHz intervals for FM and
9 kHz for AM) until you release the button.
Selected band appears.
When a station is received, searching stops.
FM1
FM2
FM3
AM
To search stations of
higher frequencies
To search stations of
lower frequencies
To tune in to stations of
higher frequencies
To tune in to stations of
lower frequencies
FM1
FM2
FM3
AM
EN08-11KW-XC939[EE]f.pm6
6/23/03, 3:48 PM
8

ENGLISH Storing stations in memory You can use one of the f…
Страница 9
- Изображение
- Текст
9
ENGLISH
Storing stations in memory
You can use one of the following methods to
store broadcasting stations in memory.
• Automatic preset: SSM (Strong-station
Sequential Memory)
• Manual preset
• Storing your favorite station into the EX button
Automatic preset: SSM
You can preset up to 6 local stations in each FM
band (FM1, FM2, and FM3).
1
Select the band (FM1, FM2, or FM3).
2
Press MODE repeatedly until “SSM”
appears.
3
Press SEL (select).
Local stations with the strongest signals are
searched for and stored automatically in the
band you have selected (FM1, FM2, and FM3).
These stations are preset in the number
buttons—No. 1 (lowest frequency) to No. 6
(highest frequency).
When automatic preset is over, the station stored
in the number 1 button will be automatically tuned
in.
“—SSM—” appears, then disappears
when automatic preset is over.
Manual preset
You can preset up to 6 stations in each band
(FM1, FM2, FM3, and AM) manually.
Ex.: Storing an FM station of 88.3 MHz into the
preset channel number 1 of the FM1 band
1
Select the FM1 band.
2
Tune in to a station (in this example,
of 88.3 MHz).
3
Press and hold the number button
(in this example, 1) for more than
2 seconds.
4
Repeat the above procedure to store
other stations into other preset
numbers.
“P1” flashes for a few seconds.
FM1
FM2
FM3
AM
To tune in to stations of
higher frequencies
To tune in to stations of
lower frequencies
EN08-11KW-XC939[EE]f.pm6
6/23/03, 3:48 PM
9

10
ENGLISH
Tuning in to a preset station
You can easily tune in to a preset station.
Remember that you must store stations first. If
you have not stored them yet, see page 9.
1
Select the band (FM1, FM2, FM3, or
AM) you want.
2
Select the number (1 – 6) for the
preset station you want.
To tune in the favorite station (EX)
Press EX (extra) so that the unit
automatically turns on (if it has
been off).
Your favorite station is tuned in.
• If you press the button again, the previous
source will be played back again.
FM1
FM2
FM3
AM
EX
Storing your favorite station into the
EX (extra) button
You can preset an FM or AM station (such as
your favorite station or traffic announcement
station); and recall it by one touch operation even
if the unit is turned off.
Ex.: Storing an FM station of 88.3 MHz into the
EX button
1
Select the FM1 band.
2
Tune in to a station (in this example,
of 88.3 MHz).
3
Press and hold the EX (extra) button
until “EX” flashes.
Notes:
• The previously preset station is erased when a new
station is stored.
• Preset stations are erased when the power supply to
the memory circuit is interrupted (for example,
during battery replacement). If this occurs, preset
the stations again.
To tune in to stations of
higher frequencies
To tune in to stations of
lower frequencies
EX
“EX” flashes on the display.
EN08-11KW-XC939[EE]f.pm6
6/23/03, 3:48 PM
10

Комментарии
Инструкцию для JVC KW-XC939 EE на русском языке, в формате pdf можно скачать с нашего сайта. Наш каталог предоставляем Вам инструкцию производителя фирмы JVC, которая была взята из открытых источников. Ознакомившись с руководством по эксплуатации от JVC, Вы на все 100% и правильно сможете воспользоваться всеми функциями устройства.
Для сохранения инструкции «Автомобильная магнитола с DVD + монитор JVC KW-XC939 EE» на русском языке на вашем компьютере либо телефоне, нажмите кнопку «Скачать инструкцию». Если активна кнопка «Инструкция онлайн», то Вы можете просмотреть документ (manual), в своём браузере онлайн.
Если у Вас нет возможности скачать инструкцию по эксплуатации либо просмотреть её, Вы можете поделиться ссылкой на эту страницу в социальных сетях и при удобном моменте скачать инструкцию. Либо добавьте эту страницу в закладки Вашего браузера, нажав кнопку «Добавить страницу в закладки браузера».
KW-XC939
Installation/Connection Manual
LVT1099-002A
[EE]
ENGLISH
• This unit is designed to operate on 12 V DC, NEGATIVE ground electrical systems.
INSTALLATION (IN-DASH MOUNTING)
The following illustration shows a typical installation. However, you should make adjustments
corresponding to your specific car. In this case consult the manual included with the installation kit
(option).
In some case, depending of the type and the model of your car, it is not possible to install the unit
into the center console.
If you have any questions or require information regarding installation kits, consult your JVC
IN-CAR ENTERTAINMENT dealer or a company supplying kits.
Before installing the unit
• To prevent short circuits, it is recommended to disconnect the battery’s negative terminal and
make all electrical connections before installing the unit.
• For reason of security, do not install the unit in a place where it may disturb your driving or where
there is not enough ventilation space around the unit.
• When the installation position has been determined, confirm that the cords are sufficiently long.
• When mounting the unit, be sure to use the screws provided, as instructed. If other screws are
used, there is a possibility that parts could become loose or damaged.
• If you are not sure how to install this unit correctly, consult a JVC IN-CAR ENTERTAINMENT
dealer or have it installed by a qualified technician.
• When tightening screws or bolts be careful not to pinch any connection cord.
Caution:
To install the mounting brackets to the unit, use only the supplied screws (M5 x 6 mm).
If you use any screw longer than 6 mm, the unit can be damaged.
After installing the unit
Check if all the brake lamps, lights, flasher, wiper, etc. work correctly.
Parts list for installation and connection
The following parts are provided with this unit.
After checking them, please set them correctly.
Flat countersunk screws (M5 x 6 mm)
Binding screws (M5 x 6 mm)
TROUBLESHOOTING
• The fuse blows.
* Are the red and black leads connected correctly?
• Power cannot be turned on.
* Is the yellow lead connected?
• No sound from the speakers.
* Is the speaker output lead short-circuited?
• Sound is distorted.
* Is the speaker output lead grounded?
* Are the «–» terminals of L and R speakers grounded in common?
• Unit becomes hot.
* Is the speaker output lead grounded?
* Are the «–» terminals of L and R speakers grounded in common?
Power cord
Plate for use with a Nissan car
1
V
J
C
CR2025
Batteries
Remote controller
0603MNMMDWJEIN
EN, RU