Данная инструкция на русском языке предназначена для стиральной машины
Siemens iQ500 WS12T440OE, описывает принцип работы и основные моменты эксплуатации устройства.
Производитель настойчиво рекомендует перед включением стиральной машины
внимательно изучить настоящую инструкцию.
Инструкция для стиральной машины
представлена в формате PDF. Все современные браузеры уже поддерживают данный формат и сложностей с открытием файла возникнуть не должно.
Но если открыть инструкцию все же не удается, то необходимо установить на компьютер программу для чтения PDF файлов, например, Acrobat Reader. Если у вас возникли сложности с открытием инструкции на смартфоне под управлением Android, нужно установить, например, Adobe Acrobat Reader.
Перейти к контенту
![]()
Русские электронные инструкции по эксплуатации
Постоянно обновляемый большой каталог документации по эксплуатации и использованию современных устройств и оборудования на русском языке. Бесплатное скачивание файлов.
Поиск:
Главная
♥ В закладки
Просмотр инструкции в pdf


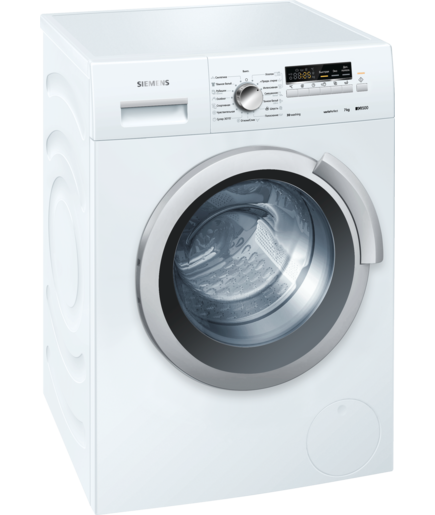
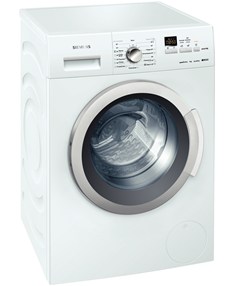
Инструкция по эксплуатации стиральной машины Siemens iQ500, iSensoric WS12K24MOE.
Скачать инструкцию к стиральной машине Siemens iQ500, iSensoric WS12K24MOE (3,22 МБ)

Инструкции по эксплуатации стиральных машин Siemens
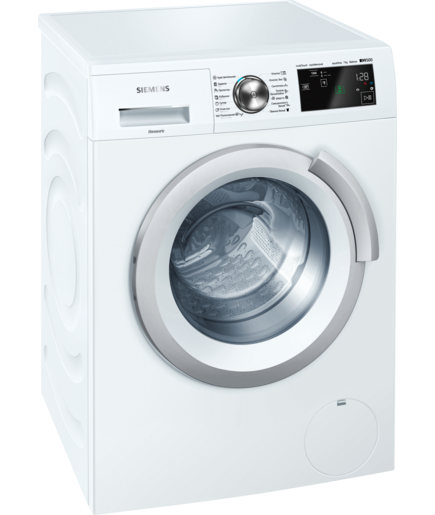
« Инструкция к стиральной машине Siemens iQ500 varioPerfect WM12Q441OE
» Инструкция к стиральной машине Jacky’s JW 6W 10 L0
Вам также может быть интересно

Инструкция к холодильнику Siemens iQ500 KG39NAX3AR

Инструкция к холодильнику Siemens KG39NXW15R

Инструкция к стиральной машине Siemens iQ500 VarioPerfect WS12K240OE

Инструкция к стиральной машине Siemens iQ500 varioPerfect WM12Q441OE

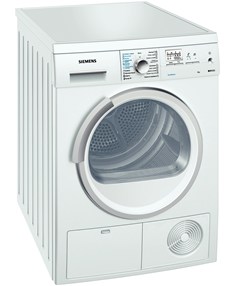
Инструкция к сушильной машине Siemens iQ700 WT47XKH1OE

Инструкция к газовой варочной панели Siemens iQ300 EN6B2PO90R

Инструкция к сушильной машине Siemens WT 47Y780 OE

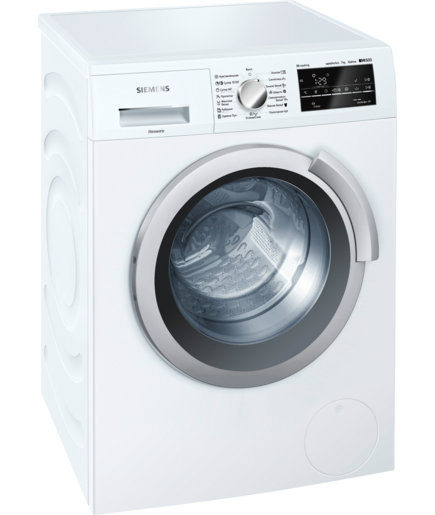
Инструкция к стиральной машине Siemens WS12T440OE
Добавить комментарий
Имя *
Email *
Сайт
Комментарий


![]()


Сохранить моё имя, email и адрес сайта в этом браузере для последующих моих комментариев.
- Добавить инструкцию
- Заказать инструкцию
- Manuals
- Brands
- Siemens Manuals
- Washer
- IQ500
- User manual and installation instructions
-
Contents
-
Table of Contents
-
Troubleshooting
-
Bookmarks
Quick Links
Washing machine
WM14UT93GB
en
User manual and installation instructions
Register your product on My Siemens and discover
exclusive services and offers.
siemens-home.bsh-group.com/welcome
The future moving in.
Siemens Home Appliances
Related Manuals for Siemens iQ500
Summary of Contents for Siemens iQ500
-
Page 1
Washing machine WM14UT93GB User manual and installation instructions Register your product on My Siemens and discover exclusive services and offers. siemens-home.bsh-group.com/welcome The future moving in. Siemens Home Appliances… -
Page 2: Table Of Contents
Table of contents Safety ………. 4 Laundry………. 31 General information…… 4 Preparing the laundry ….. 31 Intended use…….. 4 Sorting laundry ……. 32 Restriction on user group…. 4 Degrees of soiling …… 32 Safe installation …….. 5 Care symbols on the care labels … 32 Safe use ……….. 7 Detergents and care products..
-
Page 3
Cleaning the detergent drawer .. 40 Descaling…….. 41 Cleaning the drain pump…. 42 Cleaning the water outlet hose at the siphon…….. 44 Clean the water inlet filters….. 45 Troubleshooting…… 47 Malfunctions …….. 47 Emergency release …… 55 Transportation, storage and disposal ……… 55 Removing the appliance …. 55 Inserting the transit bolts…. 55 Using the appliance again ….. 56 Disposing of old appliance …. 56… -
Page 4: Safety
en Safety Safety Observe the following safety instructions. General information ¡ Read this instruction manual carefully. ¡ Keep the instruction manual and the product information safe for future reference or for the next owner. ¡ Do not connect the appliance if it has been damaged in transit. Intended use Only use this appliance: ¡…
-
Page 5: Safe Installation
Safety en Safe installation Take note of the safety instructions when installing the appliance. WARNING ‒ Risk of electric shock! ¡ Improper installation is dangerous. ▶ Connect and operate the appliance only in accordance with the specifications on the rating plate. ▶ Connect the appliance to a power supply with alternating current only via a properly installed socket with earthing.
-
Page 6
en Safety WARNING ‒ Risk of injury! ¡ The high weight of the appliance may result in injury when lif- ted. ▶ Do not lift the appliance on your own. ¡ If this appliance is not correctly installed in a washer-dryer stack, the installed appliance may fall. ▶… -
Page 7: Safe Use
Safety en CAUTION ‒ Risk of cutting! Touching sharp edges on the appliance may lead to cuts. ▶ Do not touch the sharp edges on the appliance. ▶ Wear protective gloves when installing and transporting the appliance. Safe use WARNING ‒ Risk of electric shock! ¡…
-
Page 8
en Safety WARNING ‒ Risk of suffocation! Children may breathe in or swallow small parts, causing them to suffocate. ▶ Keep small parts away from children. ▶ Do not let children play with small parts. WARNING ‒ Risk of poisoning! Detergents and care products may result in poisoning if con- sumed. -
Page 9: Safe Cleaning And Maintenance
Safety en CAUTION ‒ Risk of scalding! When you wash at high temperatures, the detergent solution gets hot. ▶ Do not touch the hot detergent solution. CAUTION ‒ Risk of chemical burns! If the detergent drawer is opened, detergent and care products may spray out from the appliance. Contact with eyes or skin may cause irritation.
-
Page 10
en Safety WARNING ‒ Risk of poisoning! Poisonous fumes may be given off if you use cleaning agents that contain solvents. ▶ Do not use cleaning agents that contain solvents. -
Page 11: Preventing Material Damage
Preventing material damage en Make sure that the length of the ▶ Preventing material damage Preventing material dam- thread on the connection to the water tap is at least 10 mm. ¡ If the water pressure is too high or too low, the appliance may not be Follow these instructions to avoid ma- Preventing material damage able to operate properly.
-
Page 12: Environmental Protection And Saving Energy
en Environmental protection and saving energy Remove all detergent residue, Reduce the washing temperature for ▶ spray residue or other residues lightly and normally soiled laundry. immediately if they come into At low temperatures, the appliance contact with the appliance. consumes less energy. For light to normal soiling, lower temperatures than indicated on the care label Environmental protection and saving energy…
-
Page 13: Energy Saving Mode
Installation and connection en ATTENTION! Energy saving mode Objects remaining in the drum that If you do not use the appliance for an are not designed for operation with extended period, it automatically the appliance may cause material switches to energy-saving mode. All damage and damage to the appli- displays go out and Start/Reload ance.
-
Page 14: Contents Of Package
en Installation and connection Contents of package After unpacking all parts, check for any damage in transit and completeness of the delivery. Requirements for the installa- Washing machine tion location Accompanying documents The appliance may «wander» when it Water inlet hose spins.
-
Page 15: Removing The Transit Bolts
Installation and connection en Installation location Requirements WARNING Risk of electric shock! On a wooden joist Place the appliance The appliance contains live parts. floor on a water-resistant Touching live parts is dangerous. wooden board which Do not operate the appliance ▶…
-
Page 16
en Installation and connection Pull the hoses out of the holders. Remove the four sleeves. Unscrew and remove all four Put on the four cover caps. screws for the transit bolts with a WAF 13 wrench. Press down on the four cover caps. -
Page 17: Connecting The Appliance
Installation and connection en Note: Please read the information in Connecting the appliance the «Safety» → Page 4 and «Prevent- Connect your appliance to the power ing material damage» → Page 11 sec- supply, water inlet and water outlet. tions to ensure that you use the appli- ance safely.
-
Page 18: Aligning The Appliance
en Installation and connection Screw the lock nuts tightly against Aligning the appliance the housing using a WAF 17 In order to reduce noise and vibra- wrench. tion and to prevent the appliance from moving, align the appliance cor- rectly. Note: Please read the information in the «Safety»…
-
Page 19: Familiarising Yourself With Your Appliance
Familiarising yourself with your appliance en Familiarising yourself with your appliance Familiarising yourself with your appliance Familiarising yourself with your appliance Appliance You can find an overview of the parts of your appliance here. On certain models, specific details such as the colour and shape may differ from those pictured.
-
Page 20: Detergent Drawer
en Familiarising yourself with your appliance Detergent drawer Measuring aid for liquid detergent → «Using a measuring aid for liquid detergent», Page 35 Compartment II: ¡ Detergent for main wash ¡ Water softener ¡ Bleach ¡ Stain remover Compartment ¡ Fabric softener ¡ Liquid starch ¡…
-
Page 21: Display
Display en Display Display The display shows the current settings, options or relevant information. Display Display Designation Description 0:40 Programme duration/ Approximate expected programme duration or pro- programme time re- gramme time remaining. maining «Ready in» time The programme end has been set and the remaining number of hours is displayed.
-
Page 22
en Display Display Designation Description Rinse Programme status Spin Programme status – –– Rinse Hold Programme status End of programme Programme status Childproof lock ¡ Lights up: The childproof lock is activated. ¡ Flashes: The childproof lock is active and the pro- gramme selector has been adjusted. -
Page 23: Buttons
Buttons en Buttons Buttons Below is an overview of the buttons and their setting options. Buttons The selection of programme settings depends on the selected programme. You can see the selection options for each programme in the overview for → «Programmes», Page 24. Button Selection Description…
-
Page 24: Programmes
en Programmes Less Ironing Prewash Spin Speed – –– (Rinse Hold) vario Speed Max. spin speed (rpm) Max. temperature (°C) Max. load (kg)
-
Page 25
Programmes en Less Ironing Prewash Spin Speed – –– (Rinse Hold) vario Speed Max. spin speed (rpm) Max. temperature (°C) Max. load (kg) -
Page 26
en Programmes Less Ironing Prewash Spin Speed – –– (Rinse Hold) vario Speed Max. spin speed (rpm) Max. temperature (°C) Max. load (kg) -
Page 27
Programmes en Less Ironing Prewash Spin Speed – –– (Rinse Hold) vario Speed Max. spin speed (rpm) Max. temperature (°C) Max. load (kg) -
Page 28
en Programmes Less Ironing Prewash Spin Speed – –– (Rinse Hold) vario Speed Max. spin speed (rpm) Max. temperature (°C) Max. load (kg) -
Page 29
Programmes en Less Ironing Prewash Spin Speed – –– (Rinse Hold) vario Speed Max. spin speed (rpm) Max. temperature (°C) Max. load (kg) -
Page 30: Accessories
en Accessories Accessories Accessories Use original accessories. These have been made especially for your appliance. Accessories Order number Water inlet hose extension Extend the water inlet hose for WZ10131 cold water or AquaStop (approx. 2.50 m). Pedestal with drawer Install the appliance at a raised WZ20490 height so that it can be easily loaded and unloaded.
-
Page 31: Laundry
Laundry en a The display shows the remaining Pull out the detergent drawer. programme duration. a After the programme has ended, the display shows: End. Start the first wash cycle or set the programme selector to Off to switch off the appliance. → «Basic operation», Page 34 Laundry Laundry…
-
Page 32: Sorting Laundry
en Laundry – Wash large and small items of To improve washing results and ▶ laundry together prevent discolouration, sort the – Dab fresh stains with soapy wa- laundry according to the following ter (do not rub them) criteria before washing. –…
-
Page 33: Detergents And Care Products
Detergents and care products en Notes Detergents and care products Detergents and care ¡ only use liquid detergents that are self-flowing products ¡ Do not mix different liquid deter- gents You can protect your appliance and Detergents and care products ¡ Do not mix detergent and fabric your laundry by selecting and using softener the correct detergents and care…
-
Page 34: Basic Operation
en Basic operation You can find out how hard your water is from your local water com- pany or measure it yourself using a water hardness tester. Water hardness Hardness range Total hardness in mmol/l German degrees in °dH soft (I) 0–1.5 0–8.4 medium (II)
-
Page 35: Adjusting The Programme Set- Tings
Basic operation en Note: Ensure that there is no laun- Adjusting the programme set- dry trapped in the door. tings Close the door. Depending on the programme and programme progress, you can adjust Using a measuring aid for li- or activate/deactivate the settings. quid detergent Note: Overview of all programme set- If you order the measuring aid as an…
-
Page 36: Use The Measuring Aid For Liquid Detergent
en Basic operation Insert the measuring aid. Fold the measuring aid down and click it into place. Insert the detergent drawer. Push in the detergent drawer. Adding detergent and care product Notes ¡ Please read the information in the «Safety» → Page 4 and «Preventing material damage»…
-
Page 37: Adjusting The «Ready In» Time Before The Programme Starts
Basic operation en a The drum rotates and load detec- Open the door. tion takes place. This can take up The appliance door remains to 2 minutes, after which water locked for safety reasons if the enters the drum. temperature and water levels are a The display shows either the pro- high.
-
Page 38: Switching Off The Appliance
en Childproof lock a The childproof lock remains active Switching off the appliance even after the appliance has been Turn the programme selector to switched off. Off. Deactivating the childproof lock Requirement: To deactivate the childproof lock, the appliance must be switched on. Press and hold the two …
-
Page 39: Basic Settings
Basic settings en Basic settings Basic settings You can configure the appliance to meet your needs. Basic settings Overview of the basic settings Below is an overview of the basic settings on your appliance. Basic setting Programme pos- Value Description ition End signal 0 (off) Set the volume of the signal at the end of…
-
Page 40: Changing The Basic Settings
en Cleaning and servicing Changing the basic settings Remove all detergent Fresh deposits are residue, spray residue easier to remove Set the programme selector to po- or other residues im- without leaving any sition 1. mediately. residue. Keep the appliance This allows the resid- door and detergent ual water to dry, redu- drawer open after…
-
Page 41: Descaling
Cleaning and servicing en Press down on the insert and re- Fit the insert and lock it into place. move the detergent drawer. Cleaning the opening for the deter- Press out the insert upwards from gent drawer. below. Push in the detergent drawer. Clean the detergent drawer and in- sert with water and a brush, and Descaling…
-
Page 42: Cleaning The Drain Pump
en Cleaning and servicing Slide a sufficiently large receptacle Cleaning the drain pump under the opening. Clean the drain pump in the event of faults, e.g. blockages or rattling noises. Emptying the drain pump Note: Please read the information in the «Safety» → Page 4 and «Prevent- ing material damage»…
-
Page 43
Cleaning and servicing en Cleaning the drain pump CAUTION — Risk of scalding! When you wash at high temperat- Note: Please read the information in ures, the detergent solution gets the «Safety» → Page 4 and «Prevent- hot. ing material damage» → Page 11 sec- Do not touch the hot detergent tions to ensure that you use the appli- ▶… -
Page 44: Cleaning The Water Outlet Hose At The Siphon
en Cleaning and servicing Insert the pump cap and screw it Loosen the hose clamp and care- on as far as it will go. fully remove the water outlet hose. 90° The handle on the pump cap must Residual water may leak out. be in a vertical position.
-
Page 45: Clean The Water Inlet Filters
Cleaning and servicing en Clean the filter with a small brush. Clean the water inlet filters. Clean the filter in the water inlet in the event of blockages or if the water pressure is too low. Emptying the water inlet hose Turn off the tap.
-
Page 46
en Cleaning and servicing Disconnect the hose from the rear Connect the hose and check for of the appliance. leaks. Use pliers to remove the filter. Clean the filter with a small brush. Reinsert the filter. -
Page 47: Troubleshooting
Troubleshooting en Troubleshooting Troubleshooting You can rectify minor faults on your appliance yourself. Read the troubleshoot- Troubleshooting ing information before contacting after-sales service. This will avoid unneces- sary costs. WARNING Risk of electric shock! Incorrect repairs are dangerous. Repairs to the appliance should only be carried out by trained specialist ▶…
-
Page 48
en Troubleshooting Fault Cause Troubleshooting → «Cleaning the drain pump», «E:36 / -25 / -26» Drain pump is blocked. ▶ Page 42 The water pressure is low. No remedial action possible. The filters in the water inflow «Clean the filters in the water in- ▶… -
Page 49
Troubleshooting en Fault Cause Troubleshooting The appliance is not work- There has been a power cut. Check whether the lighting in your ▶ ing. kitchen or other appliances are working. The programme does not You have not pressed Start/ Press Start/Reload. ▶ start. -
Page 50
en Troubleshooting Fault Cause Troubleshooting The water is not draining. – –– is activated. Continue the programme by select- ▶ ing Spin or Drain and pressing Start/Reload. → «Resuming the programme when the programme status is Rinse Hold», Page 37 The water outlet hose is con- Install the water outlet hose at a ▶… -
Page 51
Troubleshooting en Fault Cause Troubleshooting The programme duration Note: When loading, where possible, changes during the wash place large and small items of laundry cycle. together in the drum. Different sized items of laundry distribute themselves better during the spin cycle. Foam detection system Not a fault –… -
Page 52
en Troubleshooting Fault Cause Troubleshooting High spin speed not Unbalance load detection Redistribute the laundry in the ▶ reached. system is using a reduced drum. spin speed to eliminate an Note: Where possible, mix large and unbalance. small items in the drum. Different sized items of laundry distribute themselves better during the spin cycle. -
Page 53
Troubleshooting en Fault Cause Troubleshooting Creasing. The wrong programme is se- Select the programmes that are ▶ lected for the type of fabric. suitable for the type of fabric. → «Programmes», Page 24 Detergent or fabric softener Too much detergent/fabric When dosing liquid detergent and ▶… -
Page 54
en Troubleshooting Fault Cause Troubleshooting Water is leaking out at the Water inlet hose is not cor- Connect the water supply hose cor- water inlet hose. rectly/securely connected. rectly. Connecting the water inlet hose Tighten the screw connection. Water is leaking out at the The water outlet hose is Replace the damaged water outlet ▶… -
Page 55: Emergency Release
Transportation, storage and disposal en Unplug the appliance’s mains plug. Emergency release Drain the remaining detergent To remove the laundry in the event of solution. a power failure, for example, you can → «Cleaning the drain pump», manually release the door. Page 42 Detach the hoses.
-
Page 56: Using The Appliance Again
en Transportation, storage and disposal Insert all screws into the four Disposing of old appliance transit bolts and tighten slightly. Valuable raw materials can be re- used by recycling. WARNING Risk of harm to health! Children can lock themselves in the appliance, thereby putting their lives at risk.
-
Page 57: Customer Service
Customer Service en Product number (E-Nr.) and Customer Service Customer Service production number (FD) If you have any queries on use, are Customer Service You can find the product number (E- unable to rectify faults on the appli- Nr.) and the production number (FD) ance yourself or if your appliance on the appliance’s rating plate.
-
Page 58: Consumption Values
en Consumption values Consumption values Consumption values The following information is provided in accordance with the EU Ecodesign Consumption values Regulation. The values given for programs other than the Eco 40-60 are indicat- ive only and were determined in accordance with the applicable standard EN60456.
-
Page 59
Technical specifications en Water pressure ¡ Minimum: 100 kPa (1 bar) ¡ Maximum: 1000 kPa (10 bar) Length of the water in- 150 cm let hose Length of the water 150 cm outlet hose Length of the power 210 cm cord Depending on the appliance specifications More information about your model can be found online at https://en- ergylabel.bsh-group.com . -
Page 60
BSH Hausgeräte GmbH Carl-Wery-Straße 34 81739 München GERMANY www.siemens-home.bsh-group.com Manufactured by BSH Hausgeräte GmbH under the trademark licence of Siemens AG *9001565884* 9001565884 (001022)
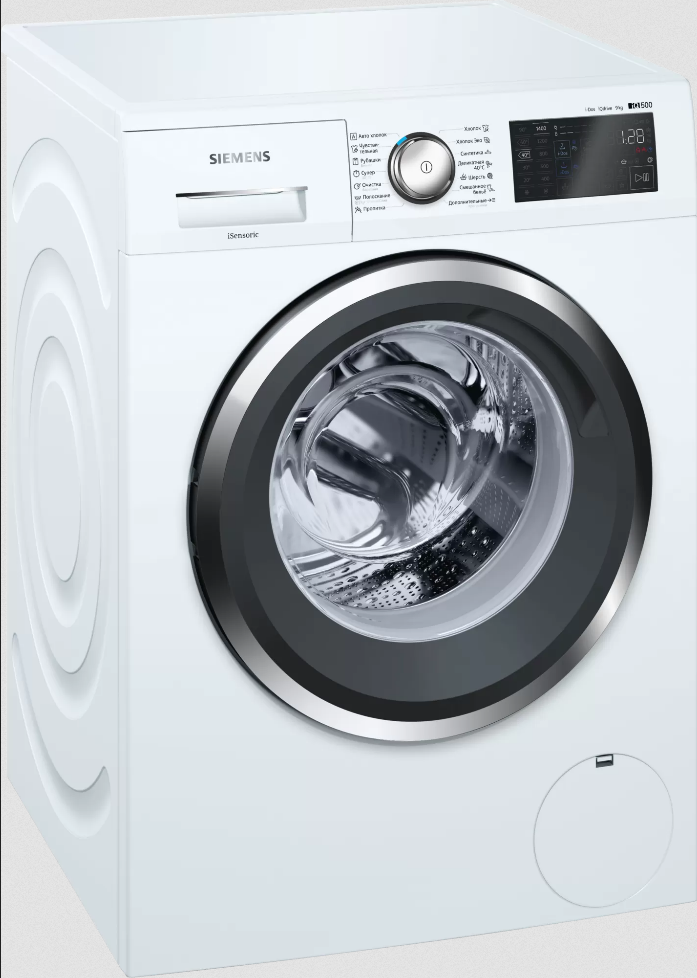
iQ500 Стиральная машина с фронтальной загрузкой 9 kg 1400 об/мин Загрузить Руководство Пользователя: siemens-WM14T6H2OE-IQ500-Ru Система i-Dos: автоматическое точное дозирование жидкого моющего средства и кондиционера для превосходного результата стирки и снижения затрат на бытовую химию. Автоматическая система точного дозирования i-Dos i-Dos — это встроенный дозатор, который точно определяет, сколько жидкого моющего средства требуется вашему белью,…
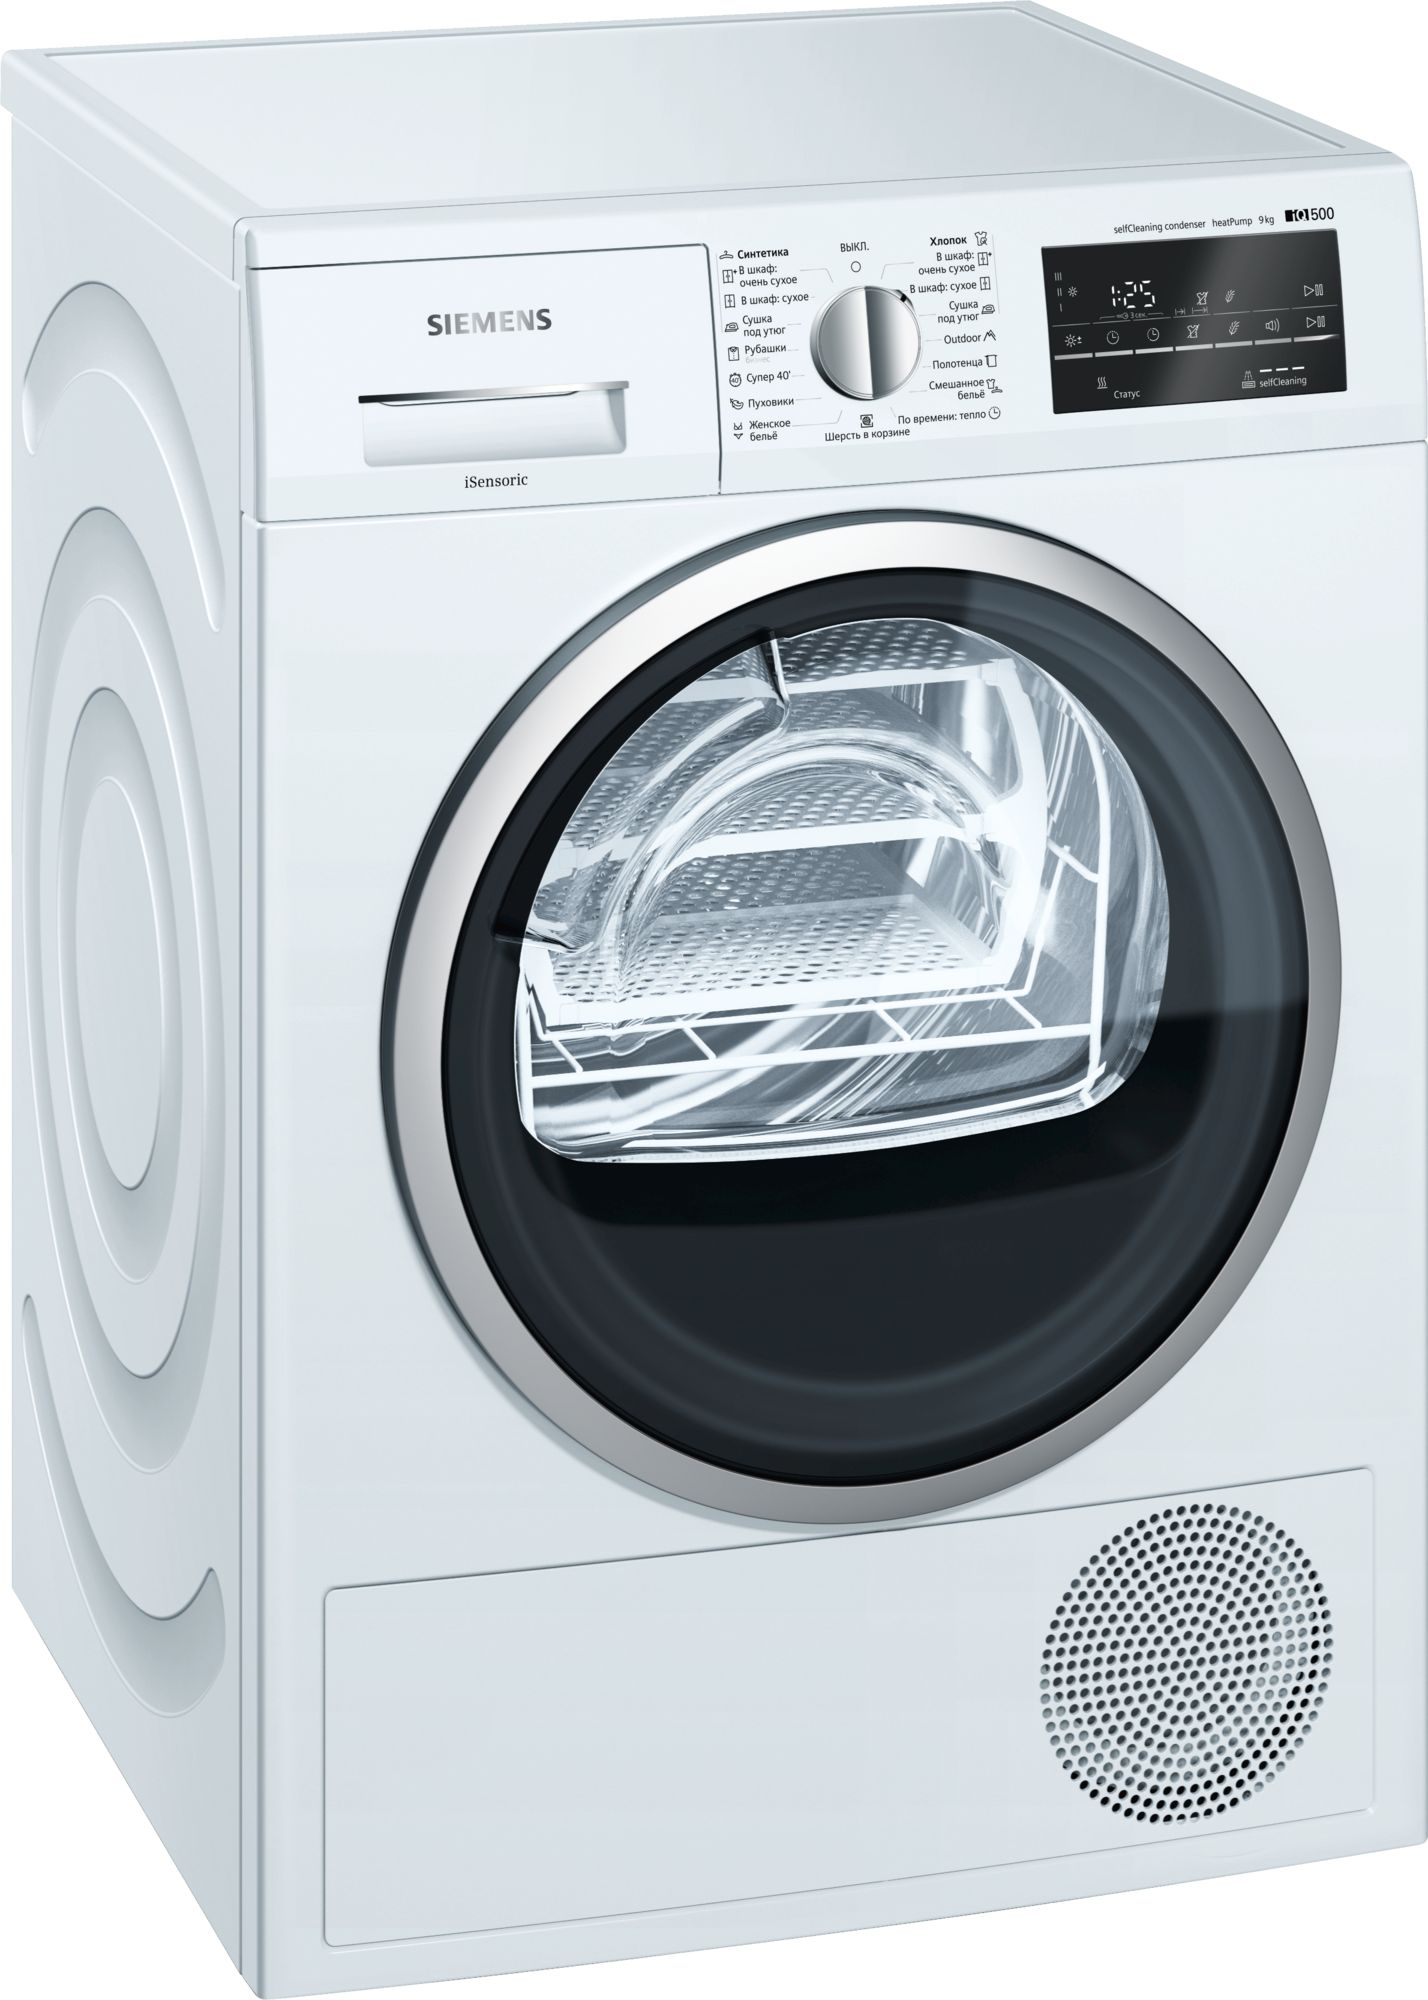
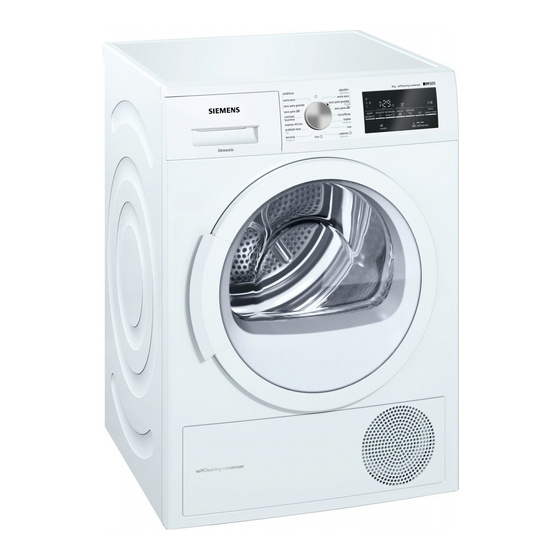
Siemens iQ500 Сушильная машина с тепловым насосом Загрузить Руководство Пользователя: Сушильная машина Siemens WT45W459OE в формате PDF: Siemens_WT45W459OE Сушильный автомат с технологией i-Sensoric и самоочищающимся конденсатором – отличный результат и простота эксклуатации Превосходный результат сушки благодаря конденсатору с автоматической самоочисткой и низким энергопотреблением. Программа Rapid 40: быстрая сушка белья за 40 минут. Сушильный автомат работает…
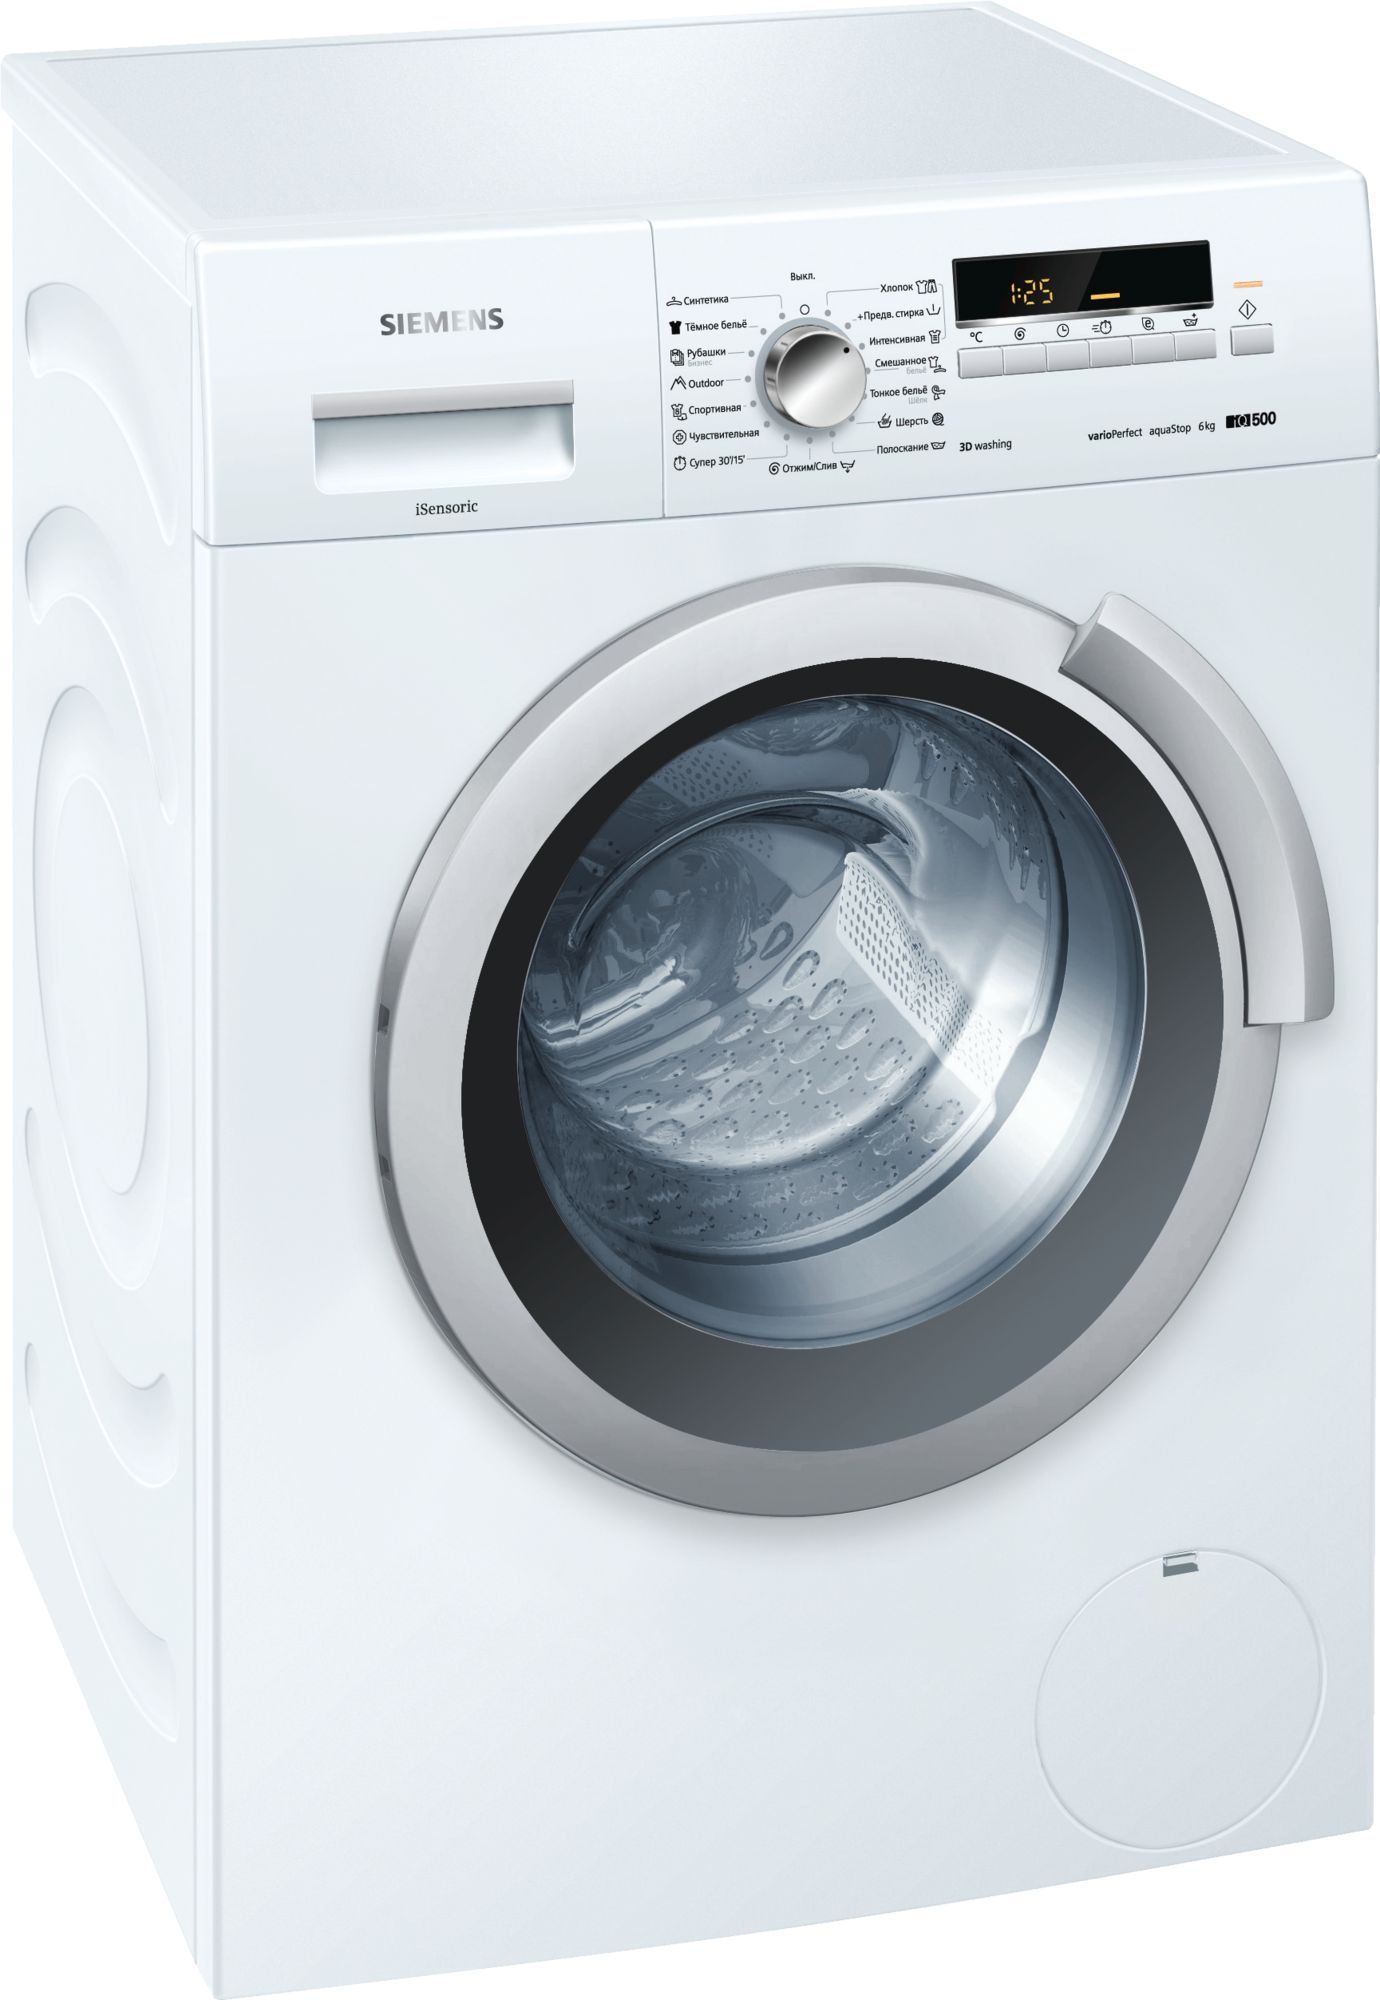
Siemens IQ500 WS10K246OE Инструкция по установке и эксплуатации Загрузить Руководство Пользователя: Siemens WS10K246OE в формате PDF: WS10K246OE Техническая спецификация Общая информация Максимальная загрузка: 6 кг Макс. скорость отжима: 1000 об/мин Класс стирки A / Класс отжима C aquaStop — защита от протечек с гарантией на весь срок службы прибора varioPerfect — экономия времени…
Сименс iQ500 — Инструкция по установке и эксплуатации WS12K26COE WS10K267OE WS12K247OE Загрузить Руководство Пользователя: Siemens WS10K267OE в формате PDF: WS10K267OE Стиральная машина с барабаном varioSoft: бережная стирка дорогих вам вещей. Бережная стирка благодаря каплеобразному рельефу внутренней поверхности барабана varioSoft, который позволяет регулировать воздействие на белье. Быстрая или экономичная стирка: с функцией varioPerfect вы можете…
Узкая стиральная машина с технологией iSensoric и бесконтактным мотором нового поколения iQDrive Загрузить Руководство Пользователя: Siemens WS12T540OE в формате PDF: WS12T540OE Технические данные multiTouch, stainRemoval Максимальная загрузка 7kg, iQDrive Скорость отжима: 1200 об/мин Класс стирки A / Класс отжима B На 30% (0,13 кВтч/кг) экономичнее класса «А» (0,19 кВтч/кг) Параметры потребления: 0.91 кВт/ч,…
Инструкция по эксплуатации Siemens WS12T460OE Загрузить Руководство Пользователя Siemens WS12T460OE в формате PDF: WS12T460OE Максимальная загрузка: 7 кг Макс. скорость отжима: 1200 об/мин Класс стирки A / Класс отжима B На 30% (0,13 кВтч/кг) экономичнее класса «А» (0,19 кВтч/кг) Параметры потребления: 0.91 кВт/ч, 38 л Объем барабана 46 л Многоступенчатая система защиты от…
WS10K240OE — Узкая стиральная машина iQ500 с помощью сенсорных технологий и функции speedPerfect сокращает время выполнения программы при сохранения высокого качества стирки. Загрузить Руководство Siemens WS10K240OE в формате PDF: WS10K240OE Система waterPerfect обеспечивает наивысший класс стирки при экономичном потреблении воды. Функция voltMonitor: надежная защита от перепадов и временного отключения электроэнергии. Барабан varioSoft™: интенсивная или бережная стирка…
Узкая стиральная машина iQ500 с помощью сенсорных технологий и функции speedPerfect сокращает время выполнения программы при сохранения высокого качества стирки. Загрузить Руководство Siemens WS10K140OE в формате PDF: WS10K140OE-RU Класс стирки A / Класс отжима C На 10% (0,17 кВтч/кг) экономичнее класса «А» (0,19 кВтч/кг) Максимальная загрузка: 6 кг Объем барабана 46 л Скорость отжима: 1000…
Руководство Siemens WT46S515OE Cкачать руководство пользователя Siemens WT46S515OE в формате PDF: WT46S515OE Класс энергопотребления: B Сушка по принципу воздушной конденсации Максимальная загрузка: 8 кг Параметры потребления для программы «Хлопок Сушка в шкаф»: после отжима в стиральной машине при 1400 об/мин. — 3.74 кВт/ч; при 1000 об/мин — 4.49 кВт/ч электронное Клавиши специальных функций с технологией touchControl:…
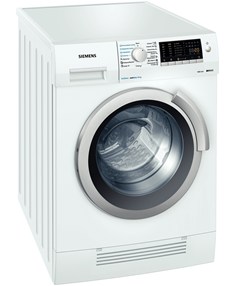
Инструкция по эксплуатации Siemens IQ500 WD14H441OE Стирально-сушильный автомат Cкачать руководство пользователя Siemens WD14H441OE в формате PDF: WD14H441OE-RU Класс энергопотребления B / Класс стирки A Потребление электроэнергии 5.67 кВт/ч, потребление воды 57 л при стандартной программе стирки и сушки Максимальная загрузка-стирка: 7 кг, максимальная загрузка-сушка 4 кг Объем барабана 56 л Последовательная программа стирки и сушки…
 Заводская инструкция по эксплуатации для стиральной машины марки Siemens IQ500 написана доступным для понимания языком. В ней вы найдете много информации, касающейся эксплуатации стиральной машины. Именно инструкция дает ответы на стандартные вопросы пользователей о машинке Сименс, однако пользователи не особенно стремятся ее читать. Попытаемся исправить ситуацию, предложив вам основную и сокращенную версии данного важнейшего документа.
Как пользоваться стиралкой?
Опустим различные предыстории и начнем с самого главного. Рассмотрим действия, которые необходимо предпринимать, для того чтобы пользоваться стиральной машиной марки Siemens.
- Вставим вилку машинки в розетку и откроем кран подачи воды.
- Откроем дверцу люка и заложим туда заранее рассортированное белье.
Не закладывайте слишком много белья. Перегруз машинки негативно влияет на качество стирки, к тому же это может стать причиной системной ошибки.
- Закроем дверцу, придавив ее до щелчка. Слишком сильно давить не нужно. Если дверца не закрывается, обратитесь в авторизованный сервисный центр.
- Поверните селектор, выбрав нужную программу.
- Нажмите кнопку «старт стирки» и дождитесь окончания процесса. Окончание стирки ознаменуется надписью «END» на дисплее.
- Возвращаем селектор в исходное положение и закрываем кран подачи воды.

Элементы управления и индикации
Общий порядок действий по управлению стиральной машиной автомат марки Siemens нам понятен, теперь немного деталей. Давайте разберем элементы панели управления, которые помогают пользователю эффективно взаимодействовать с машинкой.
- Во-первых, это упомянутый нами селектор выбора программ, который представляет собой поворотную ручку с черным кружком, определяющим положение данного элемента управления. Программы и функции, которые позволяет активировать селектор, все подписаны, так что проблем возникнуть не должно.
- Во-вторых, это семь кнопок позволяющих выбрать температуру стирки, скорость отжима, различные функции. Кроме того имеется кнопка, которая запускает любую программу и находится она в крайней правой части панели, отдельно от остальных.

- В-третьих, имеется информативный жидкокристаллический дисплей. На него выводится куча разной информации, которая будет полезна во время управления стиральной машиной. В-четвертых, на панели имеется индикатор. Он всего один, поскольку при наличии дисплея необходимость в индикаторах отпадает. Находится лампочка прямо над кнопкой «запуск/остановка программы».

Элементом панели управления можно считать и маленький выдвижной ящичек, который называют диспенсером. В него кладут стиральный порошок и другие средства для стирки. Пожалуй, стоит поговорить о нем немного подробнее.
Куда добавлять порошок?
Стиральная машина Siemens IQ500 имеет одну из самых простых, с точки зрения устройства, кюветок для порошка. Ее порошкоприемник и выдвигается удобно, и вытаскивается просто. Да и секции у него самые простые, без каких либо наворотов. За этой простотой без труда можно ощутить немецкую надежность и основательность.
- Центральная ячейка кюветки обозначается распространенным значком цветочка. Из этого следует, что в данный отсек следует лить кондиционер или сыпать крахмал.
- Слева от ячейки с цветочком находится отделение с римской цифрой II. В это отделение, согласно заводской инструкции, следует класть средство, если вы собираетесь запустить режим основной стирки, отбеливание или просто умягчить воду с помощью соли.
- Справа от отсека с цветочком, расположилось отделение, в которое кладут порошок, если нужно белье замочить. Разумеется, для этого нужно включить режим, предполагающий предварительную стирку.
Полезные советы
Эксплуатируя стиральную машинку в течение длительного времени, пользователь отмечает для себя кучу нюансов, о которых она даже не догадывался, когда только купил новую «домашнюю помощницу». Эти знания очень бы пригодились вначале и позволили бы избежать многих ошибок. А это еще один довод в пользу внимательного прочтения инструкции, ведь большинство из этих нюансов там прямо или завуалировано описаны. Давайте их тезисно приведем.
- Отнеситесь серьезно к сортировке грязного белья перед стиркой. Раскладывая вещи по кучкам, учитывайте: разновидность ткани, ее цвет, характер загрязнения, качество окрашивания. И обязательно изучайте обозначение на одежде для стирки (знаки, значки, символы).
- Перед тем как заложить грязное белье в стиральную машинку Siemens, проверьте карманы. Они должны быть пустыми. Кроме того, если на одежде болтаются пуговицы или имеются прорехи, это необходимо исправить.
- Рубашки, кофты и прочее перед стиркой, нужно застегивать на все пуговицы, либо на молнии и выворачивать наизнанку.
- Прежде чем добавить то или иное средство в лоток для порошка стиральной машины, удостоверьтесь в его качестве и в обязательном порядке соблюдайте рекомендации производителя относительно дозировки и особенностей применения.
- Кладите порошки и гели для стирки прямо в барабан машинки лишь в крайнем случае. Если это необходимо, растворите порошок в небольшом количестве воды, а затем уже добавляйте раствор в барабан. Так меньше шансов, что средство испортит одежду. Эта же рекомендация касается гелей для стирки.
- Для миниатюрных и тонких предметов одежды существуют специальные мешки для стирки. Кидать их просто так в барабан не безопасно. Они могут застрять между стенками бака и барабана или угодить в патрубок и устроить закупорку.
- Крючки со штор и занавесок следует снимать, либо стирать такие текстильные изделия в мешке.
- Не стоит стирать старые текстильные изделия вместе с новыми.
Вот вам и укороченный вариант инструкции к стиралке марки Siemens IQ500. В большинстве случаев сведений приведенных нами оказывается достаточно. Но если вам непременно требуется инструкция от производителя, вы можете ее скачать с нашего сайта (ссылка находится сразу под текстом статьи). Удачи!
Смотреть полную инструкцию