
Перед установкой и настройкой системы резервного копирования необходимо ознакомится и следовать рекомендациям производителя, указанные в руководстве пользователя / администратора. Соблюдение правил эксплуатации программного обеспечения гарантирует работоспособность системы и безопасность ваших данных.
РУКОВОДСТВО КИБЕР БЭКАП (ранее Acronis Backup)
Кибер Бэкап 15
Кибер Бэкап 16
РУКОВОДСТВО ПОЛЬЗОВАТЕЛЯ/АДМИНИСТРАТОРА VINCHIN BACKUP
Admin User Guide Vinchin Backup & Recovery v7.0
Installation Guide Vinchin Backup & Recovery v7.0
РУКОВОДСТВО HANDY BACKUP
Handy Backup 8
РУКОВОДСТВО для АДМИНИСТРАТОРА VERITAS
Veritas Backup Exec 21.x
Veritas NetBackup Administrator’s Guide 9.1
Veritas Desktop and Laptop Option 9.x
Veritas System Recovery 18
Veritas Netbackup Saas Protection
РУКОВОДСТВО DELL EMC
Administration Guide Dell EMC NetWorker 19.1
Installation Guide Dell EMC NetWorker 19.1
РУКОВОДСТВО COMMVAULT
Сommvault Backup & Recovery
Commvault Disaster Recovery
РУКОВОДСТВО ARCSERVE UDP
Arcserve UDP 8.0
Arcserve High Availability
РУКОВОДСТВО VEEAM BACKUP
Veeam Backup & Replication
РУКОВОДСТВО BAREOS
Bareos Backup
РУКОВОДСТВО URBACKUP
UrBackup
По дополнительным вопросам team@backupsolution.ru или +7 (495) 775-72-94
- Manuals
- Brands
- VERITAS Manuals
- Server
- Access 3340
- Configuration manual
-
Contents
-
Table of Contents
-
Bookmarks
Quick Links
Veritas Access Appliance
Initial Configuration Guide
Related Manuals for VERITAS Access Appliance 3340
Summary of Contents for VERITAS Access Appliance 3340
-
Page 1
Veritas Access Appliance Initial Configuration Guide… -
Page 2
Technologies LLC or its affiliates in the U.S. and other countries. Other names may be trademarks of their respective owners. This product may contain third-party software for which Veritas is required to provide attribution to the third party (“Third-party Programs”). Some of the Third-party Programs are available under open source or free software licenses. -
Page 3
Japan CustomerCare_Japan@veritas.com Documentation Make sure that you have the current version of the documentation. Each document displays the date of the last update on page 2. The latest documentation is available on the Veritas website: https://www.veritas.com/content/support/en_US/dpp.Appliances.html Documentation feedback Your feedback is important to us. Suggest improvements or report errors or omissions to the documentation. -
Page 4: Table Of Contents
Chapter 2 Preparing to configure the appliance ……12 Initial configuration requirements …………. 12 About obtaining IP addresses for Veritas Access ……… 14 Network and firewall requirements ……….. 17 Chapter 3 Configuring the appliance for the first time ….24 How to configure the Access Appliance for the first time …….
-
Page 5
Monitoring the appliance ……….44 About hardware monitoring in the Access GUI ……..44 About Veritas AutoSupport on the Access Appliance ……44 Setting up AutoSupport on the appliance ……..45 Using a proxy server with the appliance ……..46 Setting up email notifications on the appliance …….. -
Page 6: Getting To Know The Access Appliance
■ About the Veritas Access Appliance The appliances are rack-mounted servers that run the Veritas Optimized Operating System, a Linux-based operating system. The OS, the appliance software, and the Access application come preinstalled and optimized for the server hardware and disk storage units.
-
Page 7
Interface (IPMI) network port on the back of each appliance node. For the best support and initial configuration experience, Veritas recommends that you configure the IPMI port and make it accessible on your network. You can use the Veritas Remote Management Console for the… -
Page 8: Using The Access Appliance Shell Menu
Access software on the appliance. The Access shell menu becomes available over SSH on the console IP address after the appliance cluster is configured. For more information about the Access interfaces, refer to the Veritas Access Administrator’s Guide. “Using the Access Appliance shell menu”…
-
Page 9: About Licensing The Access Appliance
Veritas reserves the right to ensure entitlement and compliance through auditing. For more information about the Veritas Access product licensing, refer to the Veritas Access GUI Online Help. If you encounter problems while licensing this product, visit the Veritas licensing Support website.
-
Page 10: Where To Find The Documentation
■ supported through the GUI. If you add the Veritas Access license using the Veritas Access shell menu: When a node is restarted after the license has expired, the NFS, CIFS, and S3 ■ services are stopped on that node. You can use the support services show command to display the node-wise status of the service.
-
Page 11
Veritas Access 3350 Appliance Product Description ■ Veritas Access 3350 Appliance Hardware Installation Guide ■ Veritas Access Appliance Cloud Storage Tiering Solutions Guide ■ Veritas Access Appliance Solutions Guide for Enterprise Vault ■ Veritas Access Appliance Solutions Guide for NetBackup ■… -
Page 12: Preparing To Configure The Appliance
Preparing to configure the appliance This chapter includes the following topics: Initial configuration requirements ■ About obtaining IP addresses for Veritas Access ■ Network and firewall requirements ■ Initial configuration requirements Review the information in this topic before you perform the initial configuration on the Veritas Access Appliance.
-
Page 13
Required DNS settings Veritas strongly recommends that you configure DNS on the appliance node. The IP address assigned to the eth1 network interface must be resolved to a valid host name via the DNS server lookup or the local hosts file. A unique DNS entry is required for eth1 on each node. -
Page 14: About Obtaining Ip Addresses For Veritas Access
Table 2-1 Method Description Veritas Remote You can use the Veritas Remote Management Console to launch a virtual Management KVM of the Access Appliance shell menu as if you were using a keyboard Console and mouse that are connected directly to the appliance.
-
Page 15
Preparing to configure the appliance About obtaining IP addresses for Veritas Access Note: The IP type (IPv4 or IPv6) can be different on different networks. In a single network, the IP type must be consistent (either IPv4 or IPv6). Table 2-2… -
Page 16
12. IP addresses for appliance node management over eth1. “Initial configuration requirements” on page 12. For more details about Veritas Access network requirements, refer to the Veritas Access Installation Guide. “Where to find the documentation” on page 10. -
Page 17: Network And Firewall Requirements
Network and firewall requirements Appliance ports In addition to the ports that are used by the Veritas Access software, the appliance also provides for both in-band and out-of-band management. The out-of-band management is through a separate network connection, the Remote Management Module (RMM), and the Intelligent Platform Management Interface (IPMI).
-
Page 18
10102 spad Veritas Data Deduplication manager * Veritas Remote Management – Remote Console ++ Once the NFS service is shut down, the vulnerability scanners do not pick up these ports as threats. Table 2-5 lists the ports outbound from the appliance to allow alerts and notifications to the indicated servers. -
Page 19
2049 HTTPS NFS ++ CIFS (for the Log/Install shares) + NetBackup Integrated storage manager * Veritas Remote Management – Remote Console ++ Once the NFS service is shut down, the vulnerability scanners do not pick up these ports as threats. -
Page 20
Note: Ports 7578, 5120, and 5123 are for the unencrypted mode. Ports 7582, 5124, and 5127 are for the encrypted mode. Veritas Access ports Table 2-7 displays the default ports that Access uses to transfer information. Default Veritas Access ports Table 2-7 Port Protocol or Purpose… -
Page 21
Preparing to configure the appliance Network and firewall requirements Default Veritas Access ports (continued) Table 2-7 Port Protocol or Purpose Impact if blocked Service CIFS CIFS client to server CIFS clients cannot communication access the Access cluster. syslog Logging program… -
Page 22
Table 2-8 shows some of the most-common TCP and UDP ports that NetBackup uses to transfer information. For more information, see the Veritas NetBackup Security and Encryption Guide. Default NetBackup TCP and UDP ports… -
Page 23
Preparing to configure the appliance Network and firewall requirements Default NetBackup TCP and UDP ports (continued) Table 2-8 Port Range Protocol 13724 TCP, UDP 13782-13783 TCP, UDP 13785 CIFS protocols and firewall ports For the CIFS service to work properly in an Active Directory (AD) domain environment, the following protocols and firewall ports need be allowed or opened to enable the CIFS server to communicate smoothly with Active Directory Domain Controllers and Windows/CIFS clients. -
Page 24: Configuring The Appliance For The First Time
IP range. After the initial cluster configuration is complete, you can configure additional data networks. The Veritas Access Appliance initial configuration process is broken into two phases. The first phase requires that you perform each configuration step on each individual node.
-
Page 25
User name: admin ■ Password: P@ssw0rd (where 0 is a zero) ■ Veritas recommends that you access the shell menu using the Veritas Remote Management Console over the appliance IPMI port. “Configuring the IPMI port on an appliance node” on page 41. -
Page 26
Configuring the appliance for the first time How to configure the Access Appliance for the first time First phase of the initial configuration (continued) Table 3-2 Step Task Step 6 Test the appliance software components. Run the system self-test software command. Ensure that the self test result displays PASS. -
Page 27: Configuring The Access Cluster On The Appliance
10. Configuring the Access cluster on the appliance This procedure configures the Veritas Access cluster on the appliance. This procedure is only performed during the initial configuration of the appliance. Ensure that you complete all of the other necessary steps in the initial configuration process before you configure the cluster.
-
Page 28
Enter the starting virtual IP address from the range of virtual IP addresses ■ that you have reserved. At a minimum, you need to reserve two continuous virtual IP addresses. “About obtaining IP addresses for Veritas Access” on page 14. -
Page 29
If you enter 0, no public IP address is configured and you are not prompted to specify the IP addresses. “About obtaining IP addresses for Veritas Access” on page 14. Enter the number of virtual IP addresses to assign to each network interface in the data network. -
Page 30
Configuring the appliance for the first time How to configure the Access Appliance for the first time Enter the host name for the nodes. The host name must be at least 3 and no more than 63 characters long. Enter the IP address or the FQDN of the NTP server. If you specify the FQDN of the NTP server, you must configure the DNS server. -
Page 31
Change the known default password of the admin, maintenance, and IPMI (if the sysadmin account uses the default password) user accounts. Veritas enforces changing the known default passwords during the initial configuration to ensure that the default passwords do not remain active on the node. -
Page 32
Configuring the appliance for the first time How to configure the Access Appliance for the first time Note: The maintenance user password must be the same on each node. If the password expires, log in to the Access web interface with the maintenance account to change the password. -
Page 33: Getting Started With The Veritas Access Gui
IP address where the web interface is hosted. The URL to access the UI is displayed during the initial configuration. The URL to access the UI is also displayed when you log in to the Veritas Access command-line interface using the command.
-
Page 34
Accessing the Veritas Access web interface You have the option to provision storage or go directly to the Dashboard. You can provision storage for Veritas Data Deduplication, for S3 buckets for NetBackup, or you can click the link to view more options for provisioning storage. -
Page 35: Network Connection Management
Configuring network address settings on the appliance nodes ■ Configuring VLAN settings on the appliance nodes ■ About the Veritas Remote Management Console ■ Configuring network address settings on the appliance nodes You can configure the network settings for the eth1 network interface of an appliance node.
-
Page 36: Deleting Network Settings On Appliance Nodes
Network connection management Configuring network address settings on the appliance nodes To configure the appliance node to communicate with one network: Log on to the Access Appliance shell menu on the desired node. Enter the following command to verify which network ports and bonds are plugged and available for configuration: show network interface Enter the following command to configure the appliance to connect to a single…
-
Page 37: About Nic1 (Eth0) Port Usage On The Appliance Nodes
Note: This topic only applies to eth0 and eth1 of the appliance nodes. These ports are used for appliance management and not for the Veritas Access software. You can assign either an IPv4 or an IPv6 address to the eth0 and eth1 interface.
-
Page 38: Configuring Vlan Settings On The Appliance Nodes
Network connection management Configuring VLAN settings on the appliance nodes You can add an IPv6 address using the command. ■ set network interface This command can only be run on a node that is not a part of the cluster. The command can set only the eth1 network interface.
-
Page 39: Deleting A Vlan
Veritas recommends that you configure the IPMI port and make it accessible on your network. The Veritas Remote Management Console is beneficial after an unexpected power outage shuts down the connected system. In case the appliance node is not…
-
Page 40
Remote Management Port Out of band management using IPMI Remote Management Console You can use the Veritas Remote Management Console for the following: Manage an appliance node that is turned off or unresponsive. Turn on, turn off, ■ or restart the appliance node from a remote location. -
Page 41: Configuring The Ipmi Port On An Appliance Node
Exit If you have already connected the IPMI port to your network with a Cat5 ethernet cable, check that you can reach the Veritas Remote Management Console using the new address in a web browser. “Resetting the IPMI on an appliance node”…
-
Page 42: Resetting The Ipmi On An Appliance Node
“Resetting the IPMI on an appliance node” on page 42. “Configuring the IPMI port on an appliance node” on page 41. Resetting the IPMI on an appliance node If the Veritas Remote Management Console stops responding, you can reset it using the command. system ipmi reset…
-
Page 43
The IPMI starts resetting in the background. Wait for 2 minutes before you attempt to reconnect to the Veritas Remote Management Console. If you cannot access the Veritas Remote Management Console after resetting the IPMI, perform the following steps: Schedule a convenient time for the appliance node shutdown and alert all ■… -
Page 44: Monitoring The Appliance
Call Home service and the MyAppliance web portal. When Call Home is enabled, the appliance uploads diagnostic and heartbeat data over SSL-encrypted channels to a Veritas secure operations center for further processing. The MyAppliance portal then uses the Call Home data to provide a comprehensive view of appliance health…
-
Page 45: Setting Up Autosupport On The Appliance
Call Home is enabled by default and uses HTTPS (secure and encrypted ■ protocol) with port 443 for all communication with Veritas AutoSupport servers. If you configured the appliance to use a proxy server to connect to the Internet, ■…
-
Page 46: Using A Proxy Server With The Appliance
If it is imperative to move the appliance, you must contact your account access ■ team at Veritas to understand the ramifications or impact (if any) to the SLAs associated with the appliance. After you have moved the appliance, it is critical to update your registration ■…
-
Page 47: Setting Up Email Notifications On The Appliance
■ authentication. You are prompted for a password after you execute the command. “About Veritas AutoSupport on the Access Appliance” on page 44. Setting up email notifications on the appliance The appliance can send email alerts when hardware and software components fail or encounter errors.
-
Page 48: Setting Up Snmp Notifications On The Appliance
Monitoring the appliance Setting up SNMP notifications on the appliance (Optional) Enter the following command to set the email account that you want the emails to originate from (sender email): set alerts email-sender-id email-address= where email-address is the email address that you want the appliance emails to originate from.
-
Page 49: Testing The Appliance Hardware
Monitoring the appliance Testing the appliance hardware To configure SNMP notifications Log on to the Access Appliance shell menu. To set the SNMP server, enter the following command: set alerts snmp server= port= set alerts snmp community= Where server is the IP address or FQDN of your SNMP mail server. Note: The appliance uses the default community and the default public…
-
Page 50
Verify that all units are turned on and have started up completely. ■ After you have verified the previous items, reenter the command to ensure that the problems are resolved. If you cannot resolve an error after verifying all of the previous items and reentering the command, contact Veritas Technical Support. -
Page 51: Resetting The Appliance To Factory Settings
When you initiate the factory reset, you can choose to retain the network configuration. In addition, you can specify whether to restart the appliance after the factory reset completes. Veritas recommends that you choose to automatically restart the appliance to avoid restarting the appliance manually.
-
Page 52: Performing Factory Reset For Cluster Nodes
If you choose not to erase the disks, specify whether you want to restart the nodes after the factory reset is complete. Veritas recommends that you choose to restart the nodes automatically after the factory reset operation is complete.
-
Page 53
Resetting the appliance to factory settings Performing factory reset for cluster nodes Review the selected options and the summary of changes. The following message is displayed. If you want to begin the factory reset operation, enter yes. >> Caution: The appliance is ready for factory reset. This process cannot be reversed! Do you want to proceed? [yes, no] (no) yes The factory reset process starts and the following messages are displayed if you opted to erase the disks:… -
Page 54: Chapter 8 Appliance Security
Each new version of Access appliance software and hardware is verified for vulnerabilities before release. Depending on the severity of issues found, Veritas releases a patch or provides a fix in a scheduled major release. To reduce the risk of unknown threats, Veritas regularly updates the third-party packages and modules in the product as part of regular maintenance release cycles.
-
Page 55: About Access Appliance User Account Privileges
Appliance security About Access appliance user account privileges About Access appliance user account privileges Local user accounts are one mechanism to prevent unauthorized access to Access data on the appliance. Only the user can configure and modify appliance admin settings. The following are some of the tasks that can be performed by appliance local users: Log on to the Access Appliance shell menu over ssh ■…
-
Page 56: About Forced Password Changes
Appliance security About forced password changes The password must contain a minimum number of eight different characters. ■ The password must be retained for a minimum of 1 day before changing it. ■ The password must be changed after a maximum of 60 days. ■…
-
Page 57: About The Access Appliance Intrusion Detection System
The appliance is preconfigured with a Maintenance user account. This account is used during the initial appliance configuration process to configure the various subsystems of the appliance and Veritas Access. command also lets you log into this account and opens a…
-
Page 58: Reviewing Sdcs Events On The Access Appliance
“Auditing the SDCS logs on an Access Appliance” on page 58. Auditing the SDCS logs on an Access Appliance There are several ways to audit the SDCS logs on a Veritas Access Appliance node. Basic search To do a basic SDCS log search Log on to the Access Appliance shell menu.
-
Page 59
Appliance security About the Access Appliance intrusion detection system Severity ■ Event type ■ You can filter the SDCS logs by each individual attribute. To filter SDCS log entries by date: Log on to the Access Appliance shell menu. (Optional) Enter the following command to view all of the events that occurred on a specific day: show sdcs-audit view search to-date=date where date is the day in the… -
Page 60
Appliance security About the Access Appliance intrusion detection system To search based on multiple attributes Log on to the Access Appliance shell menu. Enter the show sdcs-audit search event-id=eventid event-type=eventtype from-date=fromdate to-date=todate command. severity=severitycode search-string=text where eventid is the audit log event ID ■… -
Page 61: About Sdcs Event Type Codes And Severity Codes On An Access Appliance Node
Appliance security About the Access Appliance intrusion detection system About SDCS event type codes and severity codes on an Access appliance node SDCS severity codes Table 8-1 Code Description Details Critical Activity or problems that might require administrator intervention to correct. Error Information Information about normal system operation.
-
Page 62
Appliance security About the Access Appliance intrusion detection system SDCS event codes Table 8-2 (continued) Code Description DNTL NT Event Log DRGW Registry Watch DSYS SysLog DUC2 Unix C2 Security DWTM WTMP/BTMP MBIN Server Error MCOM Common Status MCON Agent Config Status MEFR File Received MERR… -
Page 63: Changing The Sdcs Log Retention Settings On An Access Appliance Node
Appliance security About the Access Appliance intrusion detection system SDCS event codes Table 8-2 (continued) Code Description TRAC Tracking/Debugging Note: You can also get this list of SDCS event type codes by typing the following command in the Access Appliance shell menu show sdcs-audit view event-type-codes “Auditing the SDCS logs on an Access Appliance”…
-
Page 64: About The Access Appliance Intrusion Prevention System
About Access appliance operating system security The Access appliance runs a customized Linux operating system (OS) provided by Veritas. Each new appliance software release includes the latest appliance OS, Access software, bug fixes, and security patches. In addition to regular security patches and updates,…
-
Page 65: Vulnerability Scanning Of The Access Appliance
Any new vulnerabilities that pose a security threat to the appliance are then patched in routine software releases. For high-severity vulnerabilities, Veritas may choose to issue a patch in an emergency engineering binary (EEB). The following table lists the software products that were used to scan the Access appliance.
-
Page 66: Disabled Service Accounts On The Access Appliance
Appliance security About data security on the Access appliance Disabled service accounts on the Access appliance The following service accounts are disabled in the appliance operating system and software platform: Batch jobs daemon ■ ■ DHCP server daemon ■ FTP account ■…
-
Page 67: About Data Integrity On The Access Appliance
CRC digital signatures and compares it with the original signature to detect if there has been any unwanted tampering or corruption in the storage. Encryption of data in transit and at rest for services like the Veritas Cloud Service ■ and AutoSupport.
-
Page 68
IPMI connection always takes place over HTTPS. Web Session Timeout 1800 LDAP Settings Veritas recommends that you should enable LDAP authentication, if possible in your environment. SSL Upload Veritas recommends that you import a new or custom SSL certificate. -
Page 69: Replacing The Default Ipmi Ssl Certificate On The Access Appliance
Appliance security Recommended IPMI settings on the Access appliance Warning: If the cipher 0 enabled on a channel, it allows anyone to perform any IPMI action with no authentication, effectively subverting IPMI security entirely. Disable it at all costs. Only use ciphers 3, 8, and 12. ■…
-
Page 70
PEM format called ipmi.pem cat ipmi.crt ipmi.key > ipmi.pem Log on to the Veritas Remote Management Console. Note: If you need to access the Veritas Remote Management Console from another computer, copy the file to that computer. ipmi.pem On the Configuration tab, select SSL from the left pane.
Вспомнили про бэкап? Про это дело лучше не забывать. Сегодня устанавливаем Veritas Backup Exec 16.
Veritas купила Backup Exec у компании Symantec в 2015 году.
Эта версия, по сравнению с предыдущей, больше смотрит в сторону облачных сред Microsoft Azure и Amazon S3, поддерживает Windows Server 2016. И ставить будем также на Windows Server 2016.
Снова пишут, что это простое в использовании ПО, но как оно работало раньше странно, так и продолжает работать. Изменения в логике работы и настройке резервных копий не очень значительны. Также бесят тормоза при администрировании. Точно также периодически глючит. Однако, ПО работает, бэкапит и восстанавливает, что нам и нужно.
Ссылки
Руководство администратора
Немного видео на тему
Veritas Backup Exec 16 и Microsoft Azure:
Обновление Backup Exec 15 до 16:
Среда установки
- Имеем железный сервер с одним большим массивом 20 Тб.
- Операционная система Windows Server 2016 установлена на тот же массив.
- План разбиения массива такой: 100 Гб для Windows, остальные 19,9 Тб для хранения бэкапов на отдельном локальном диске.
Я бы рекомендовал устанавливать операционную систему на отдельные диски, но у меня выхода не было, жуём что дают.
Установку Windows производите в режиме UEFI, иначе не сможете сделать раздел более 2 Тб.
Подготовка раздела
Подготовим раздел для хранения резервных копий. Запускаем Disk Management.
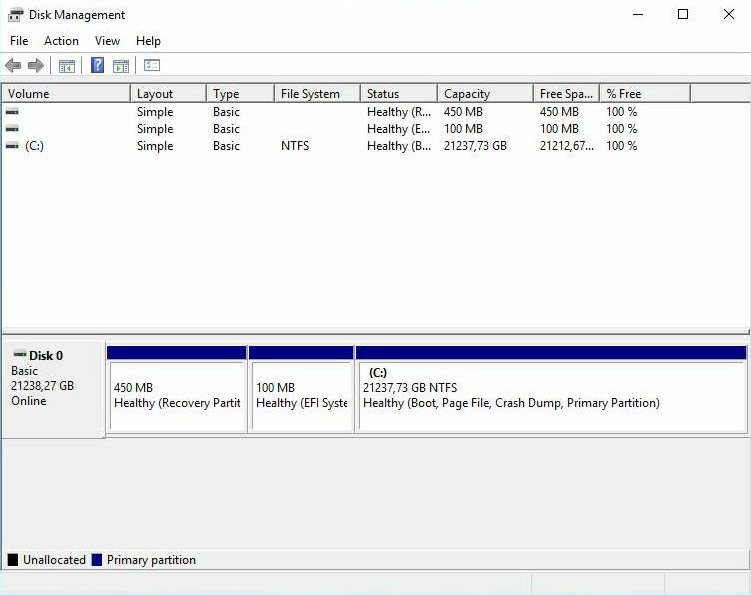
Размер диска C у нас 21237,73 Гб. Кликаем на него правой кнопкой и делаем shrink.
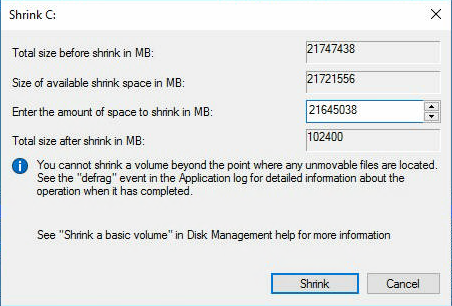
Вычисляем сколько нам нужно отрезать. По плану под ОС выделяется 100 Гб, поэтому в поле Total size after shrink in MB должно быть 102400 Мегабайт. Shrink.
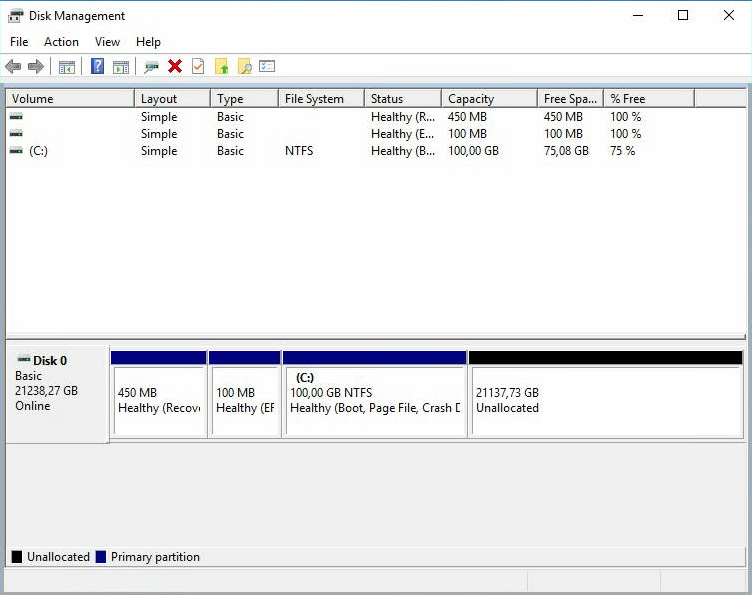
Теперь диск C стал занимать ровно 100 Гб. А 21137,73 Гб — неразмеченная область. Сделаем из неё диск B. Кликаем правой кнопкой и создаём новый раздел. Открывается мастер.
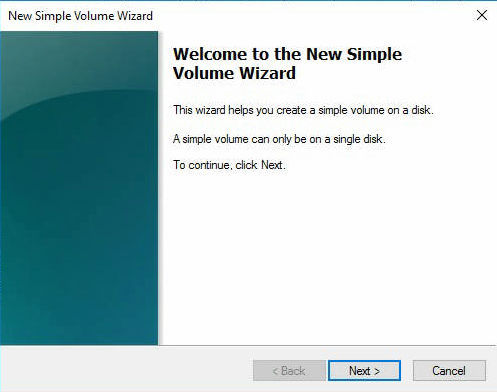
Next.
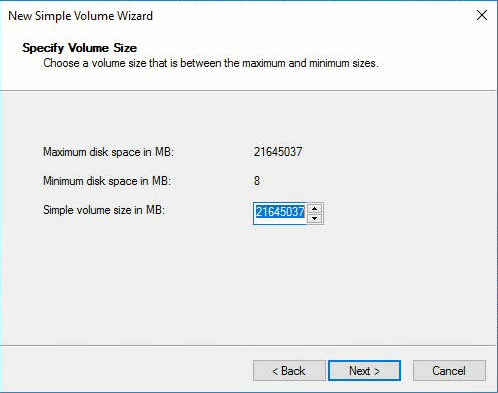
Размер тома оставляем по умолчанию весь. Next.
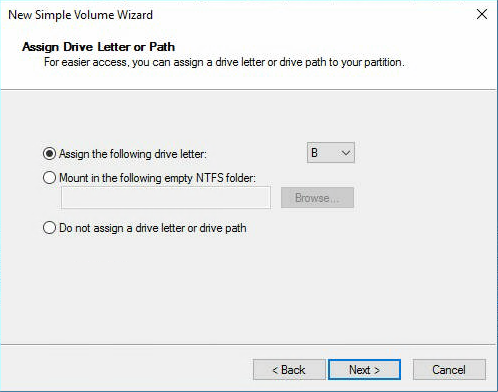
Указываем букву тома, я выбираю B. Next.
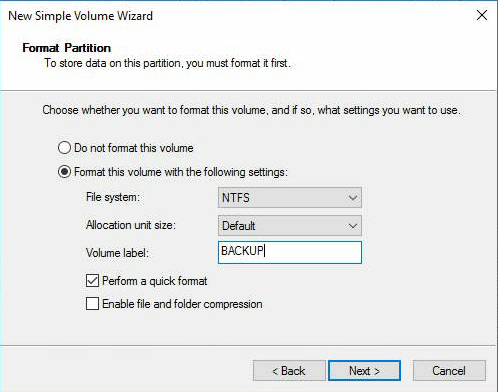
Файловая система NTFS. Метка тома BACKUP. Next.
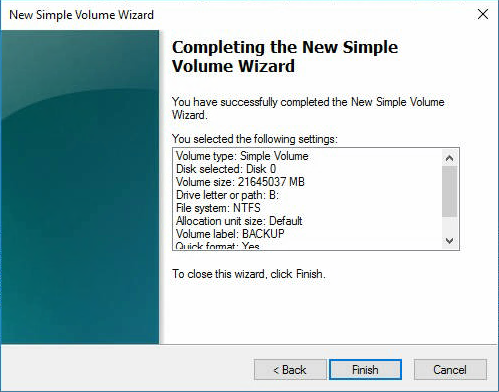
Finish.
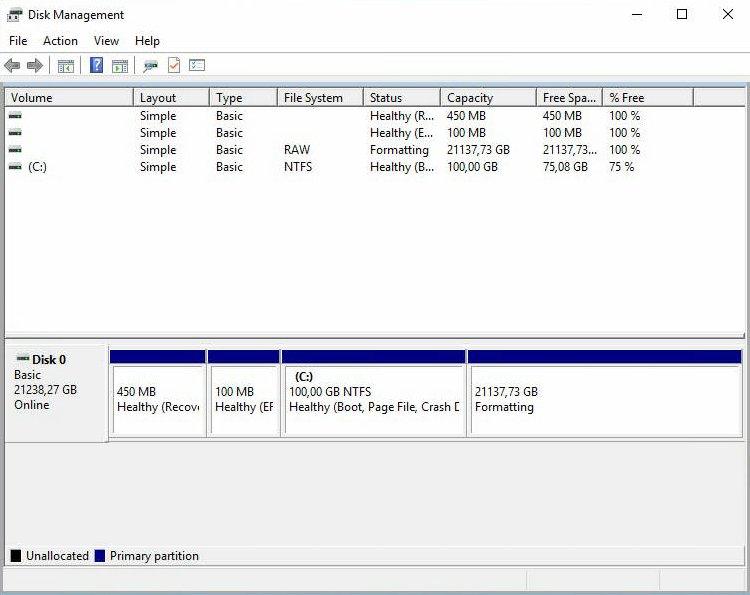
Раздел форматируется.
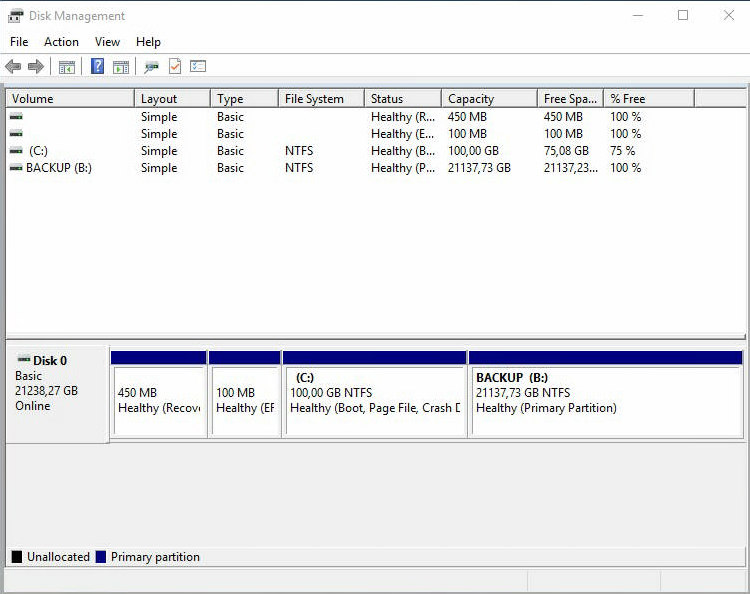
Через некоторое время у нас появляется диск B размером 21137,73 Гб. Будем его использовать как хранилище для Veritas Backup Exec 16.
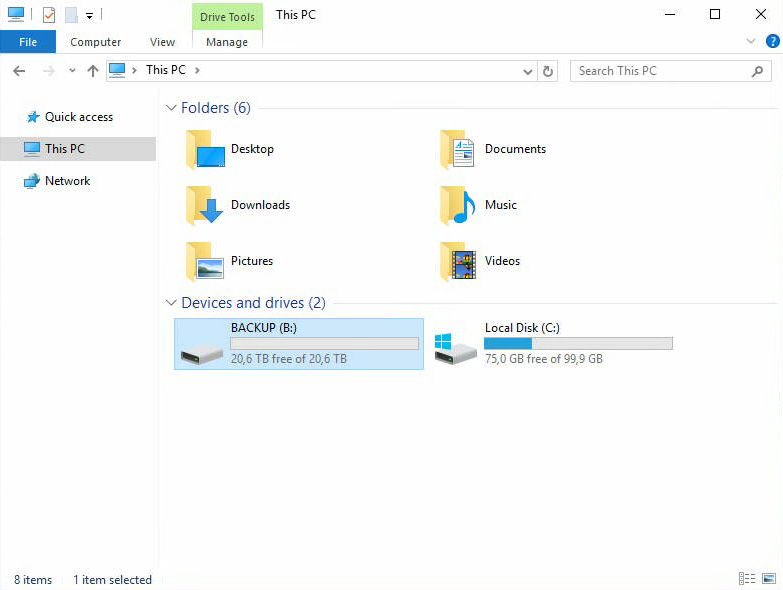
На этом подготовка хранилища завершена.
Установка Veritas Backup Exec 16
Скачиваем дистрибутив.
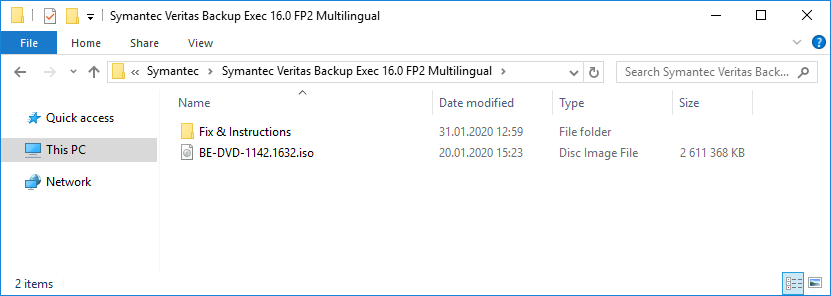
Правой кнопкой — монтируем.
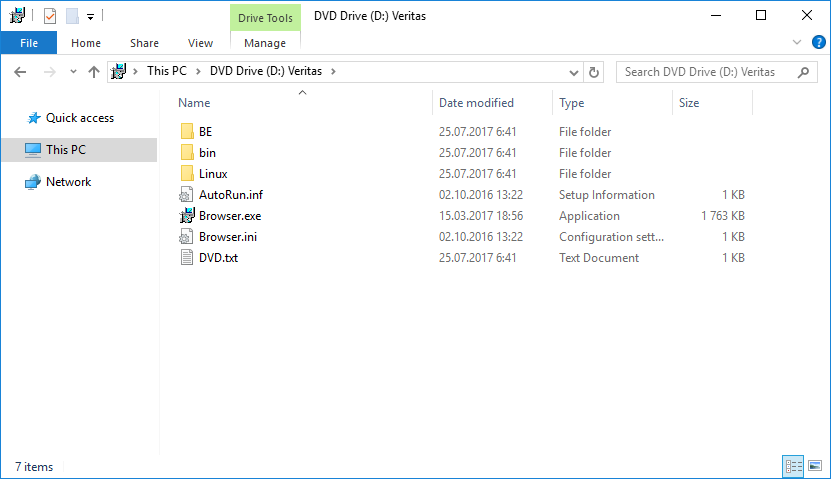
Запускаем Browser.exe (от имени администратора).
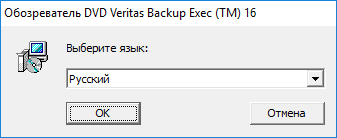
Выбираем язык установки. OK.
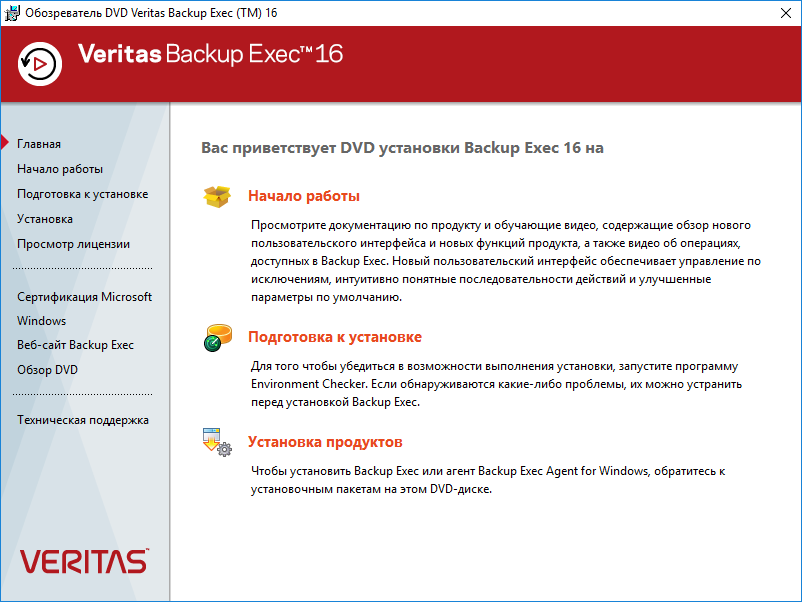
Открывается обозреватель Veritas Backup Exec 16. Всё на русском. Выполним подготовку к установке, чтобы устранить возможные проблемы до начала самой установки.
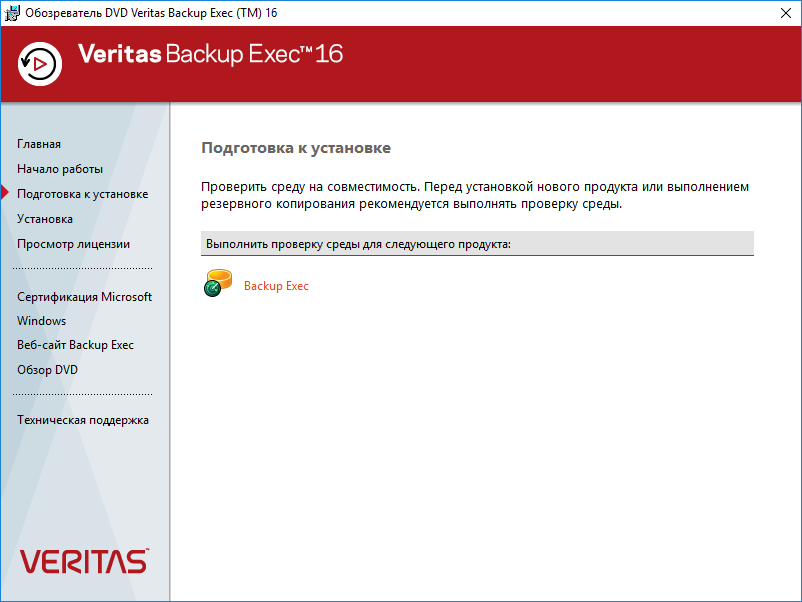
Выполним проверку среды для продукта Backup Exec.
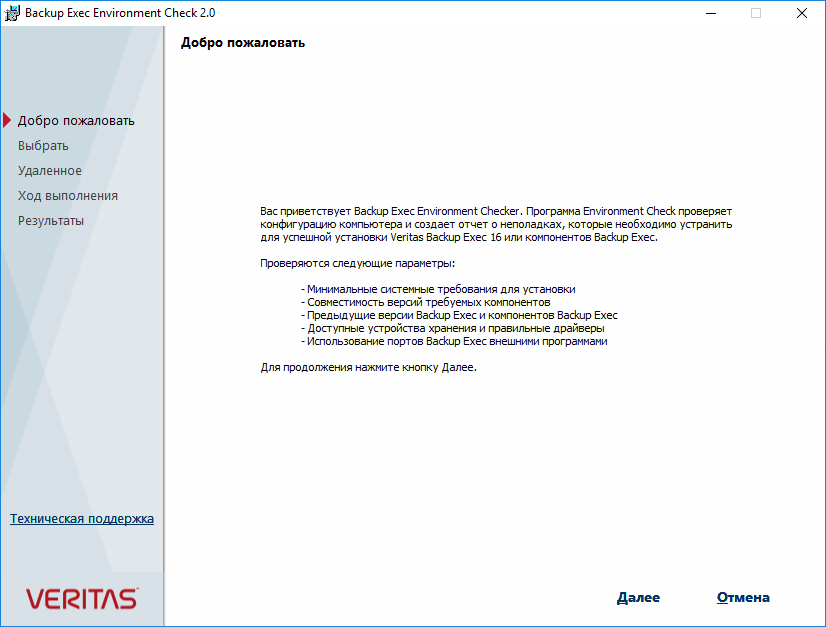
Запускается отдельный мастер проверки. Далее.
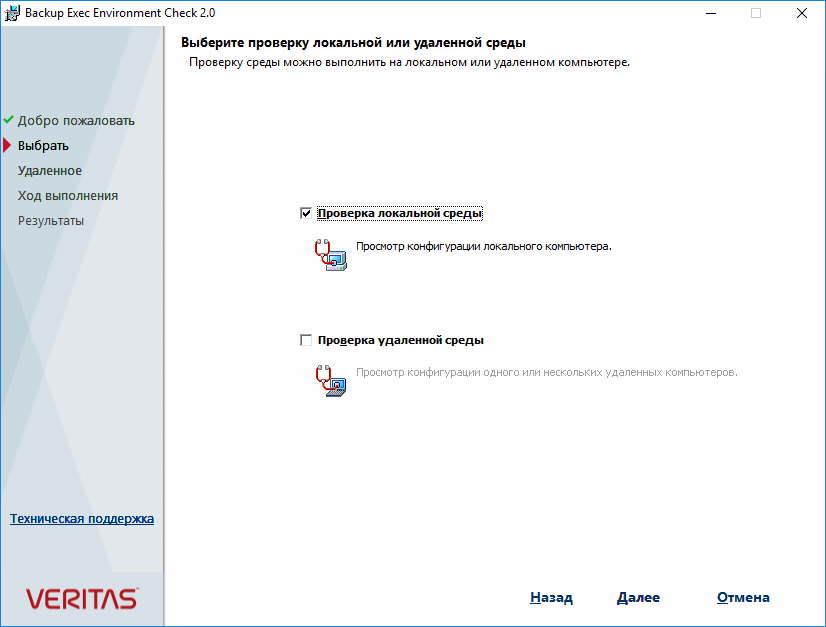
Поскольку мы запустили программу установки на том же сервере, на котором и планируем установить Veritas Backup Exec 16, то ставим галку Проверка локальной среды. Далее.
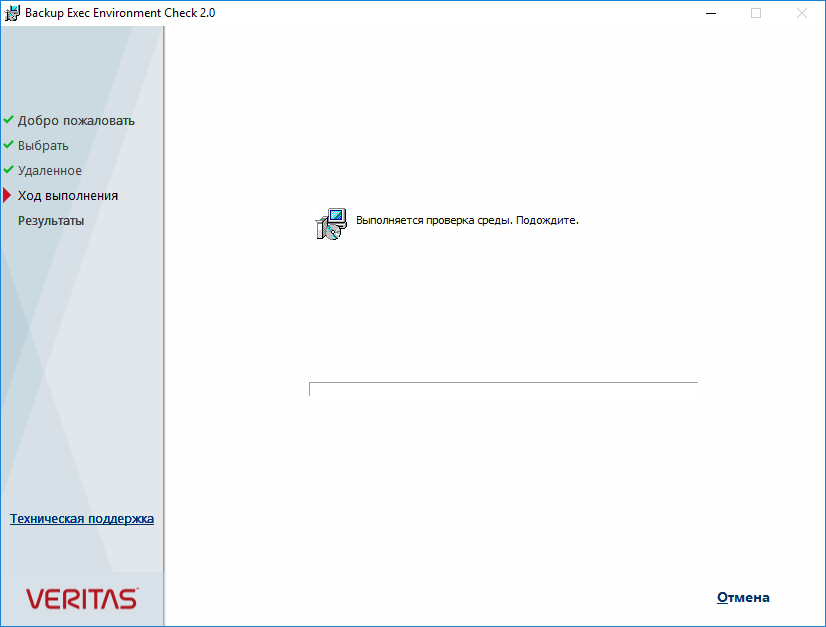
Выполняется проверка.
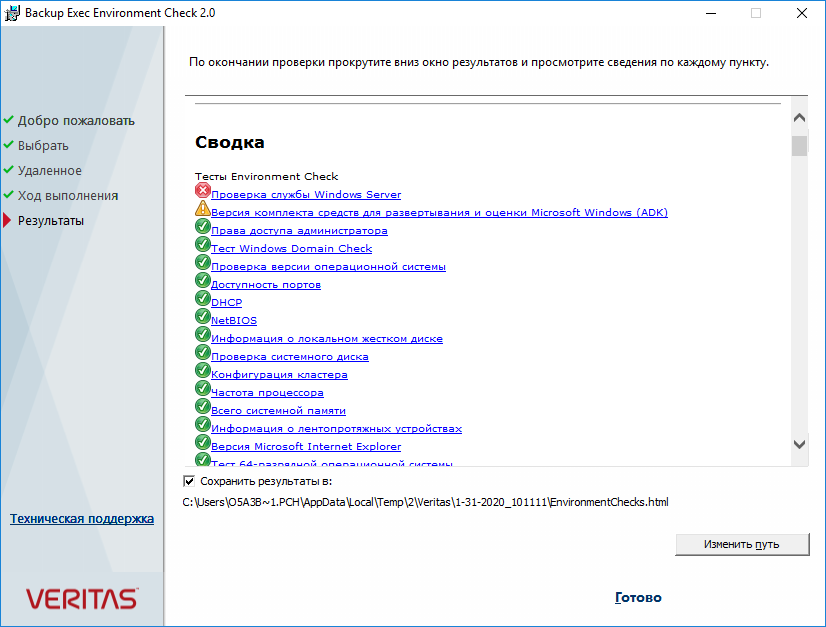
Ну вот, не зря запустили проверку, у меня найдена ошибка при проверке службы Windows Server.
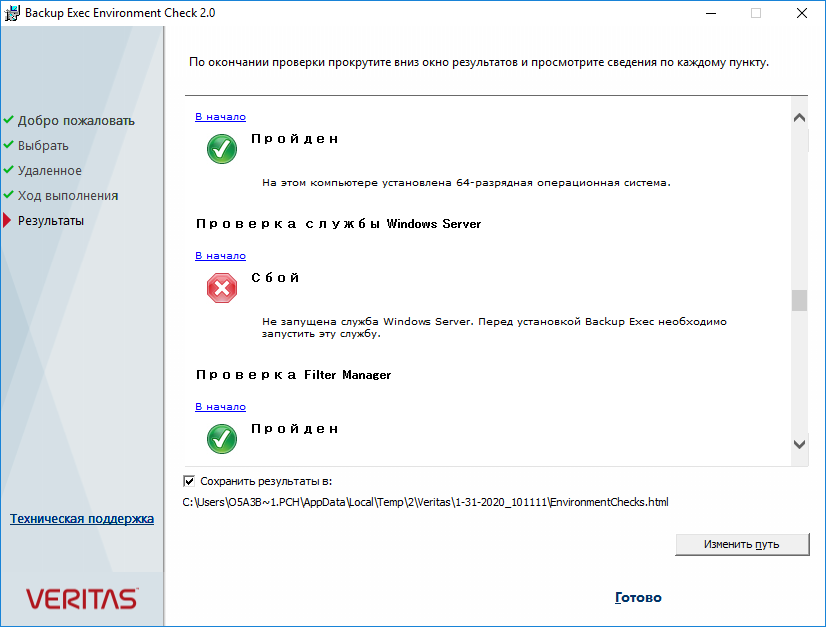
Более подробная ошибка:
Не запущена служба Windows Server. Перед установкой Backup Exec необходимо запустить эту службу.
Вот здесь я подвис минут на двадцать. Дело в том, что в Windows Server 2016 нет службы Windows Server. Не пытайтесь её найти. Это или ошибка перевода, имелась в виду служба Server. Или просто какое-то недоразумение. Потом я отвис и догадался, что инсталлятор нужно запустить от имени администратора!
Имеются и другие предупреждения:
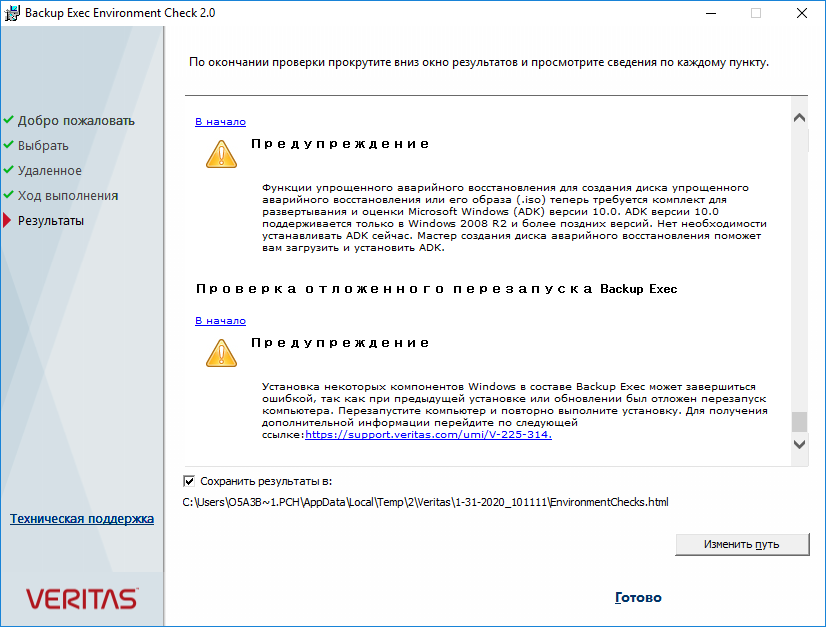
Первое не страшно, потом поставим пакет Microsoft Windows ADK. Второе предупреждение просто просит выполнить перезагрузку.
Перезагружаю сервер и запускаю инсталлятор от имени администратора. Дохожу до пункта о проверке локальной среды.
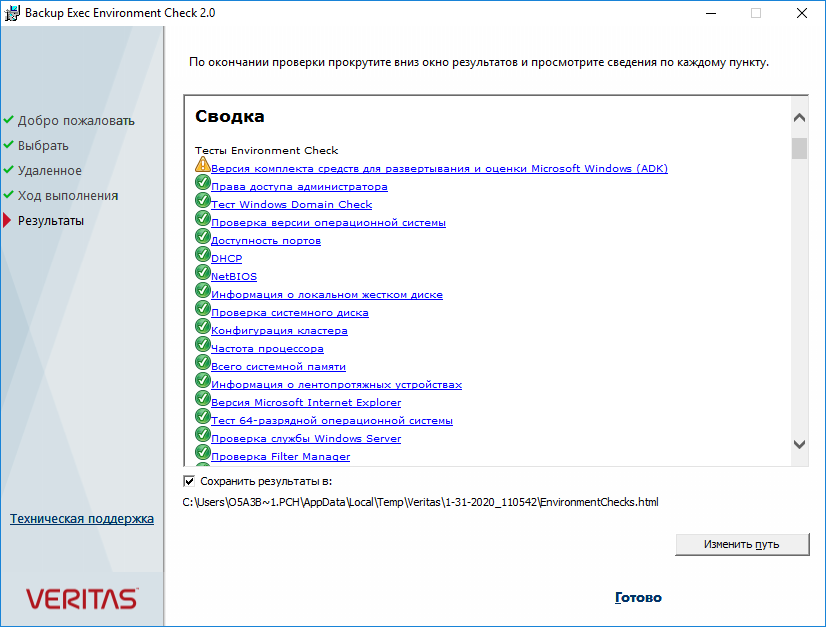
Теперь ошибок нет, все тесты зелёные. Готово.
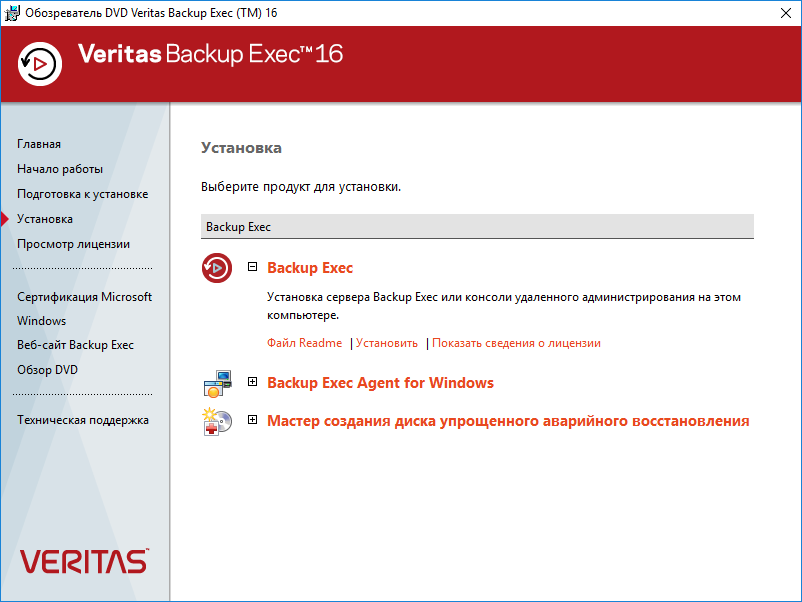
Переходим к установке Backup Exec. Установить.
Запускается мастер установки Veritas Backup Exec 16.
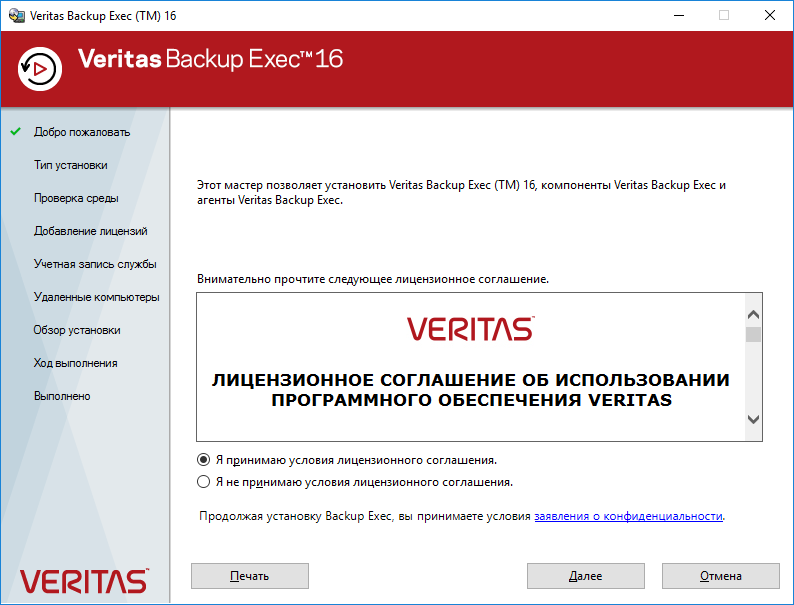
Принимаем лицензионное соглашение. Далее.
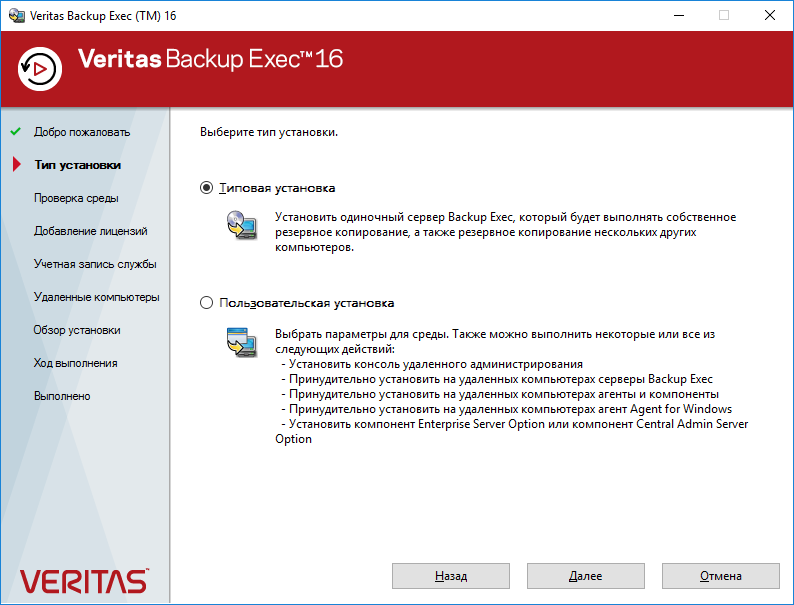
Выбираем тип установки. Я выбираю Типовую установку. Далее.
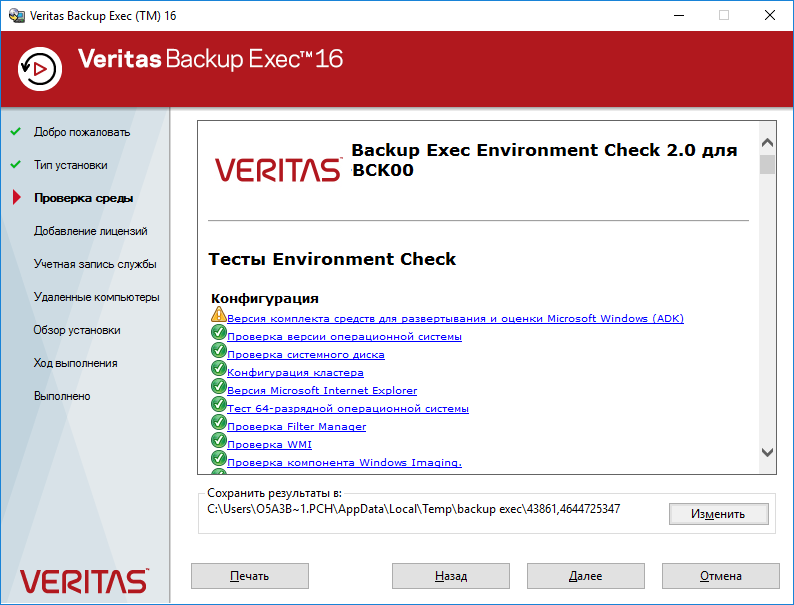
Снова проверяется среда. Предупреждения те же. Далее.
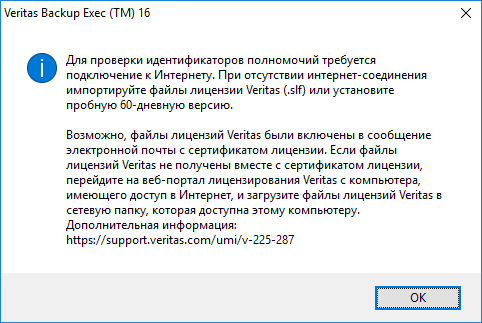
Показывают предупреждение, что для установки лицензии нужен Интернет, если Интернета нет, то будет установлена триальная 60-дневная версия. OK.
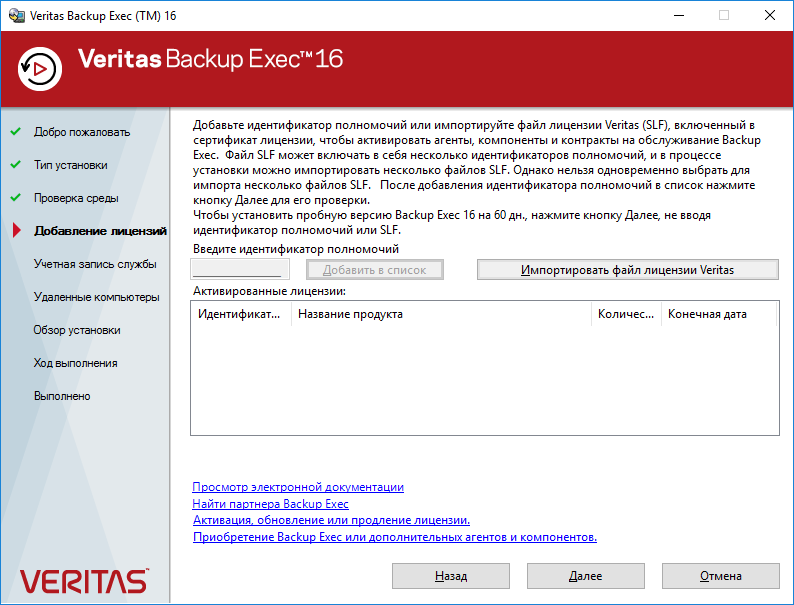
Лицензирование, здесь можно указать имеющиеся лицензии, только не забудьте про Интернет. Если не указывать, будет установлена триальная версия, так и делаю. Далее.
OK.
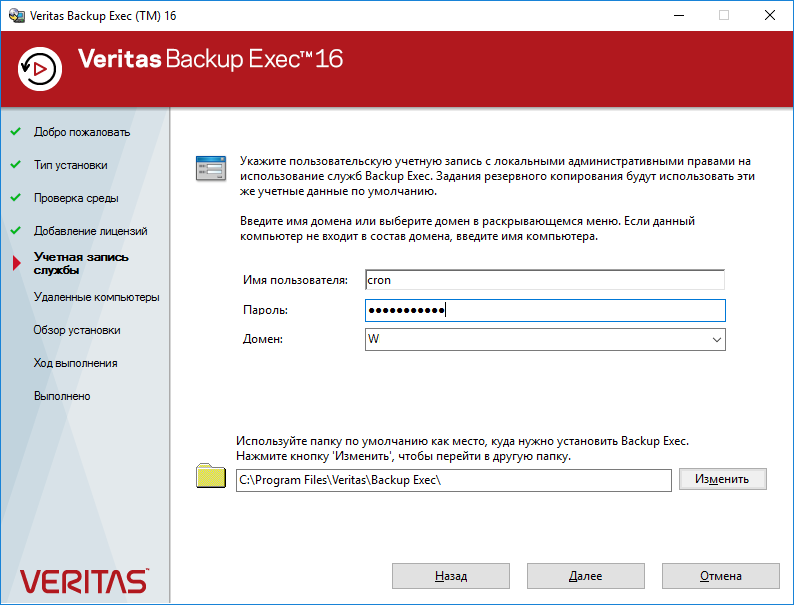
Важный момент. Требуется указать учётные данные пользователя, от имени которого будет работать ПО. Если вы планируете бэкапить виртуалки, то создайте доменную учётку, дайте ей права в облаке, добавьте в локальные админы сервера и в бэкап-операторы, на котором сейчас устанавливаете Veritas Backup Exec 16 и укажите её здесь. Далее. Если вы не дали локальные права, не страшно, увидите это:
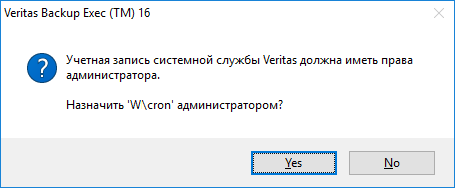
Yes.
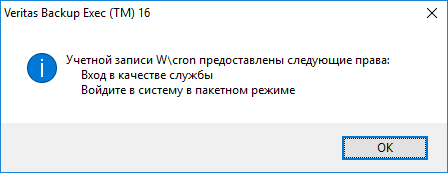
OK.
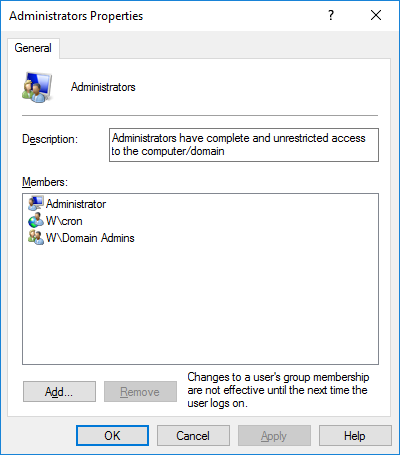
Инсталлятор добавил учётную запись в локальные администраторы (и в операторы бэкапов).
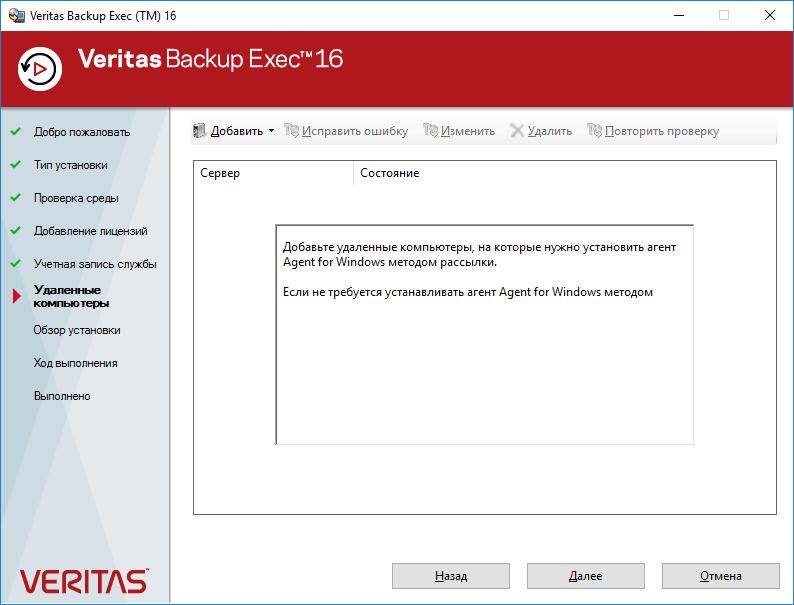
Далее.
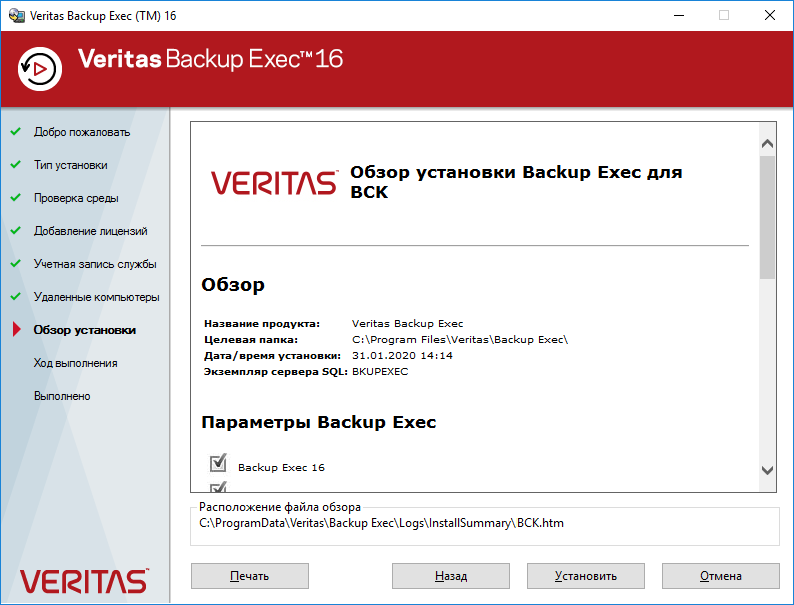
Установить.
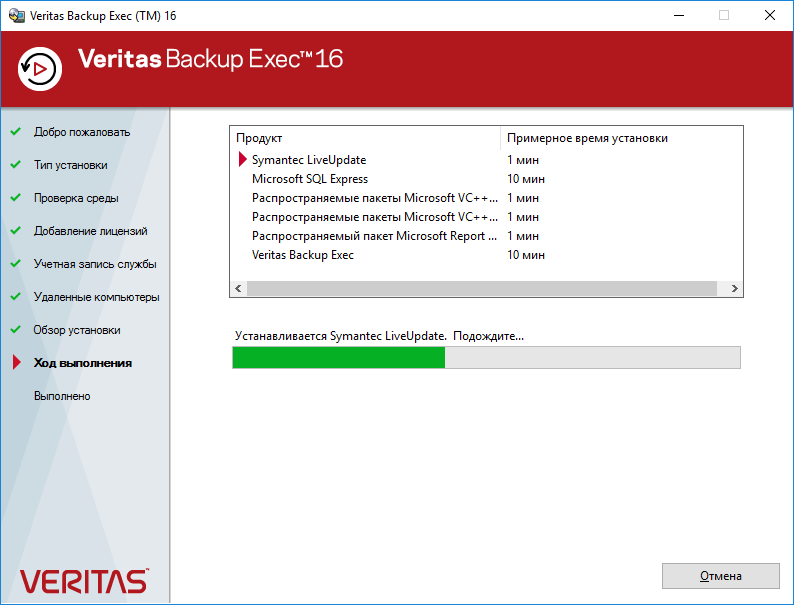
Мастер начинает устанавливать отдельные компоненты.
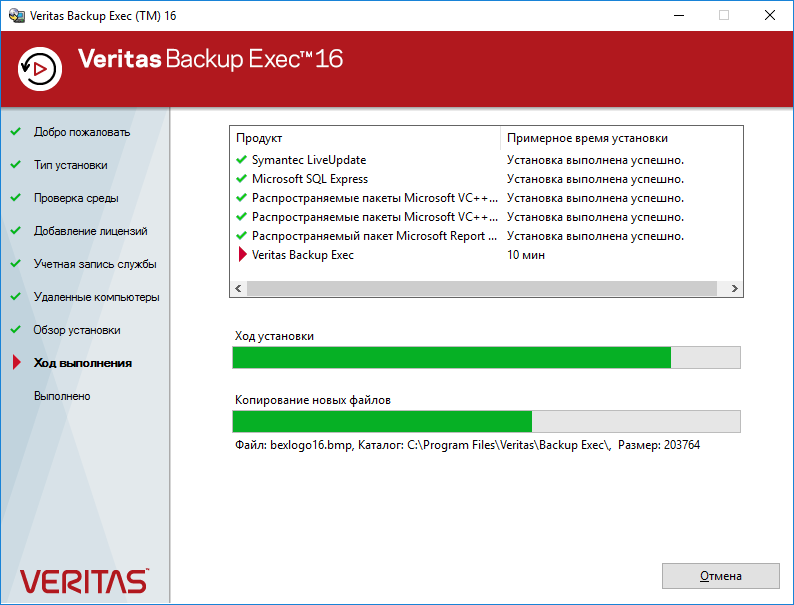
Ждём.
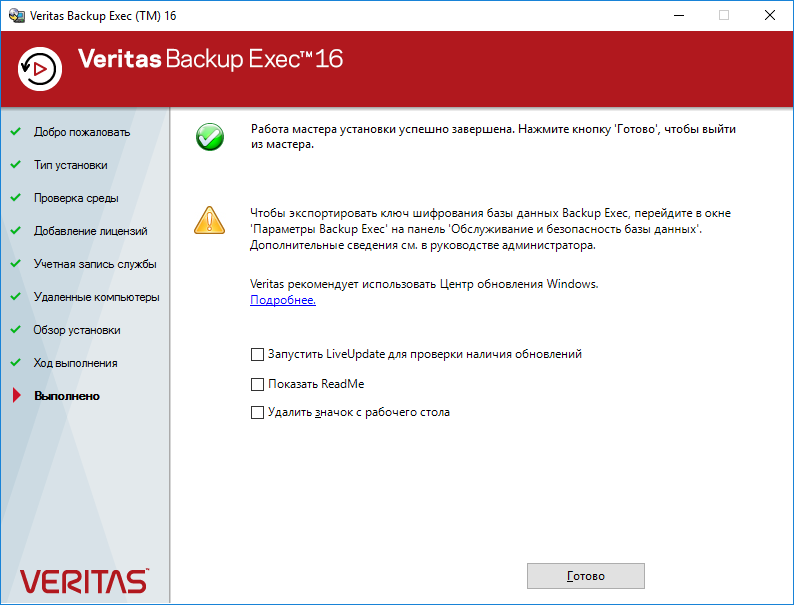
Работа мастера установки успешно завершена. Готово.
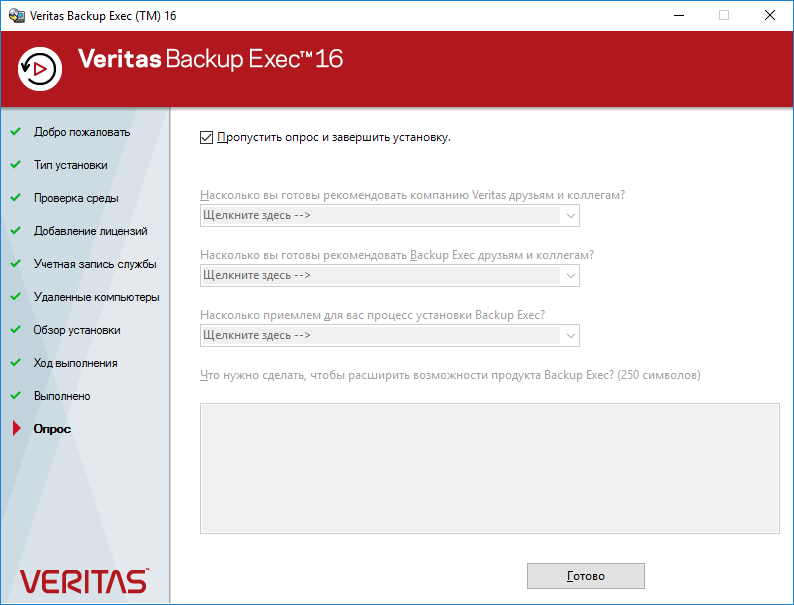
Пропускаем ненужный опрос. Готово.
Дальнейшие настройки выполняются непосредственно в Veritas Backup Exec 16.
libcats.org
VERITAS Backup ExecTM 10.0 for Windows Servers. Руководство администратора
Backup Exec’ это высокопроизводительное решение для управления данными в сетях серверов на платформах Windows’. В программе Backup Exec используется архитектура клиент-сервер, что позволяет создать быстродействующие и надежные средства резервного копирования и восстановления для серверов и рабочих станций сети. Различные конфигурации Backup Exec предназначены для применения этого программного обеспечения в многоплатформенных сетях любого размера. Другие книги на сайте: Windows Server 2003. Библия пользователя Внутренний мир Windows Server 2003, SP1 и R2 Citrix MetaFrame Access Suite для Windows Server 2003 Microsoft SQL Server 2005. Реализация и обслуживание. Учебный курс
Популярные книги за неделю:
Только что пользователи скачали эти книги:
 |
Название: VERITAS Backup ExecTM 10.0 for Windows Servers. Руководство администратора Автор: VERITAS Software Corporation Год: 2004 Страниц: 1696 Формат: pdf Размер: 12,2 Мб Качество: отличное Язык: русский |
Backup Exec — это высокопроизводительное решение для управления данными в сетях серверов на платформах Windows®. В программе Backup Exec используется архитектура клиент-сервер, что позволяет создать быстродействующие и надежные средства резервного копирования и восстановления для серверов и рабочих станций сети.
Различные конфигурации Backup Exec предназначены для применения этого программного обеспечения в многоплатформенных сетях любого размера.
Внимание! У Вас нет прав для просмотра скрытого текста.